A friend from New England and I were recently talking about our favorite Autumnal associations and crafts as children. She had that forlorn expression in her eyes as she searched the past for her favorite colors and types and leaves. I miss the silvery sky in contrast to the foliage. I miss the wind that blows through the rustling leaves and sound as though a huge wave is about to charge over the mountains. The air smell and tastes like maple sugar in VT. We miss cider donuts and mulled cider. Making popcorn balls and handing them out on Halloween.
Alas, we both choose to live in this lovely California state and have since embraced the climate that goes with it- winter seldom falls below 50 degrees– can’t beat that, eh? No slush, no shoveling, no frozen dripping noses. There are pros and cons to each. Well this morning, after my oldest hopped in the carpool for school, my 2 year old and I decided to walk around our neighbor hood and collect tiny treasures. I remember making waxed leaves as a child. I had waxed sandwich bags so I thought I’d have a go with it before my big boy got home. Here are my step by step directions for preserving leaves in wax paper as well as contact paper. I think that contact paper may be better for younger children and toddlers as they will still let you do most of the work (no frustrating sticky paper that attracts everything that touches it). Wax may be a better method for the older child as it’s more labor intensive and depending on how old they are, they get to use the iron! Enjoy!
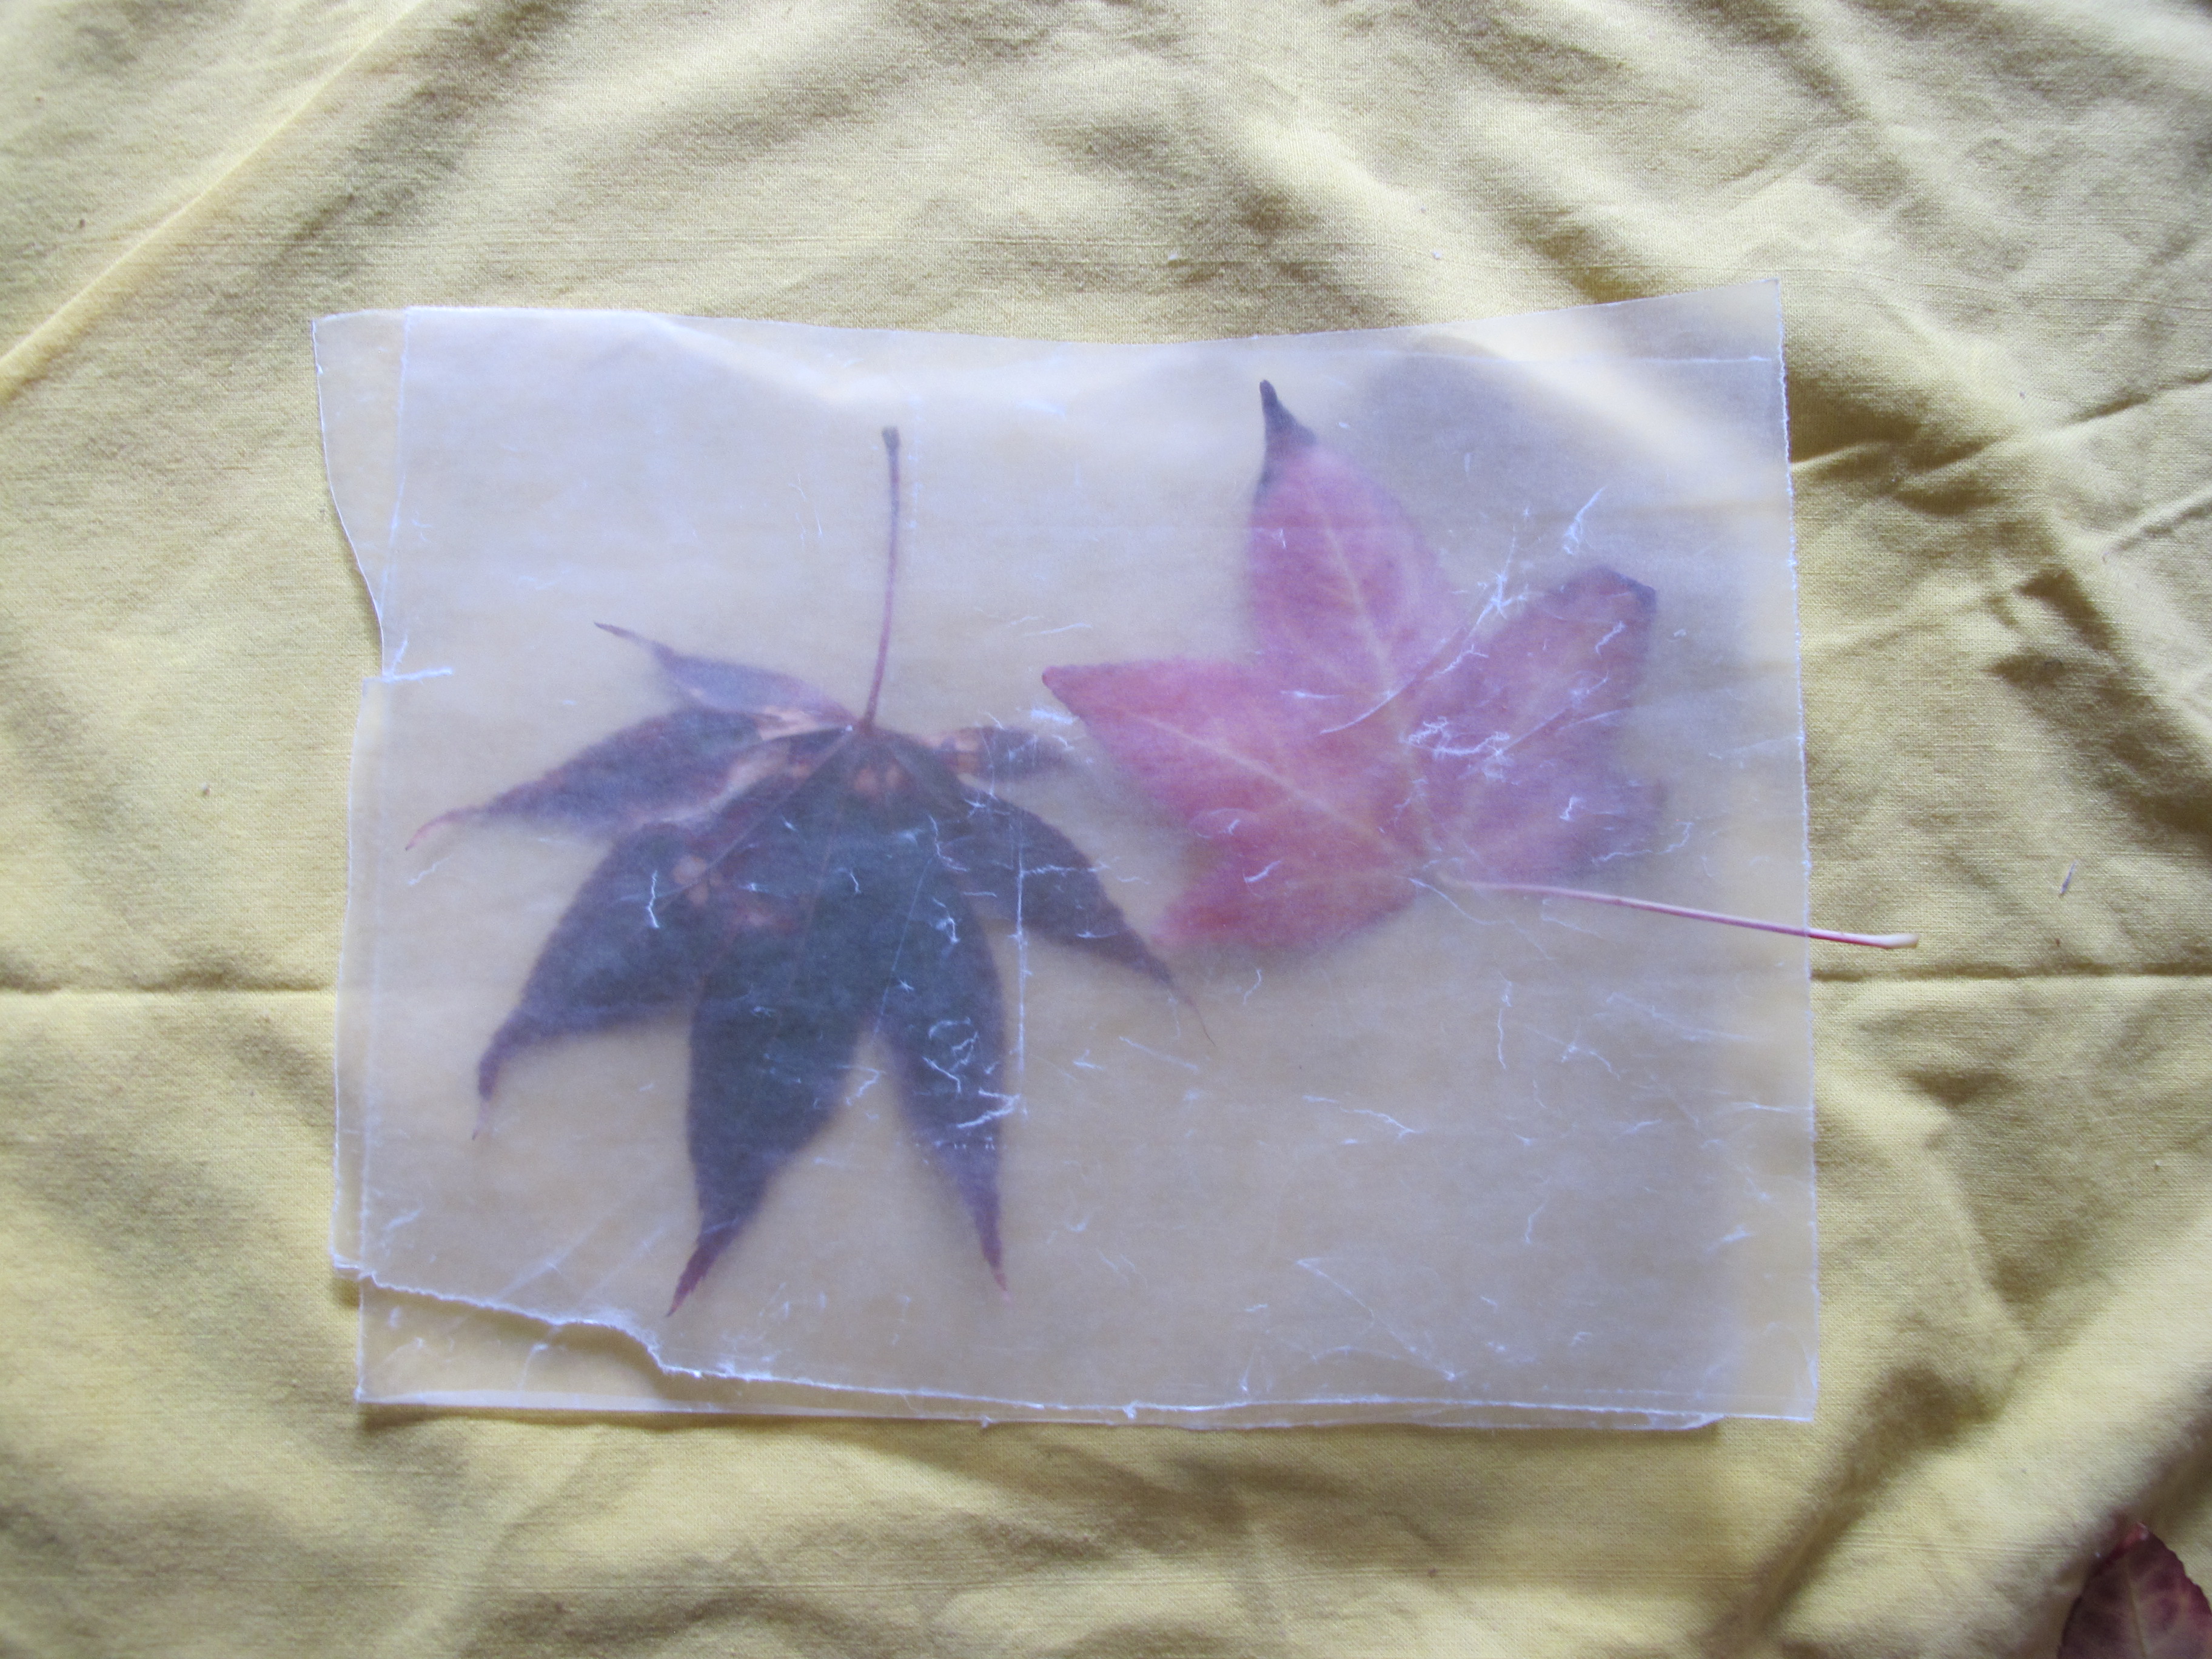
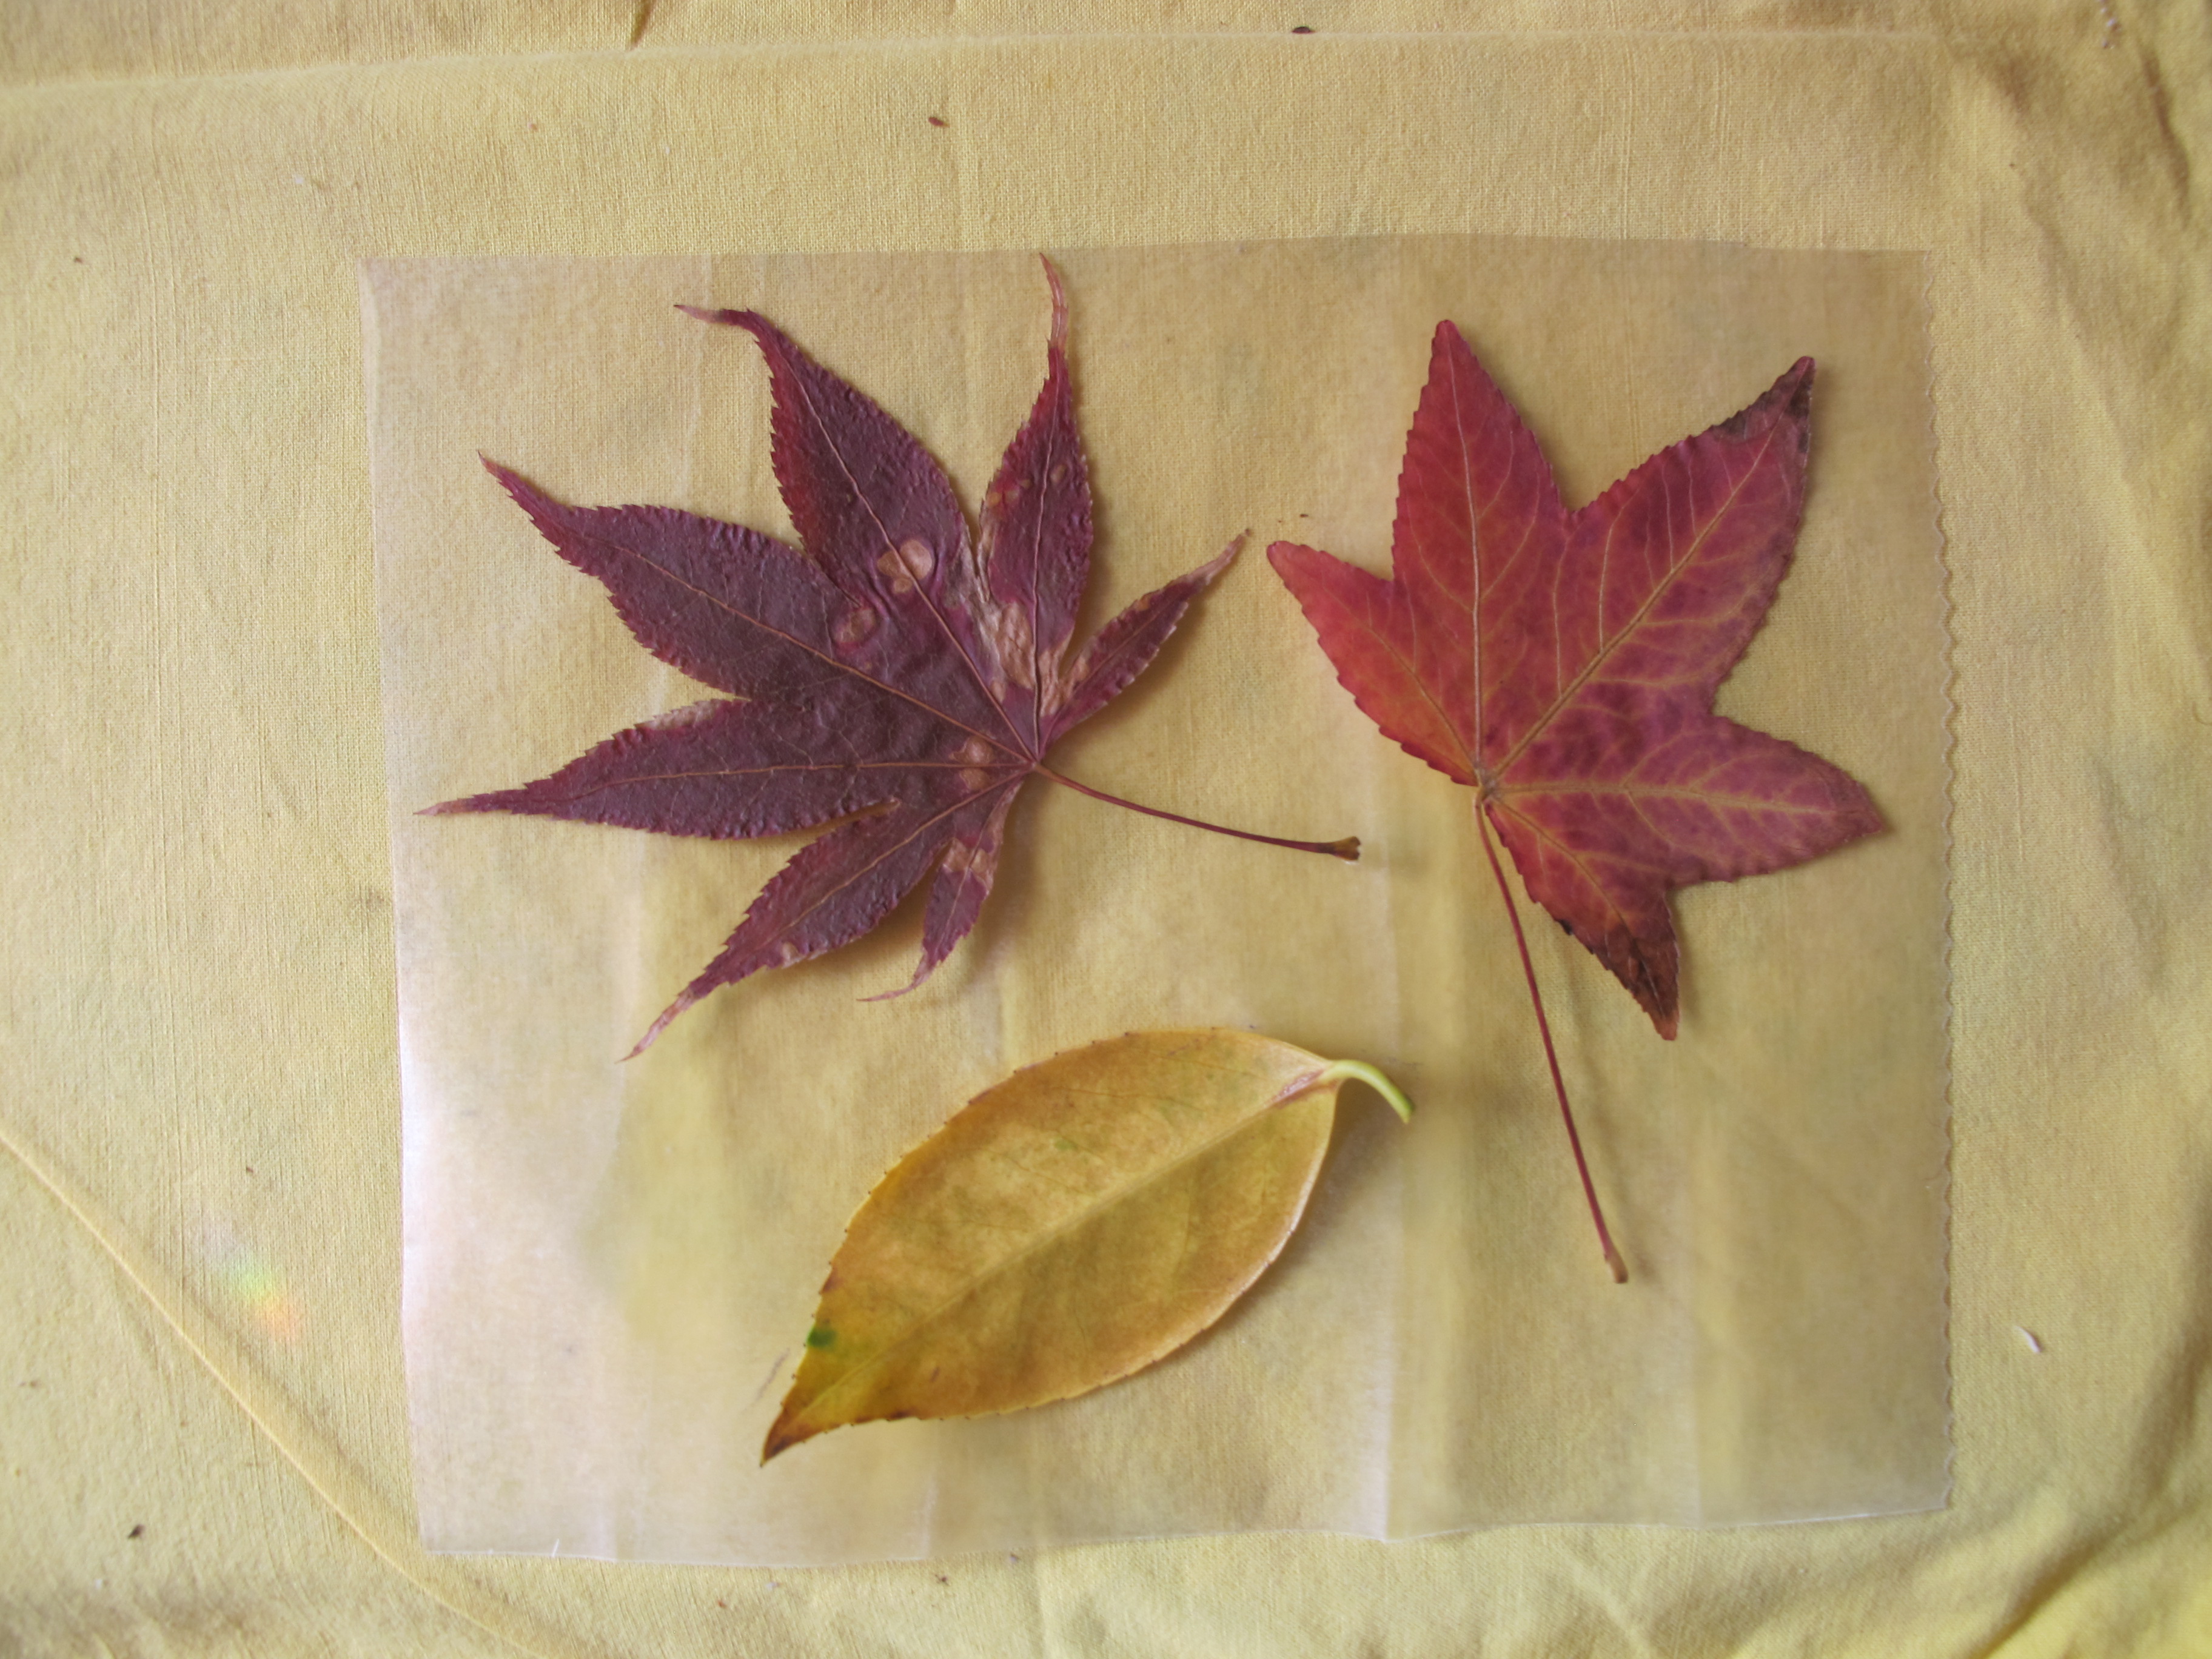
Sandwich the leaves with a second sheet of wax paper (don’t worry, you’ll trim after your work has cooled).
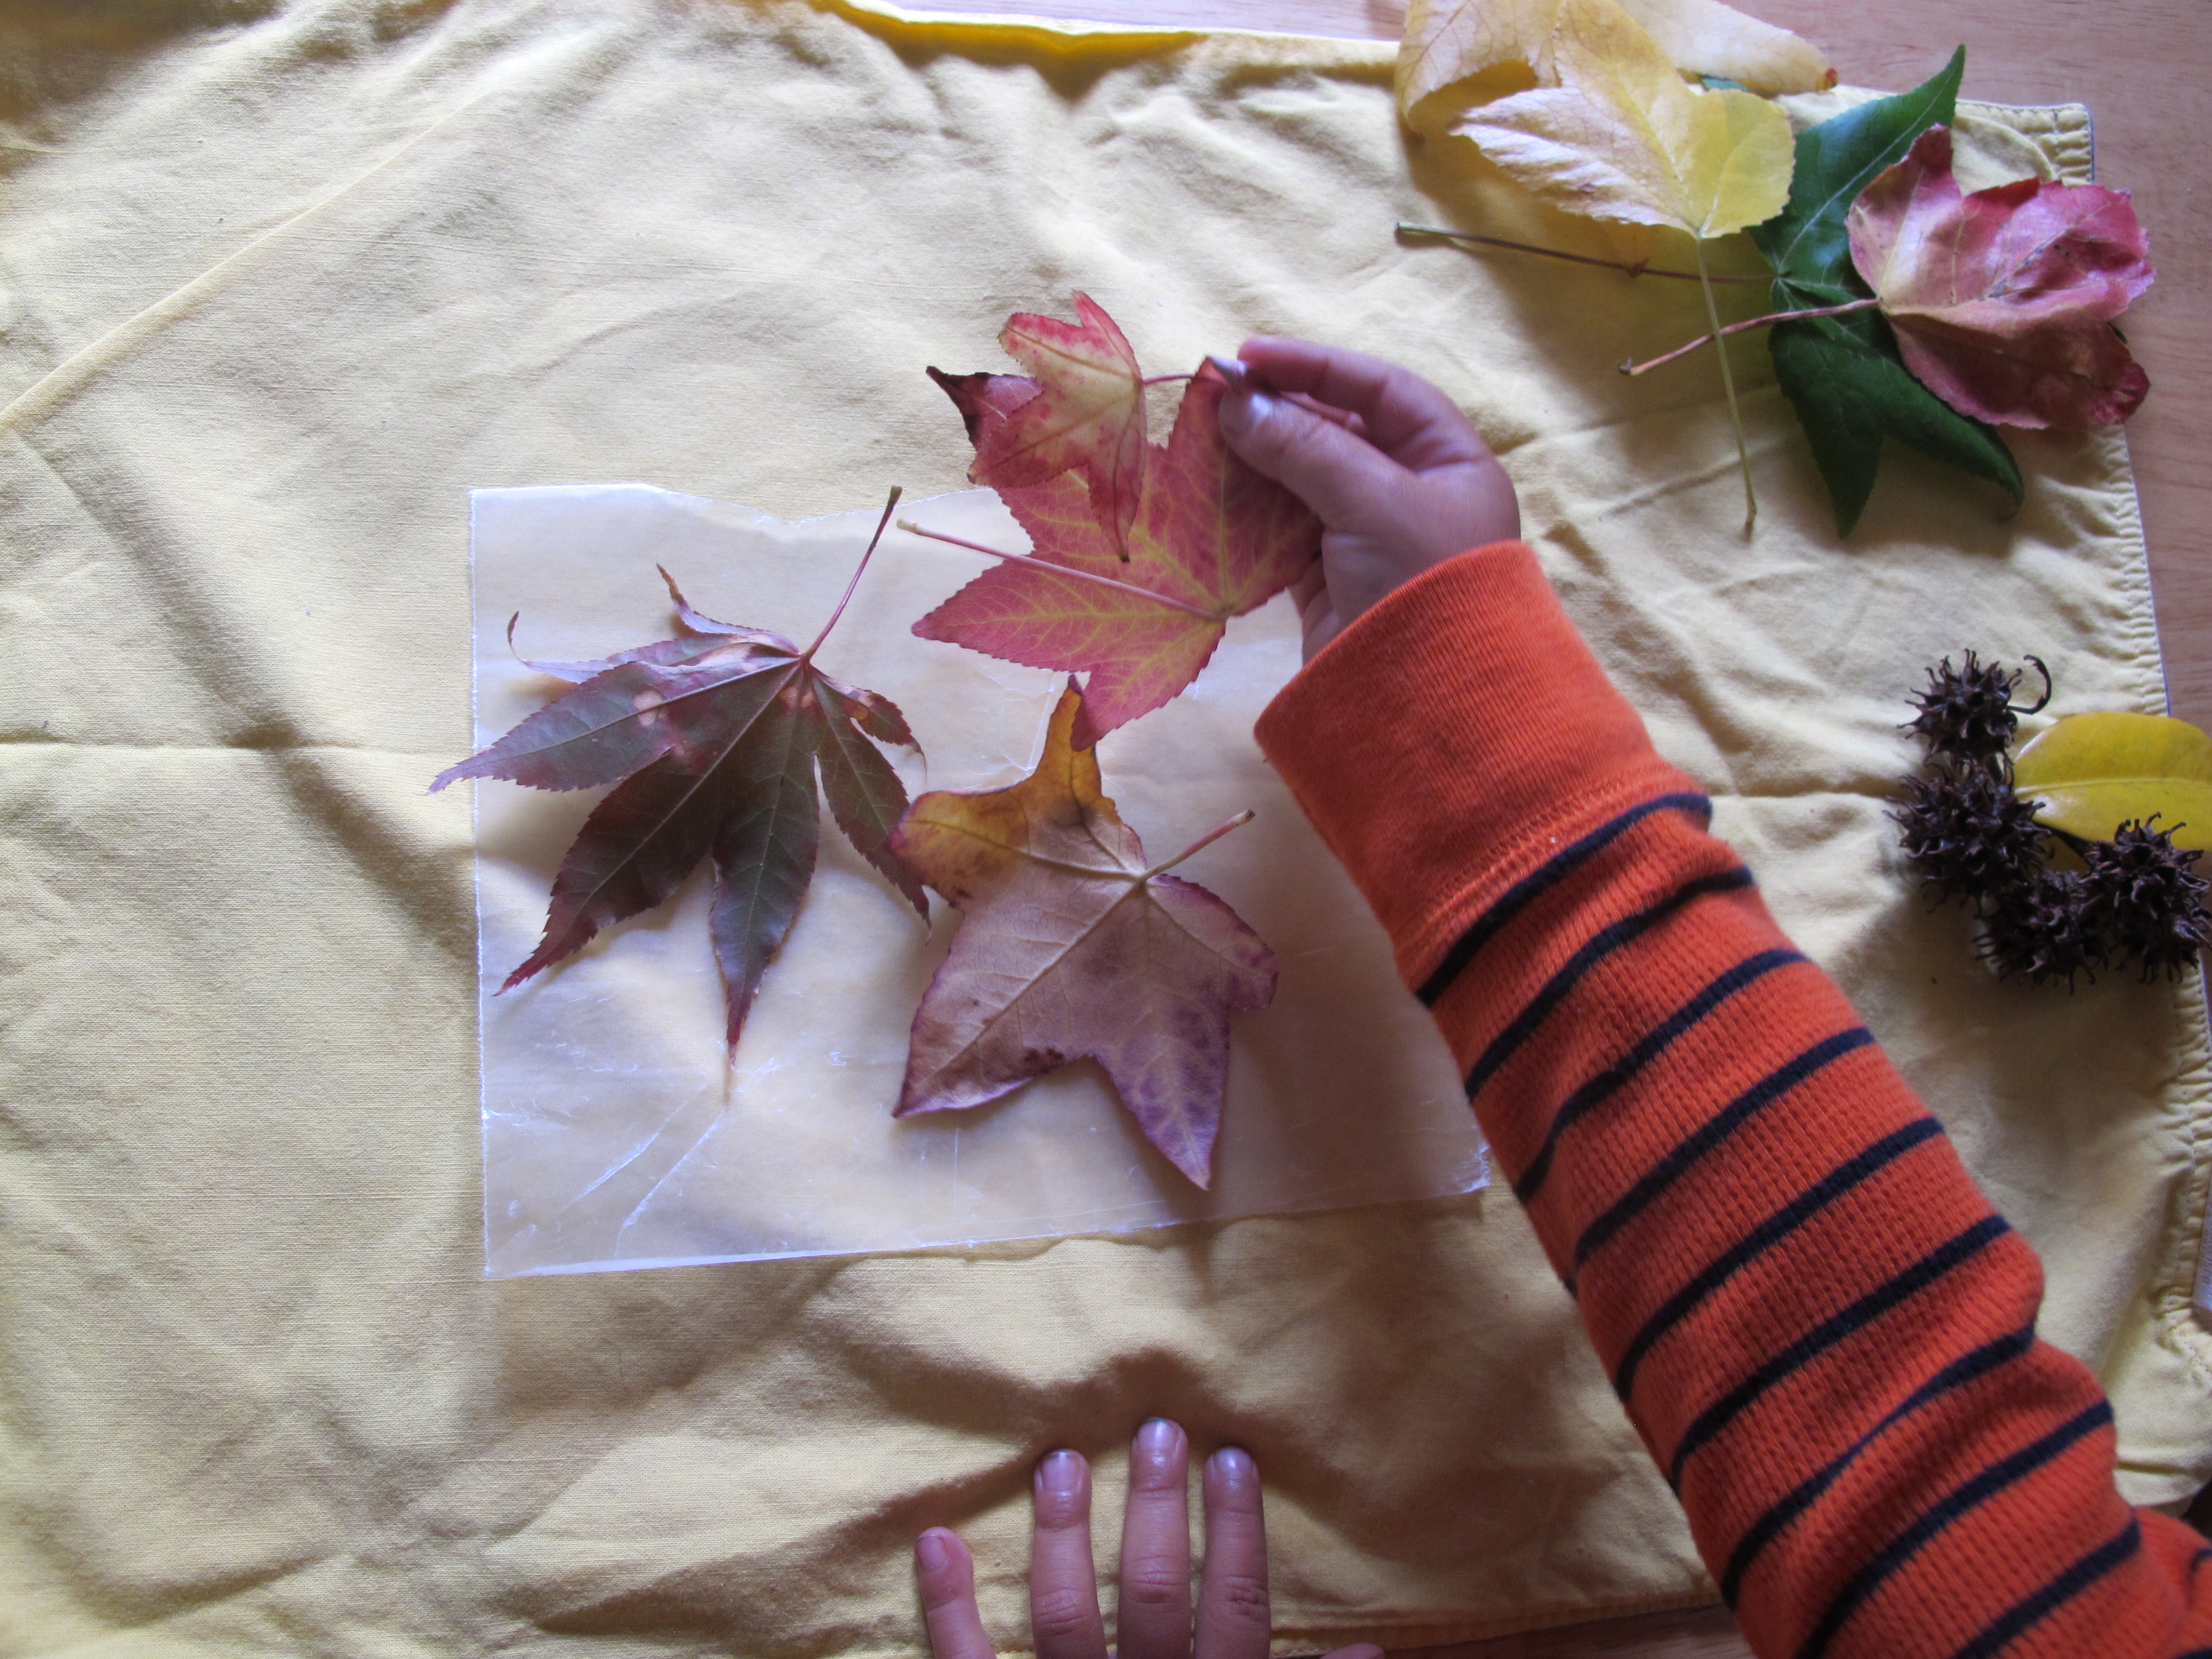
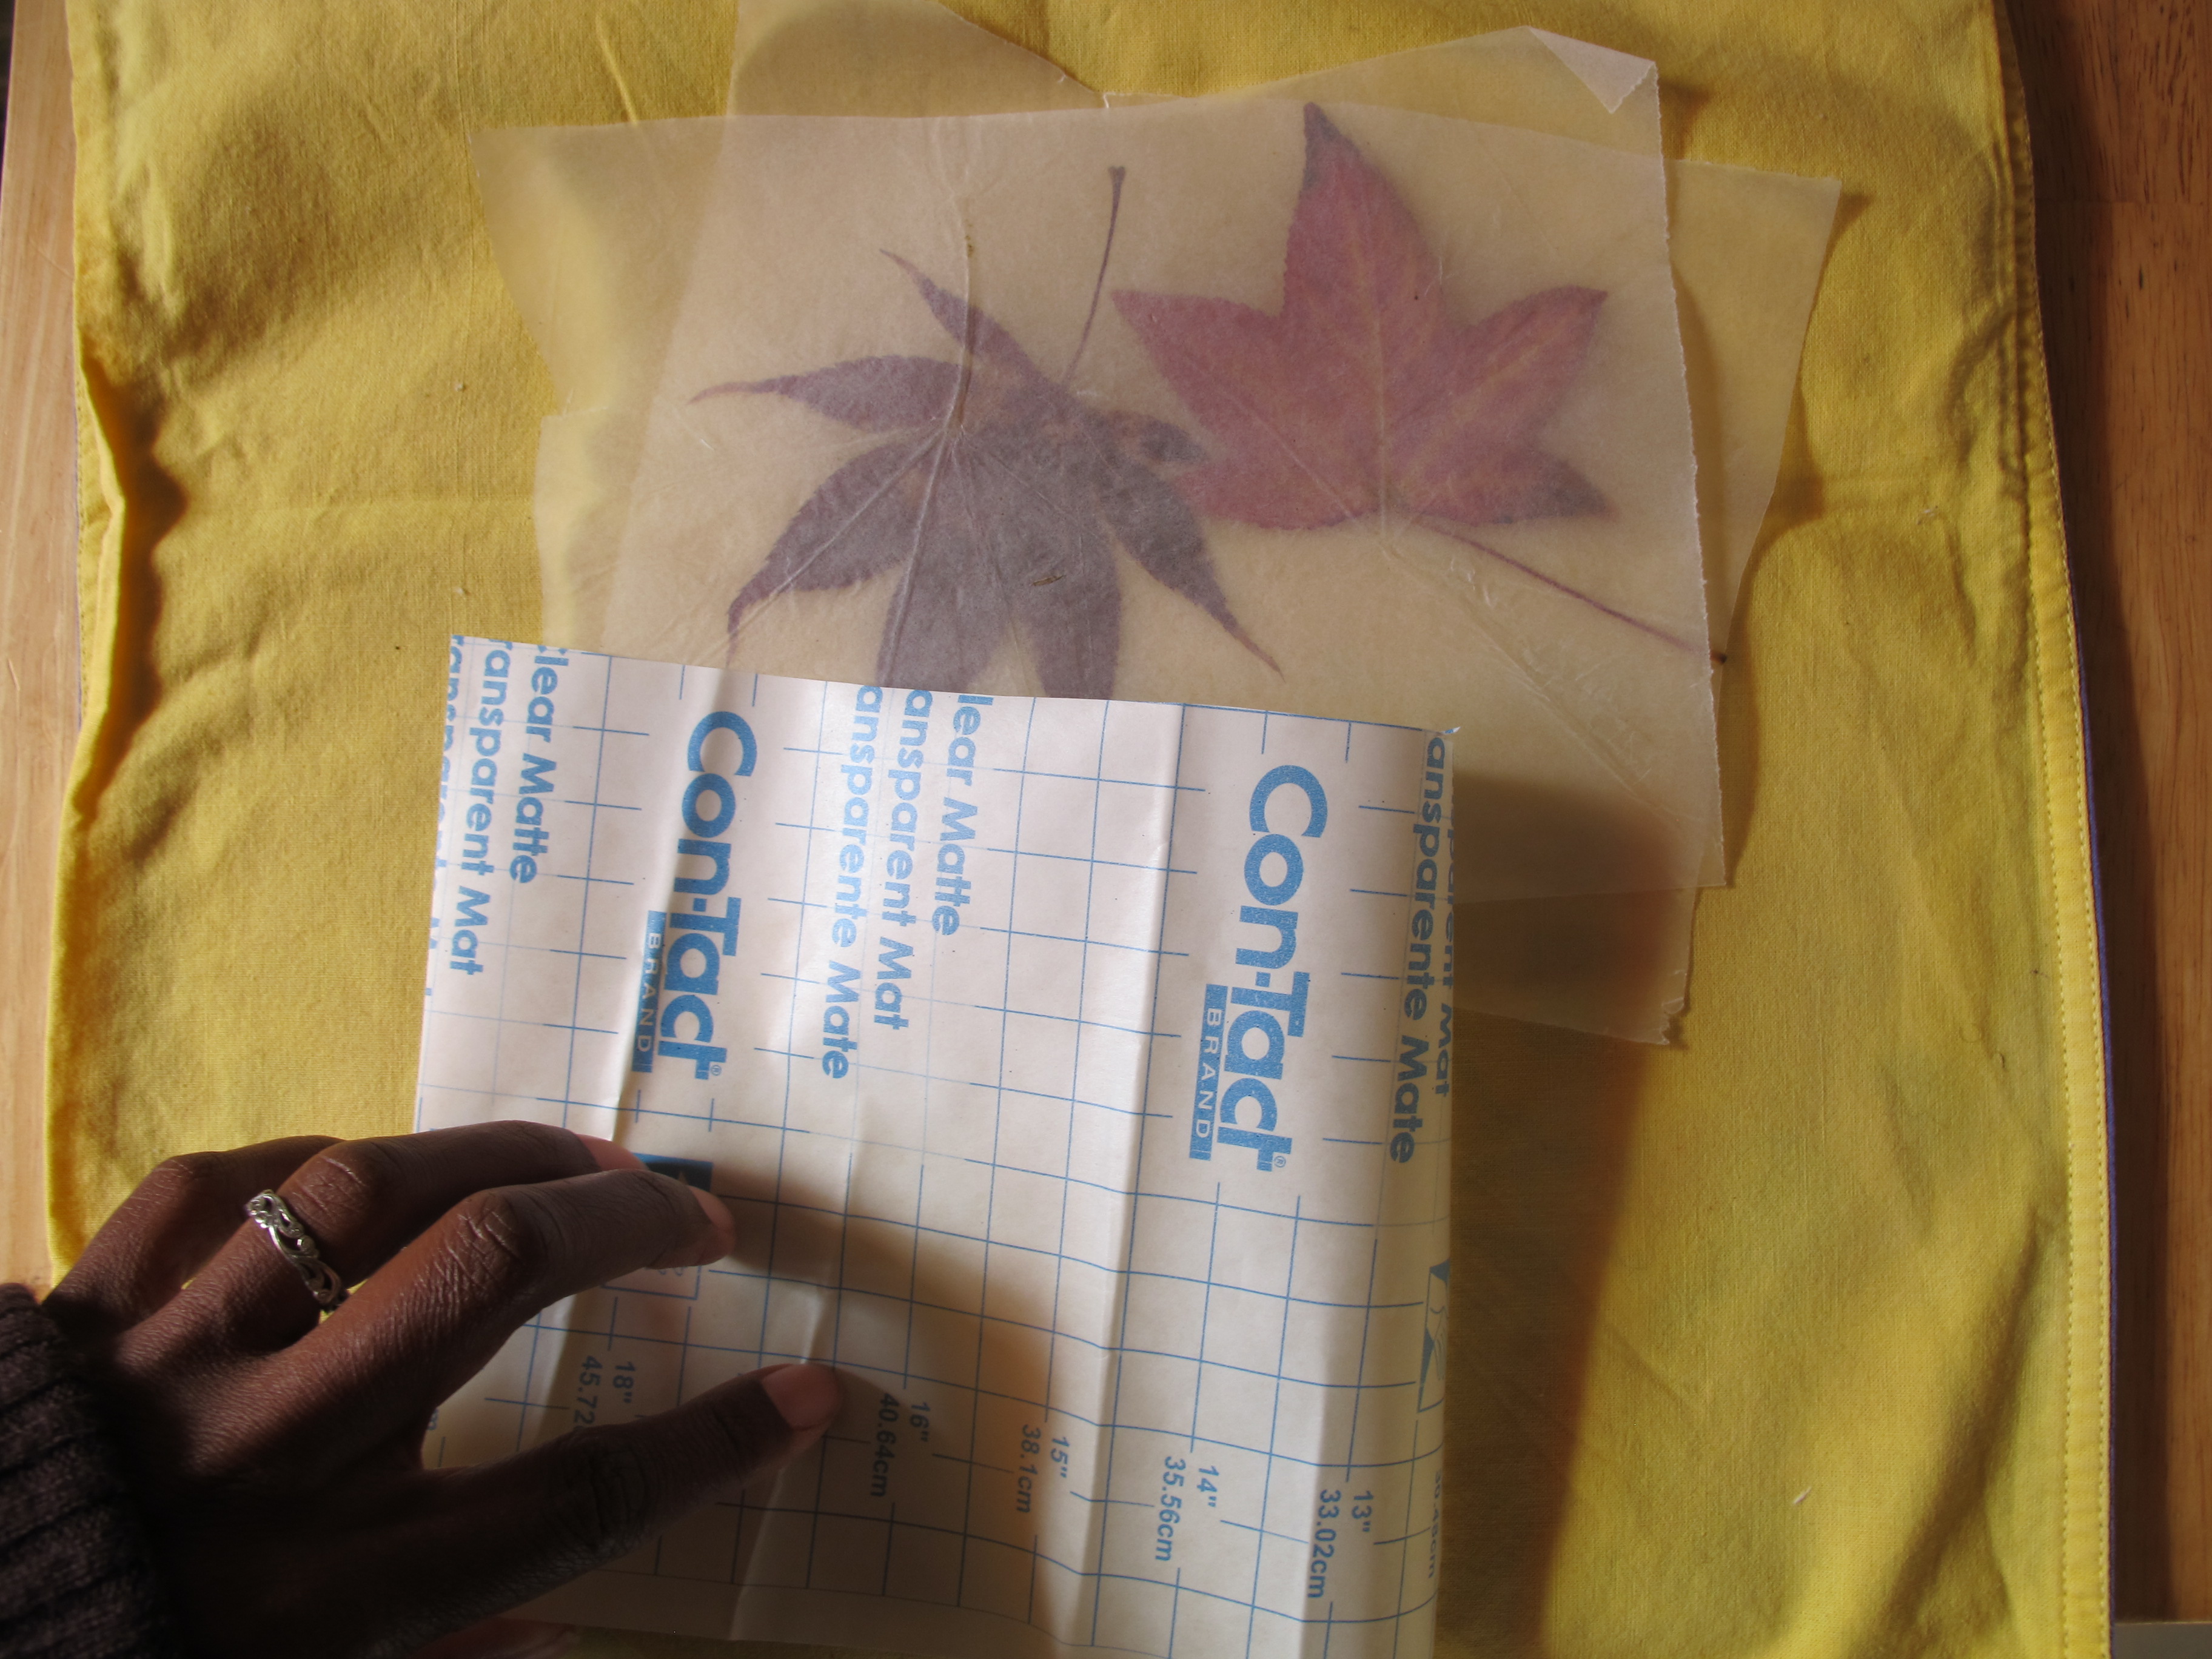
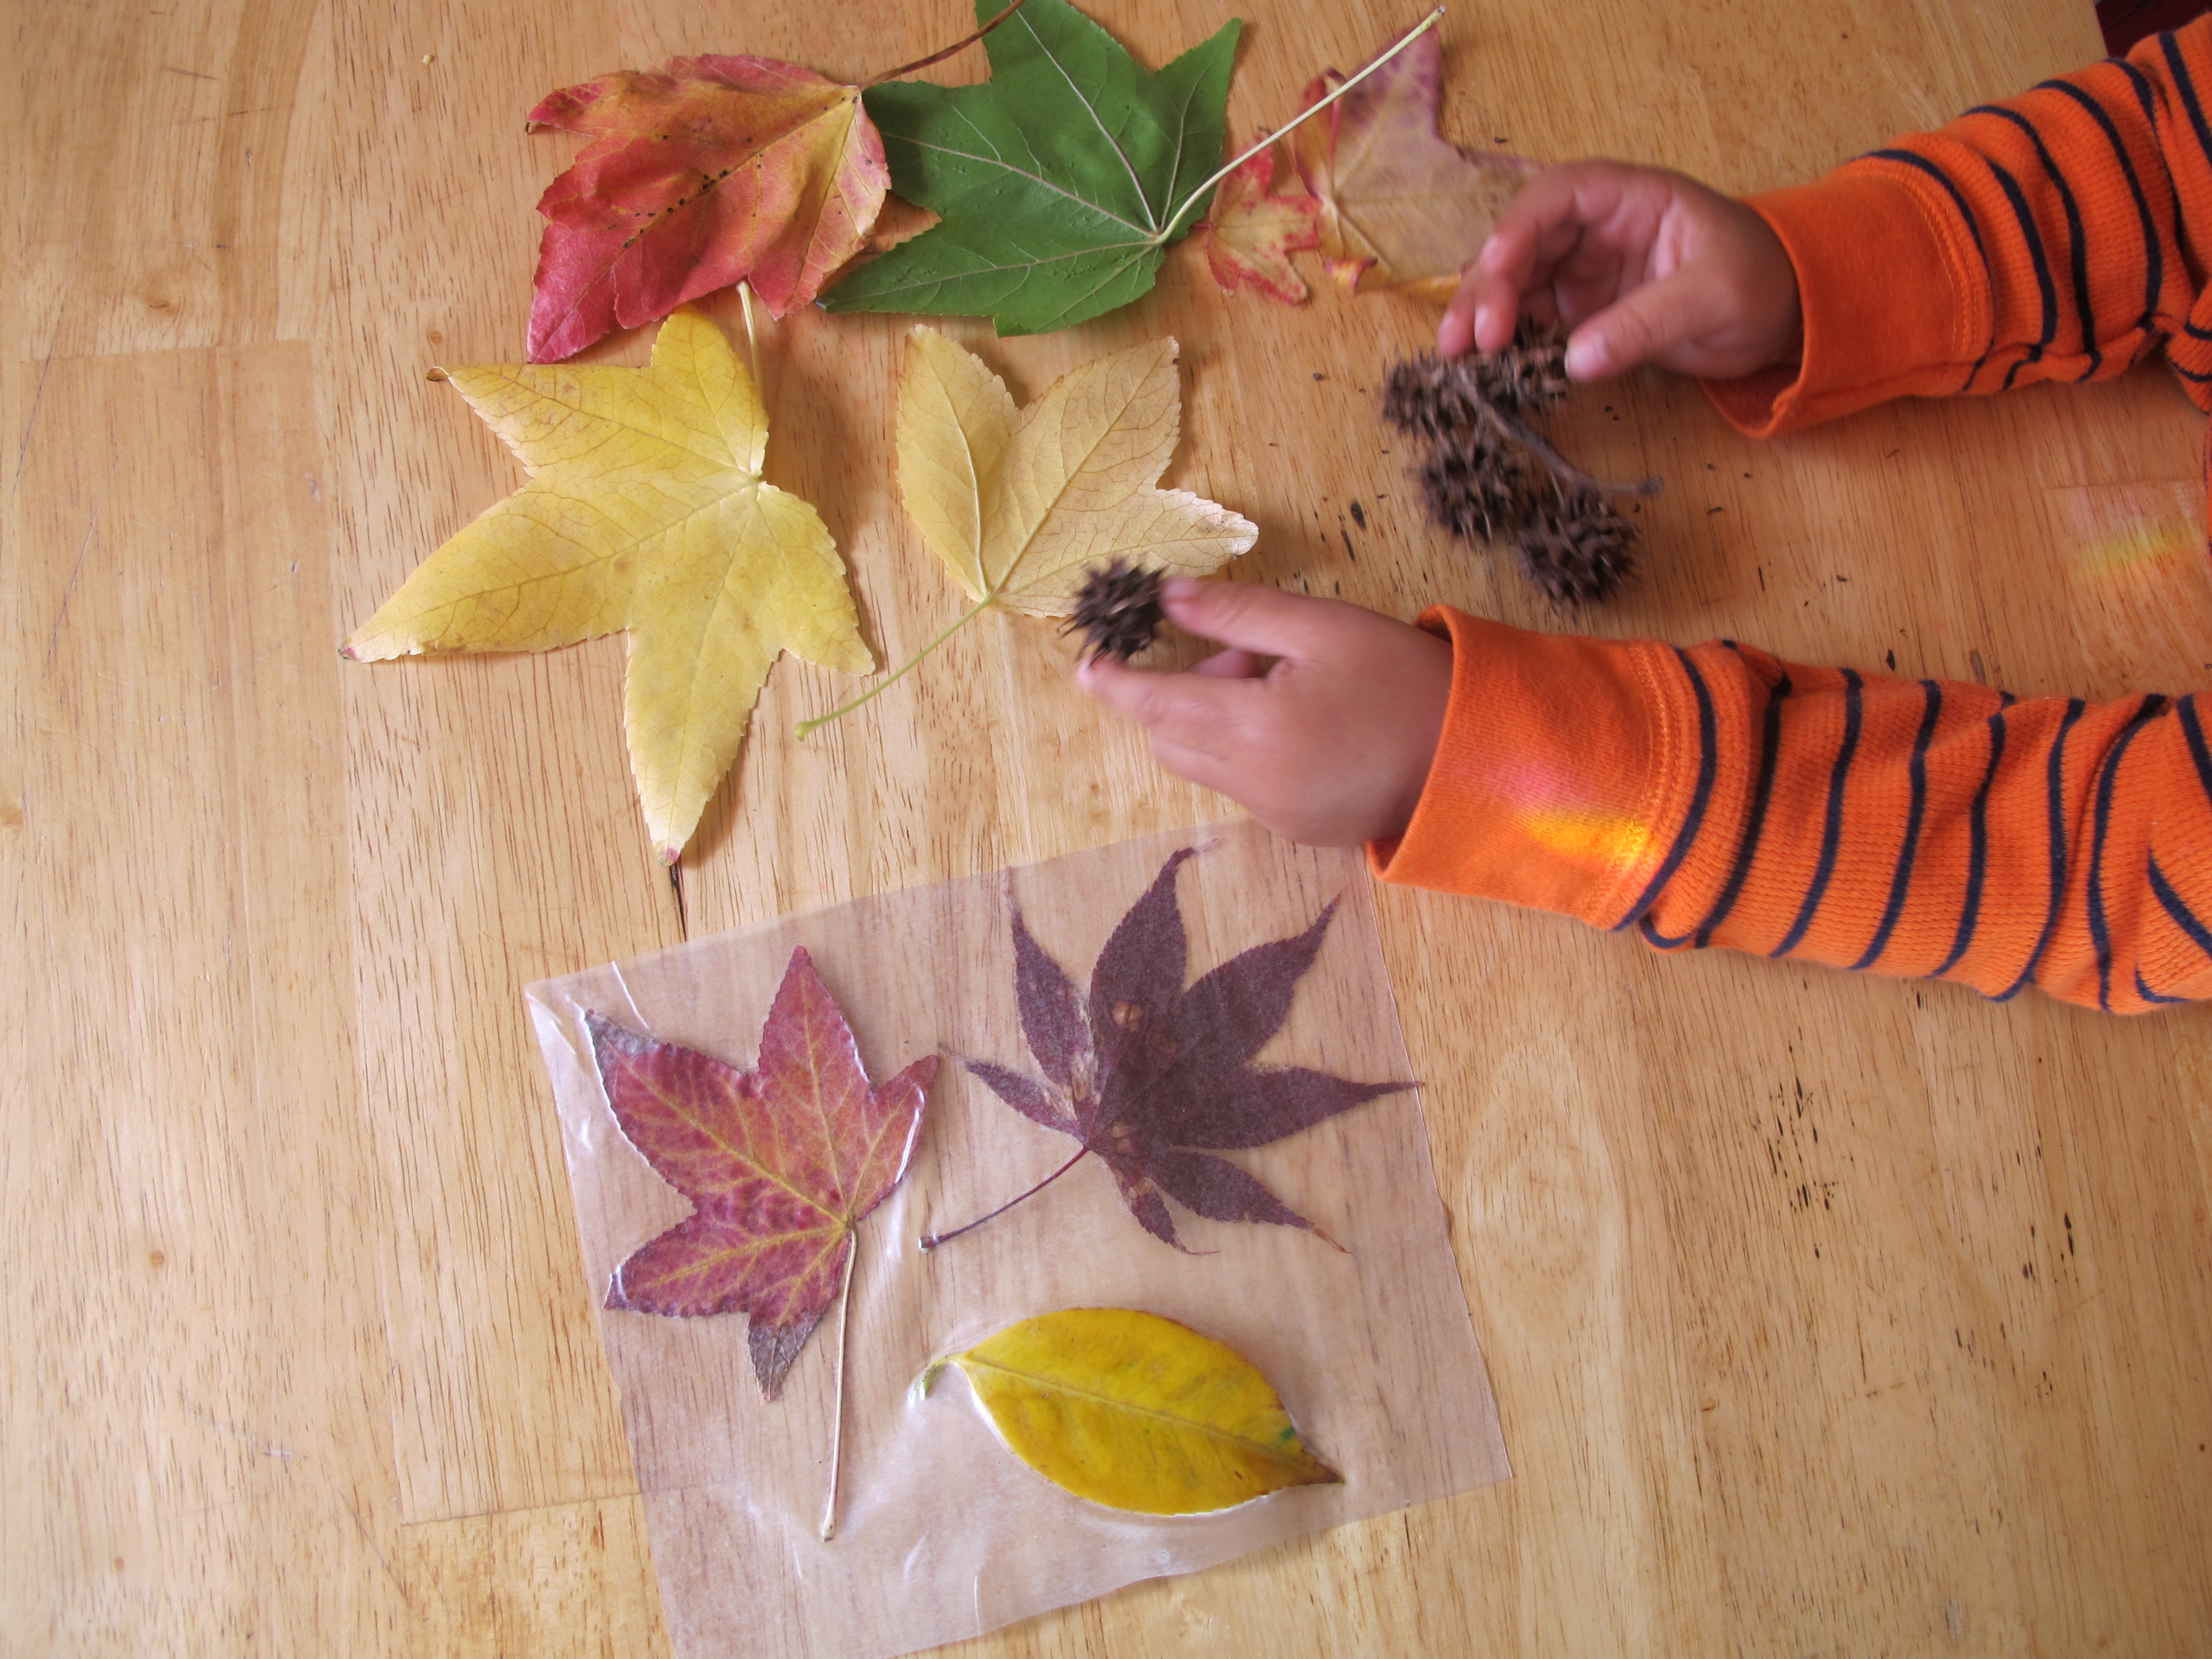
For either version (wax paper or contact paper) have your child place their leafy treasures on the paper. Contact paper is better for toddlers and younger kids as there is no ironing necessary.
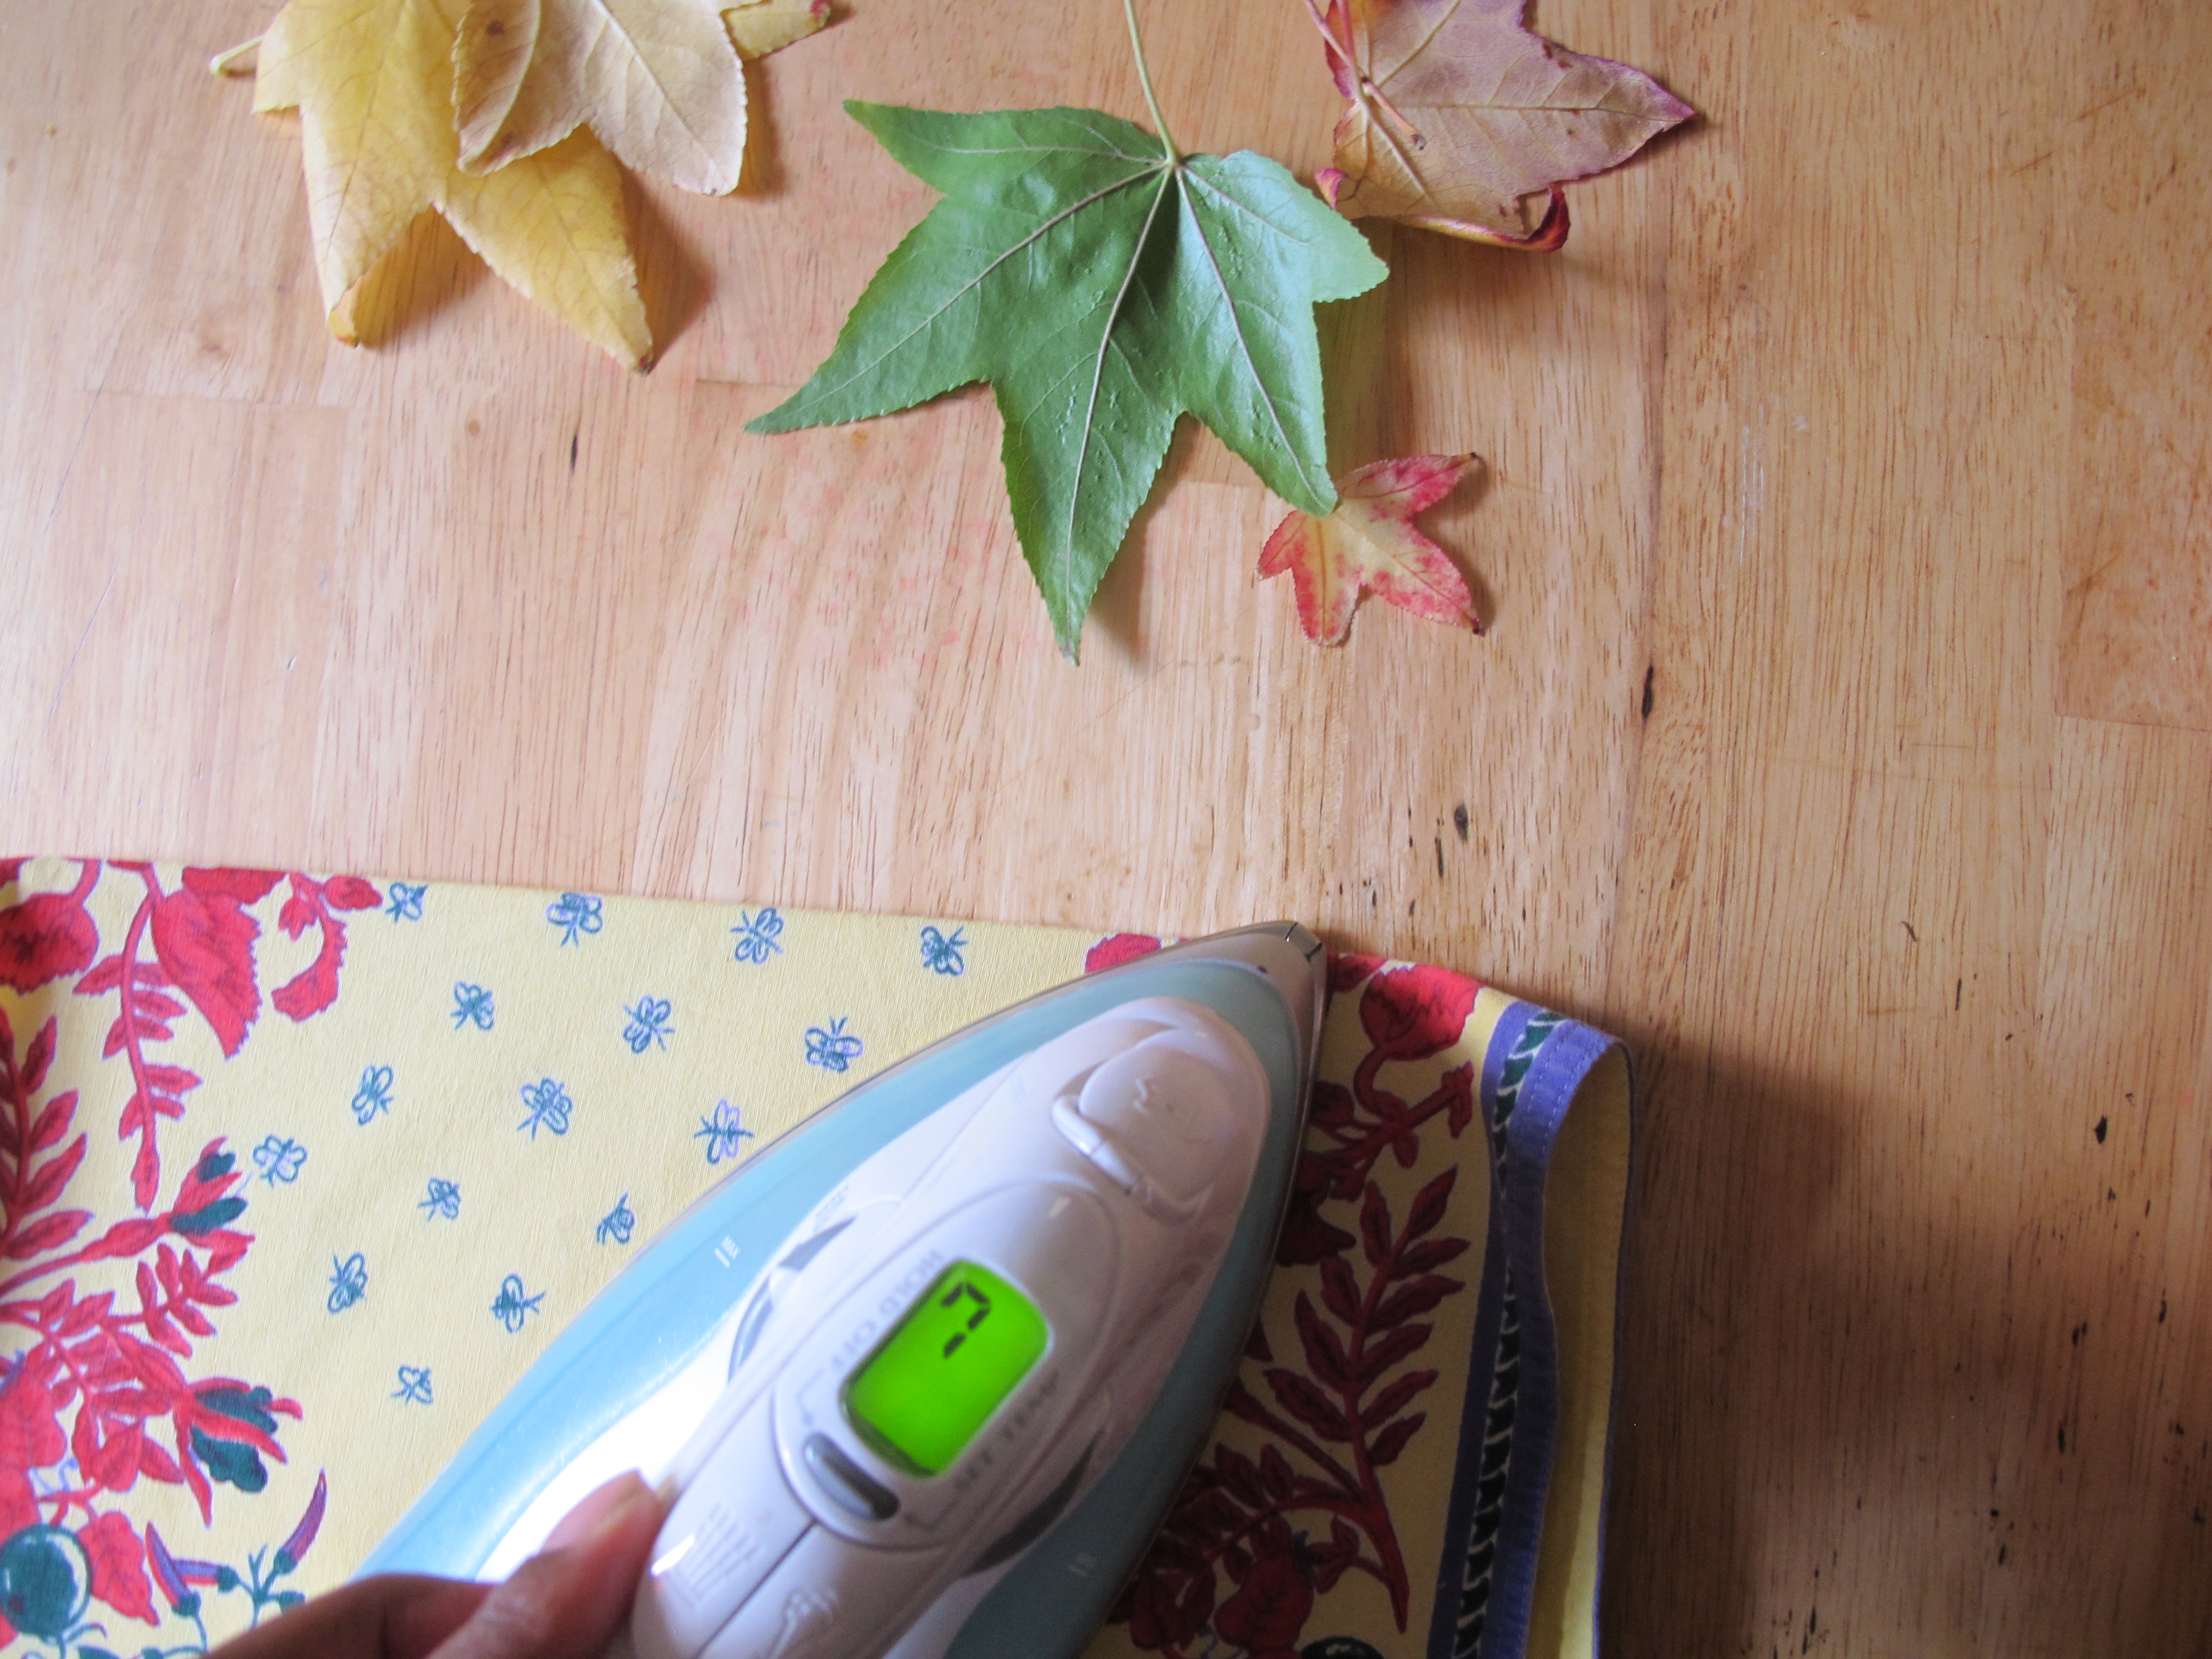
If using wax paper, sandwich your work in some sort of cloth– in this case I just used a placemat.
For whatever reason– I suspect I’m using some sort of organic redux wax paper– get the heavy duty stuff, our wax wouldn’t seal. I don’t think that we had enough wax. No worries though, as I keep contact paper in my craft crate.
Using contact paper, sandwich the leaves the same way as you would using wax paper but press the leaves and stems firmly in the position that you want them to be in before you apply the top layer.
I decided to briefly pass the iron (see placemat method) just to see what would happen. The heat was about to make the plastic go Shrinky Dink so I immediately removed it from the heated placemat and let it rest on the cold table top in order to cool off.
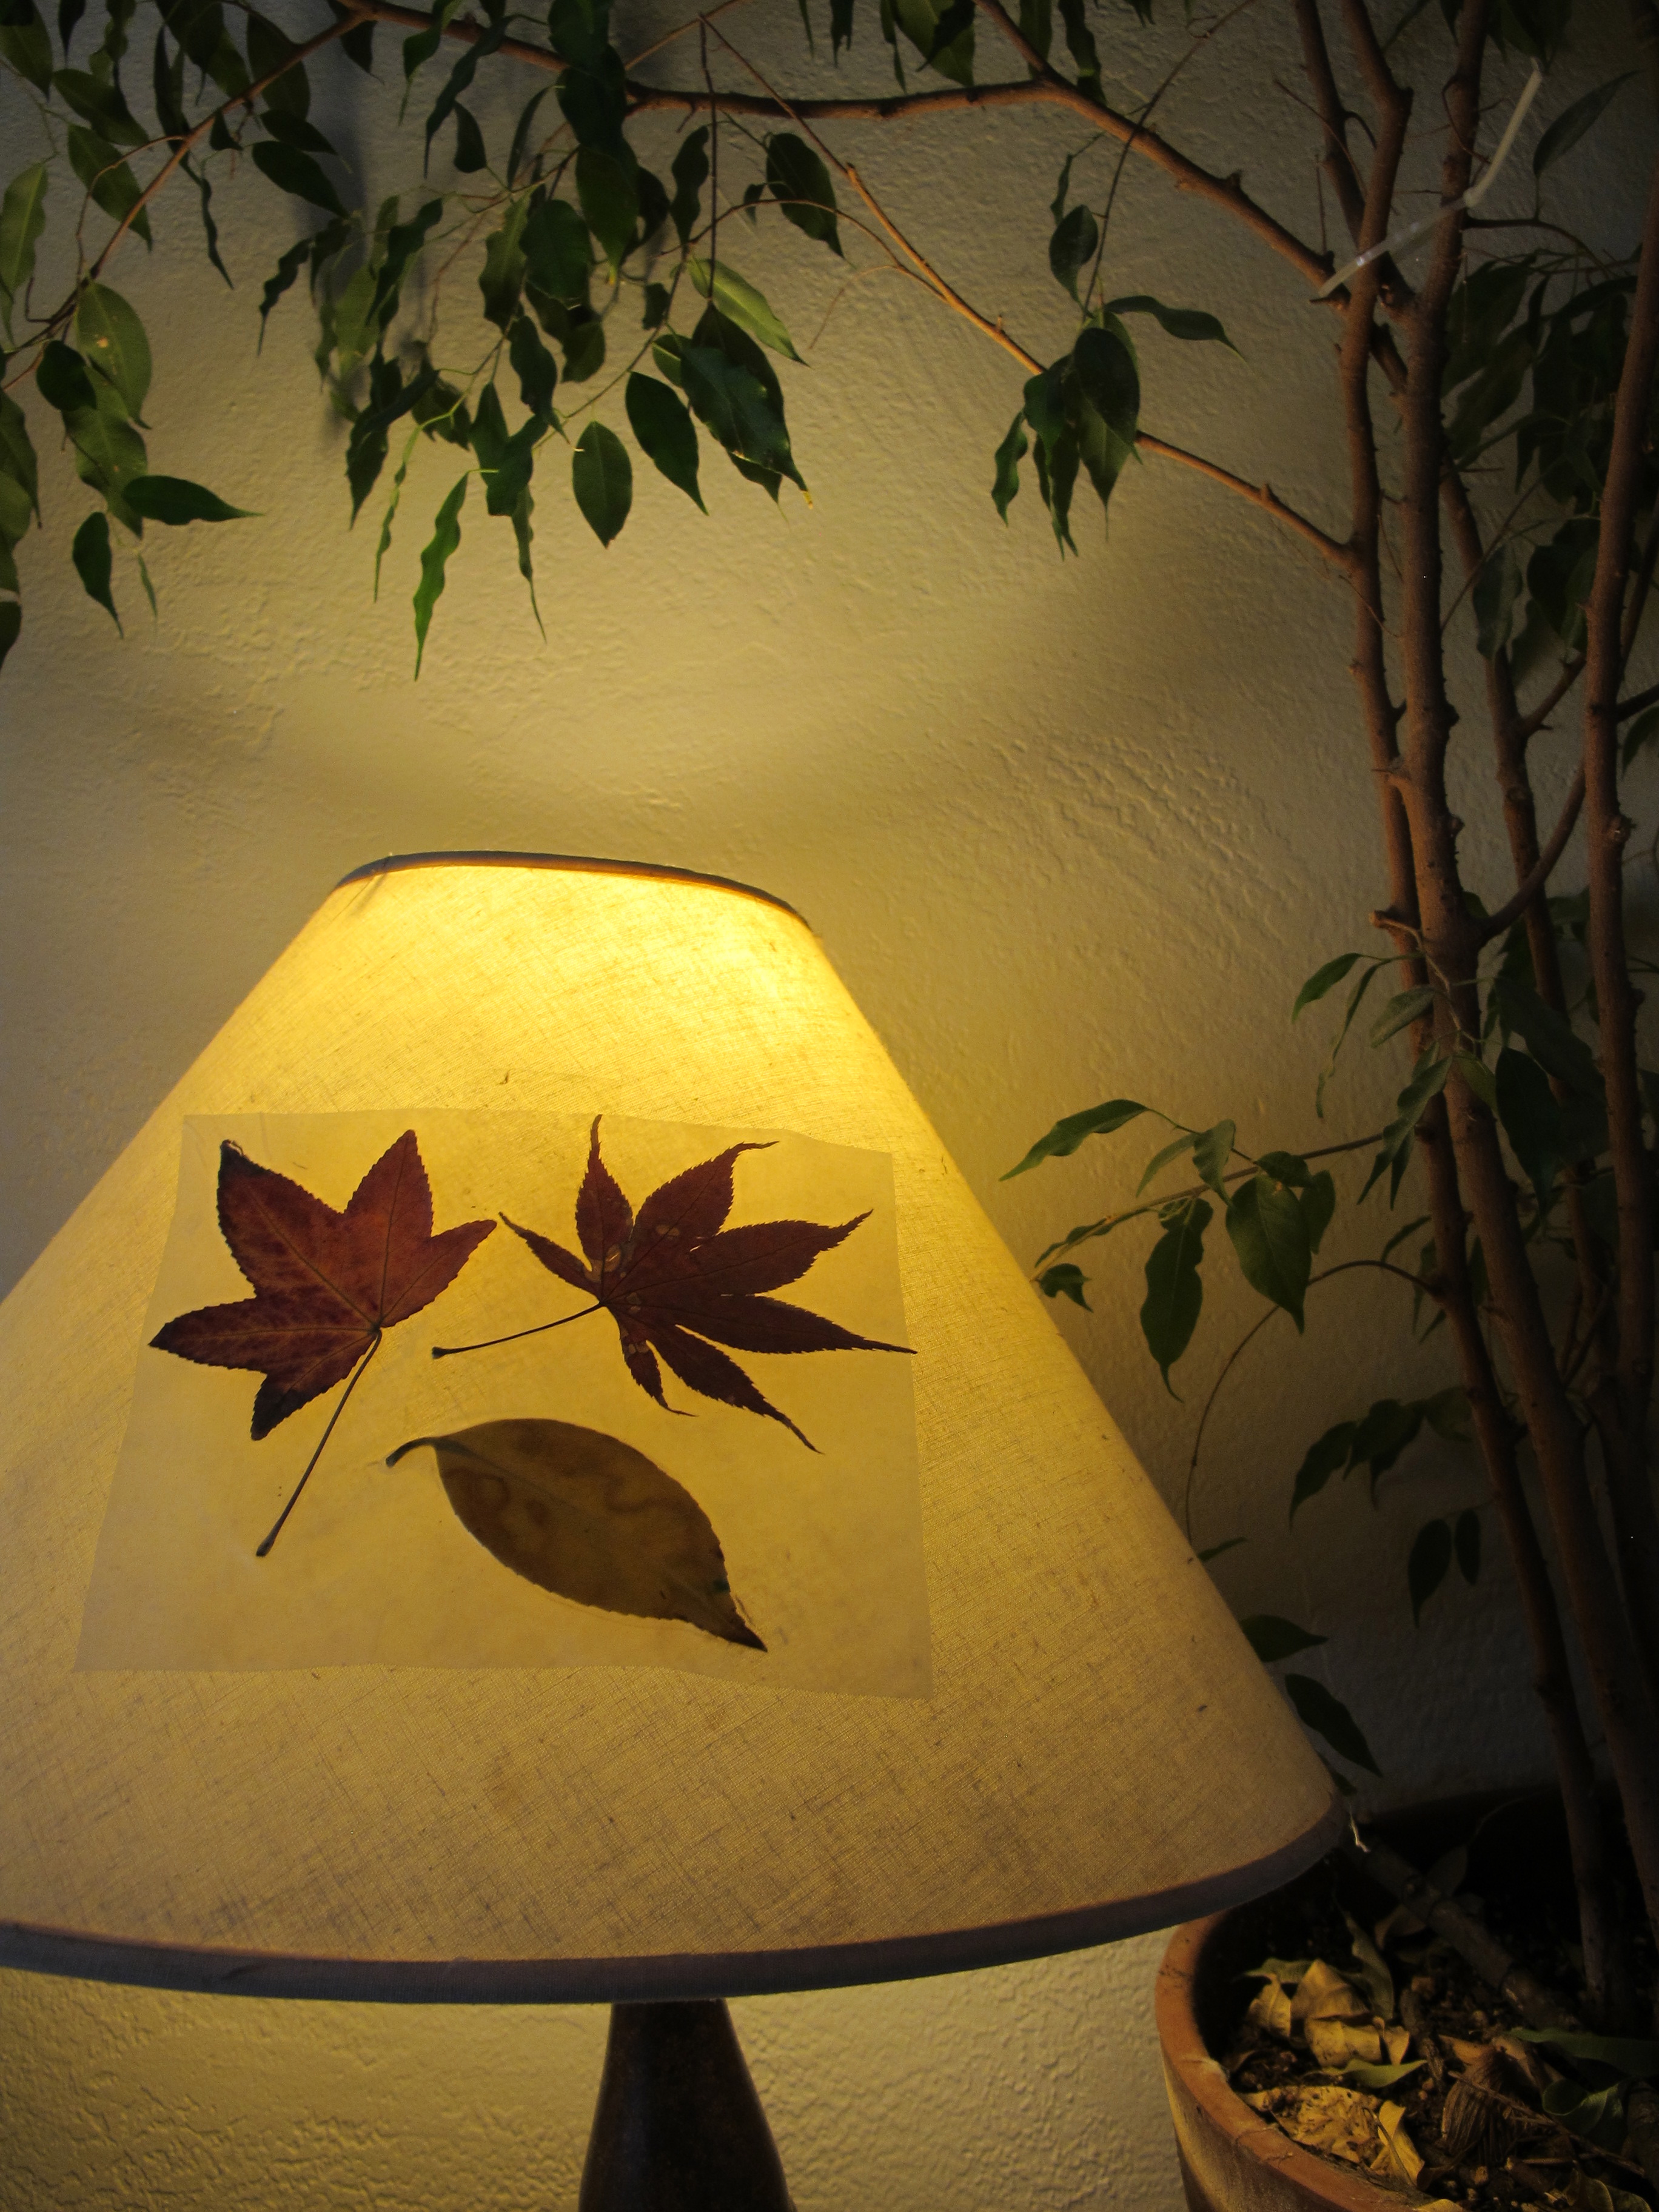
Some ideas could include decorating your lamp shade. I’m sure that when I make this with my first grader this afternoon he’ll likely cut each individual leaf shape so we can use them for ornaments as well as window decorations. If your kid is handy with the scissors, I say go for it. This was done with a 2 year old.
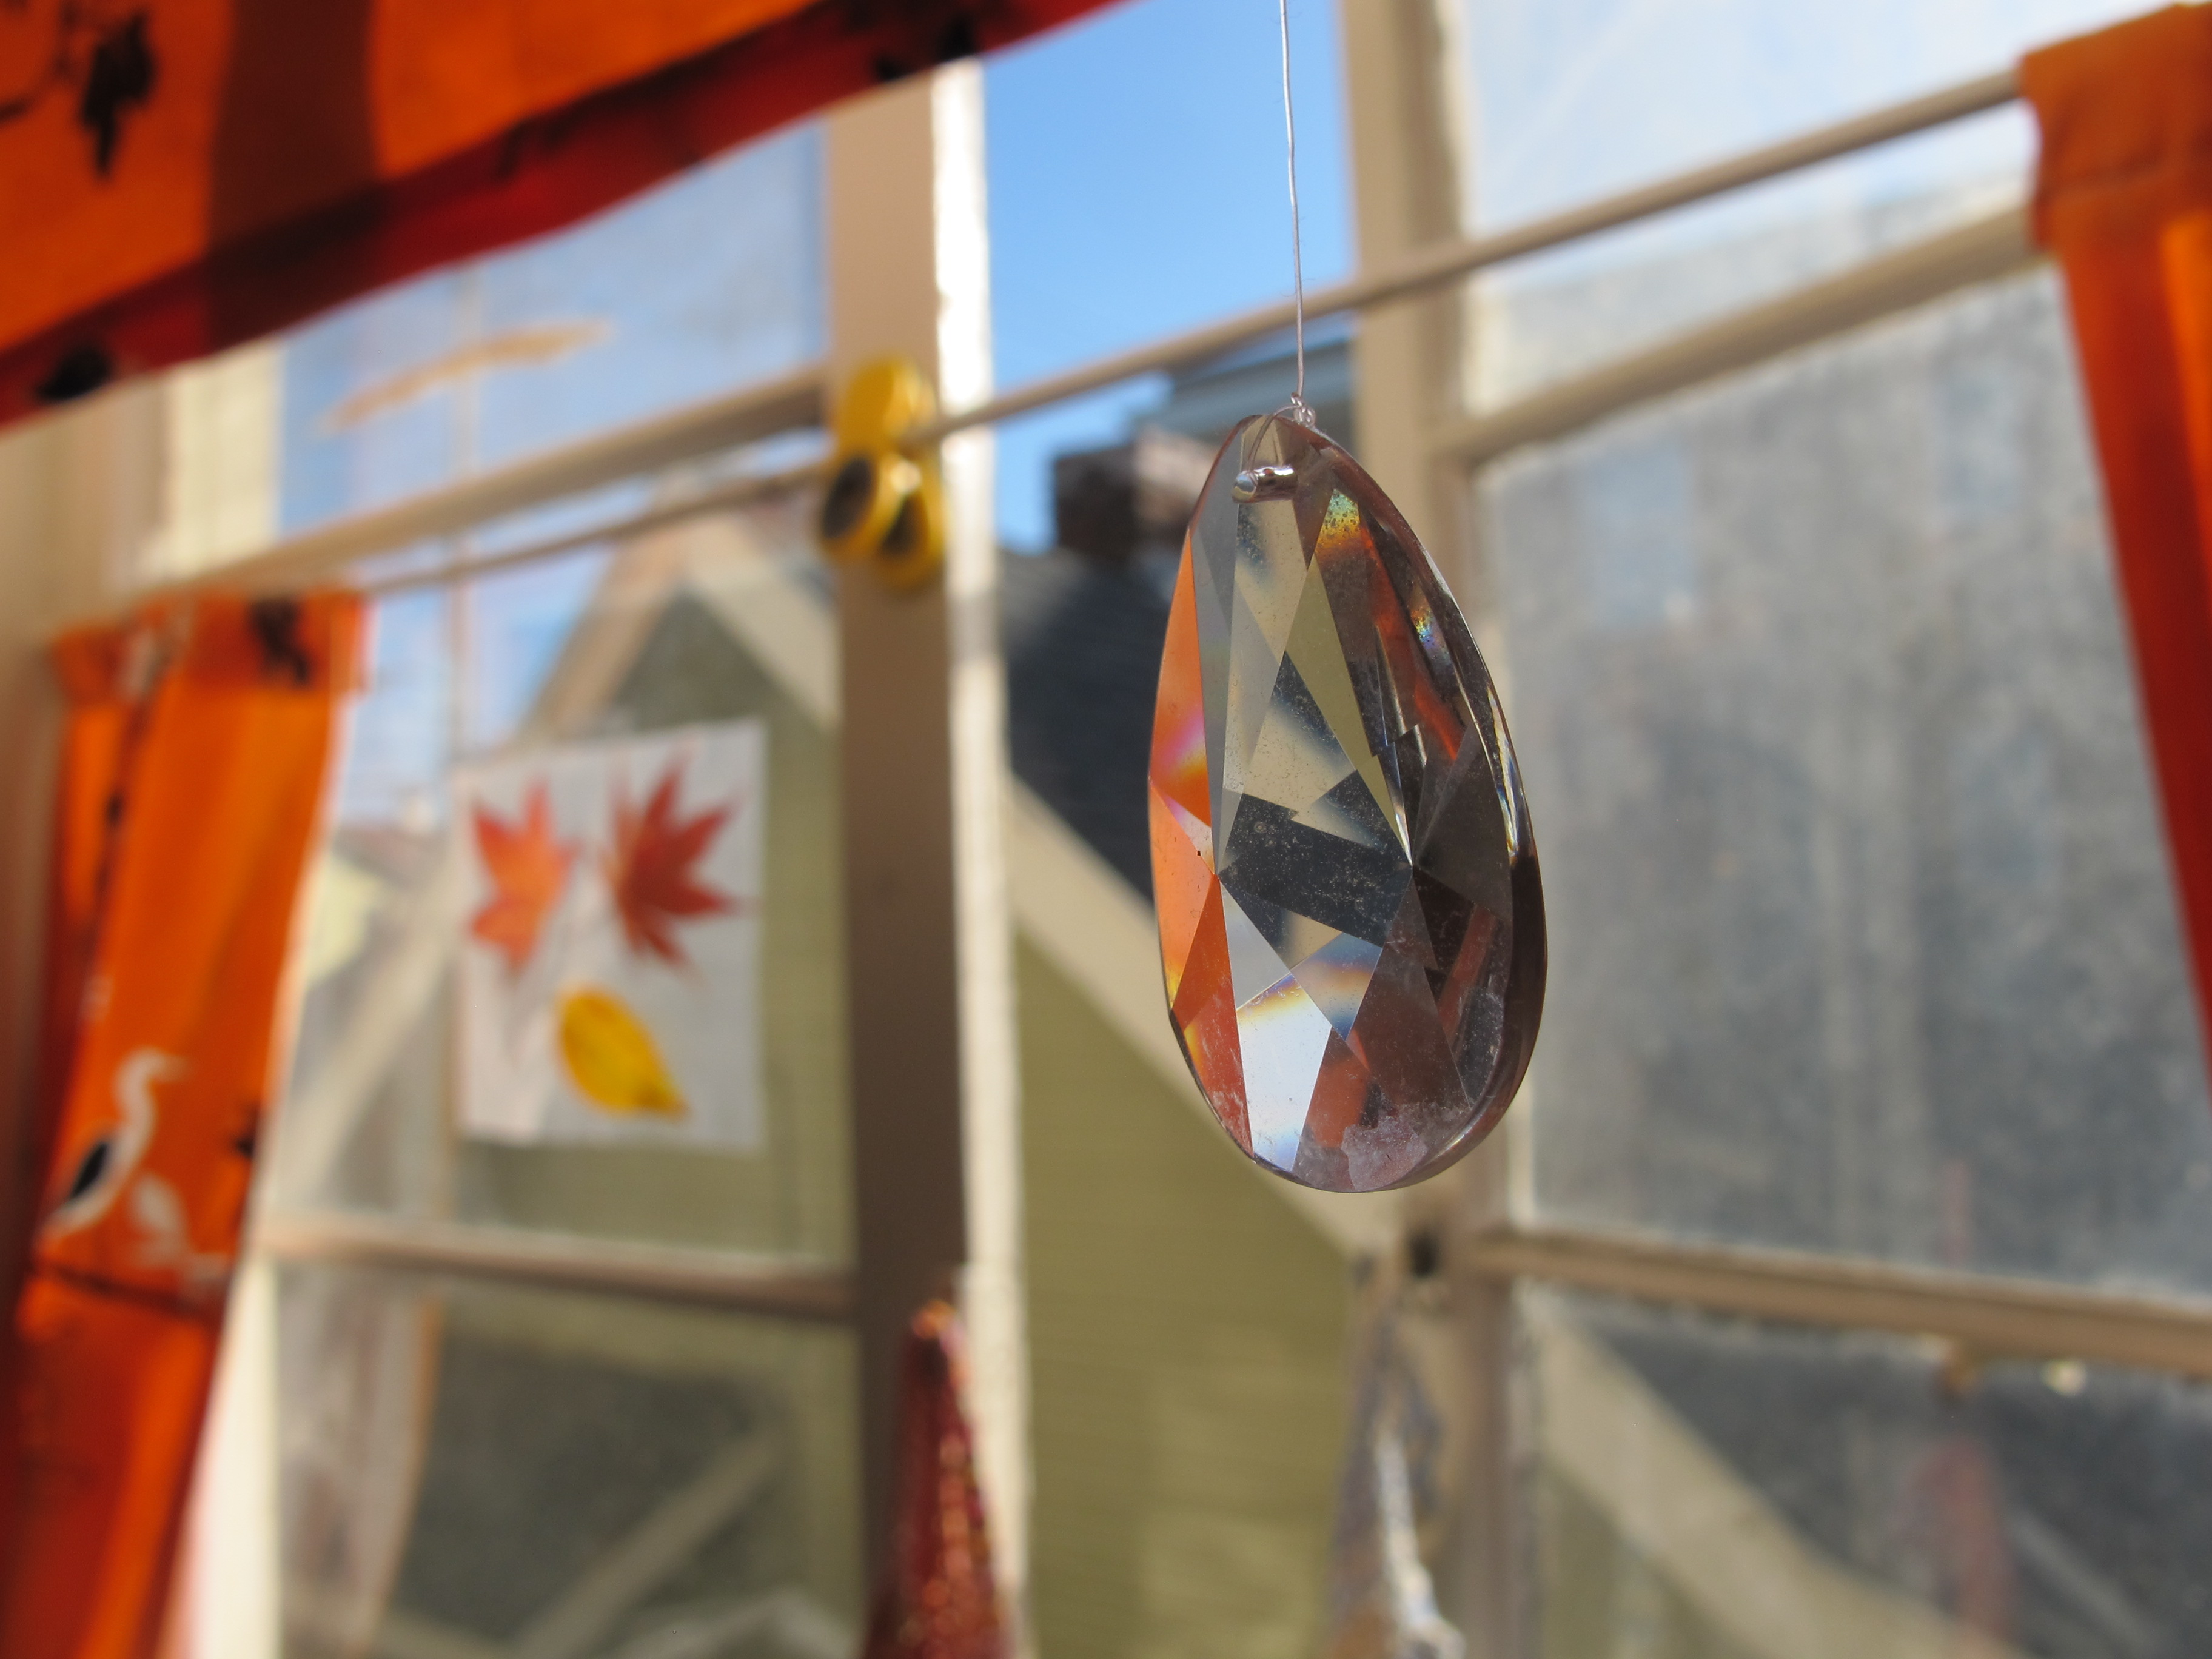
To further the magic that is our little urban kitchen, I have three prisms hanging from our sink window. Our kitchen is the warmest place in the house and the most magical. It’s where we make crafts, we bake tasty food, and rainbows dance at certain times of the day!

Tada!
