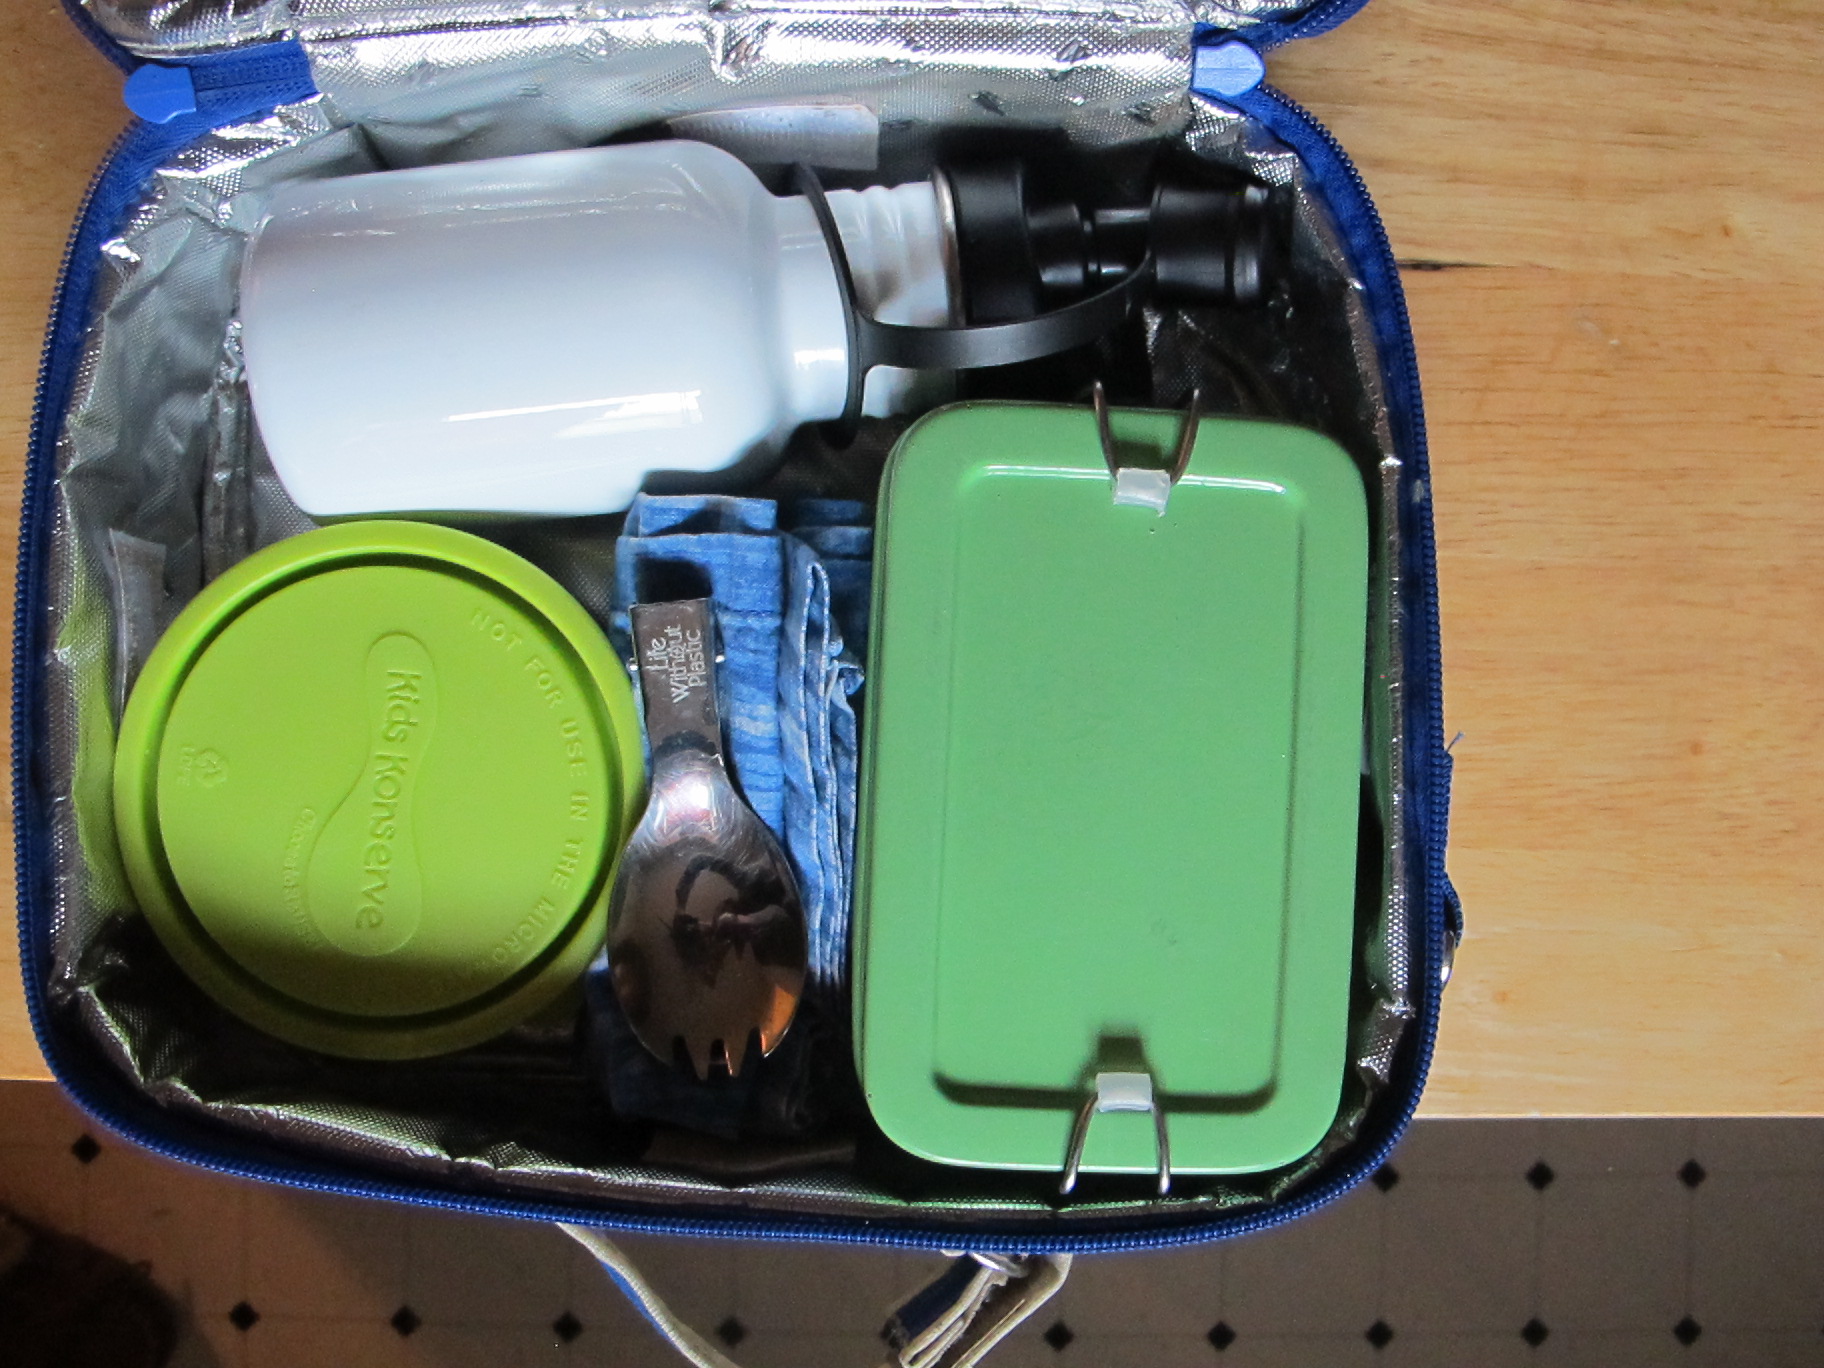
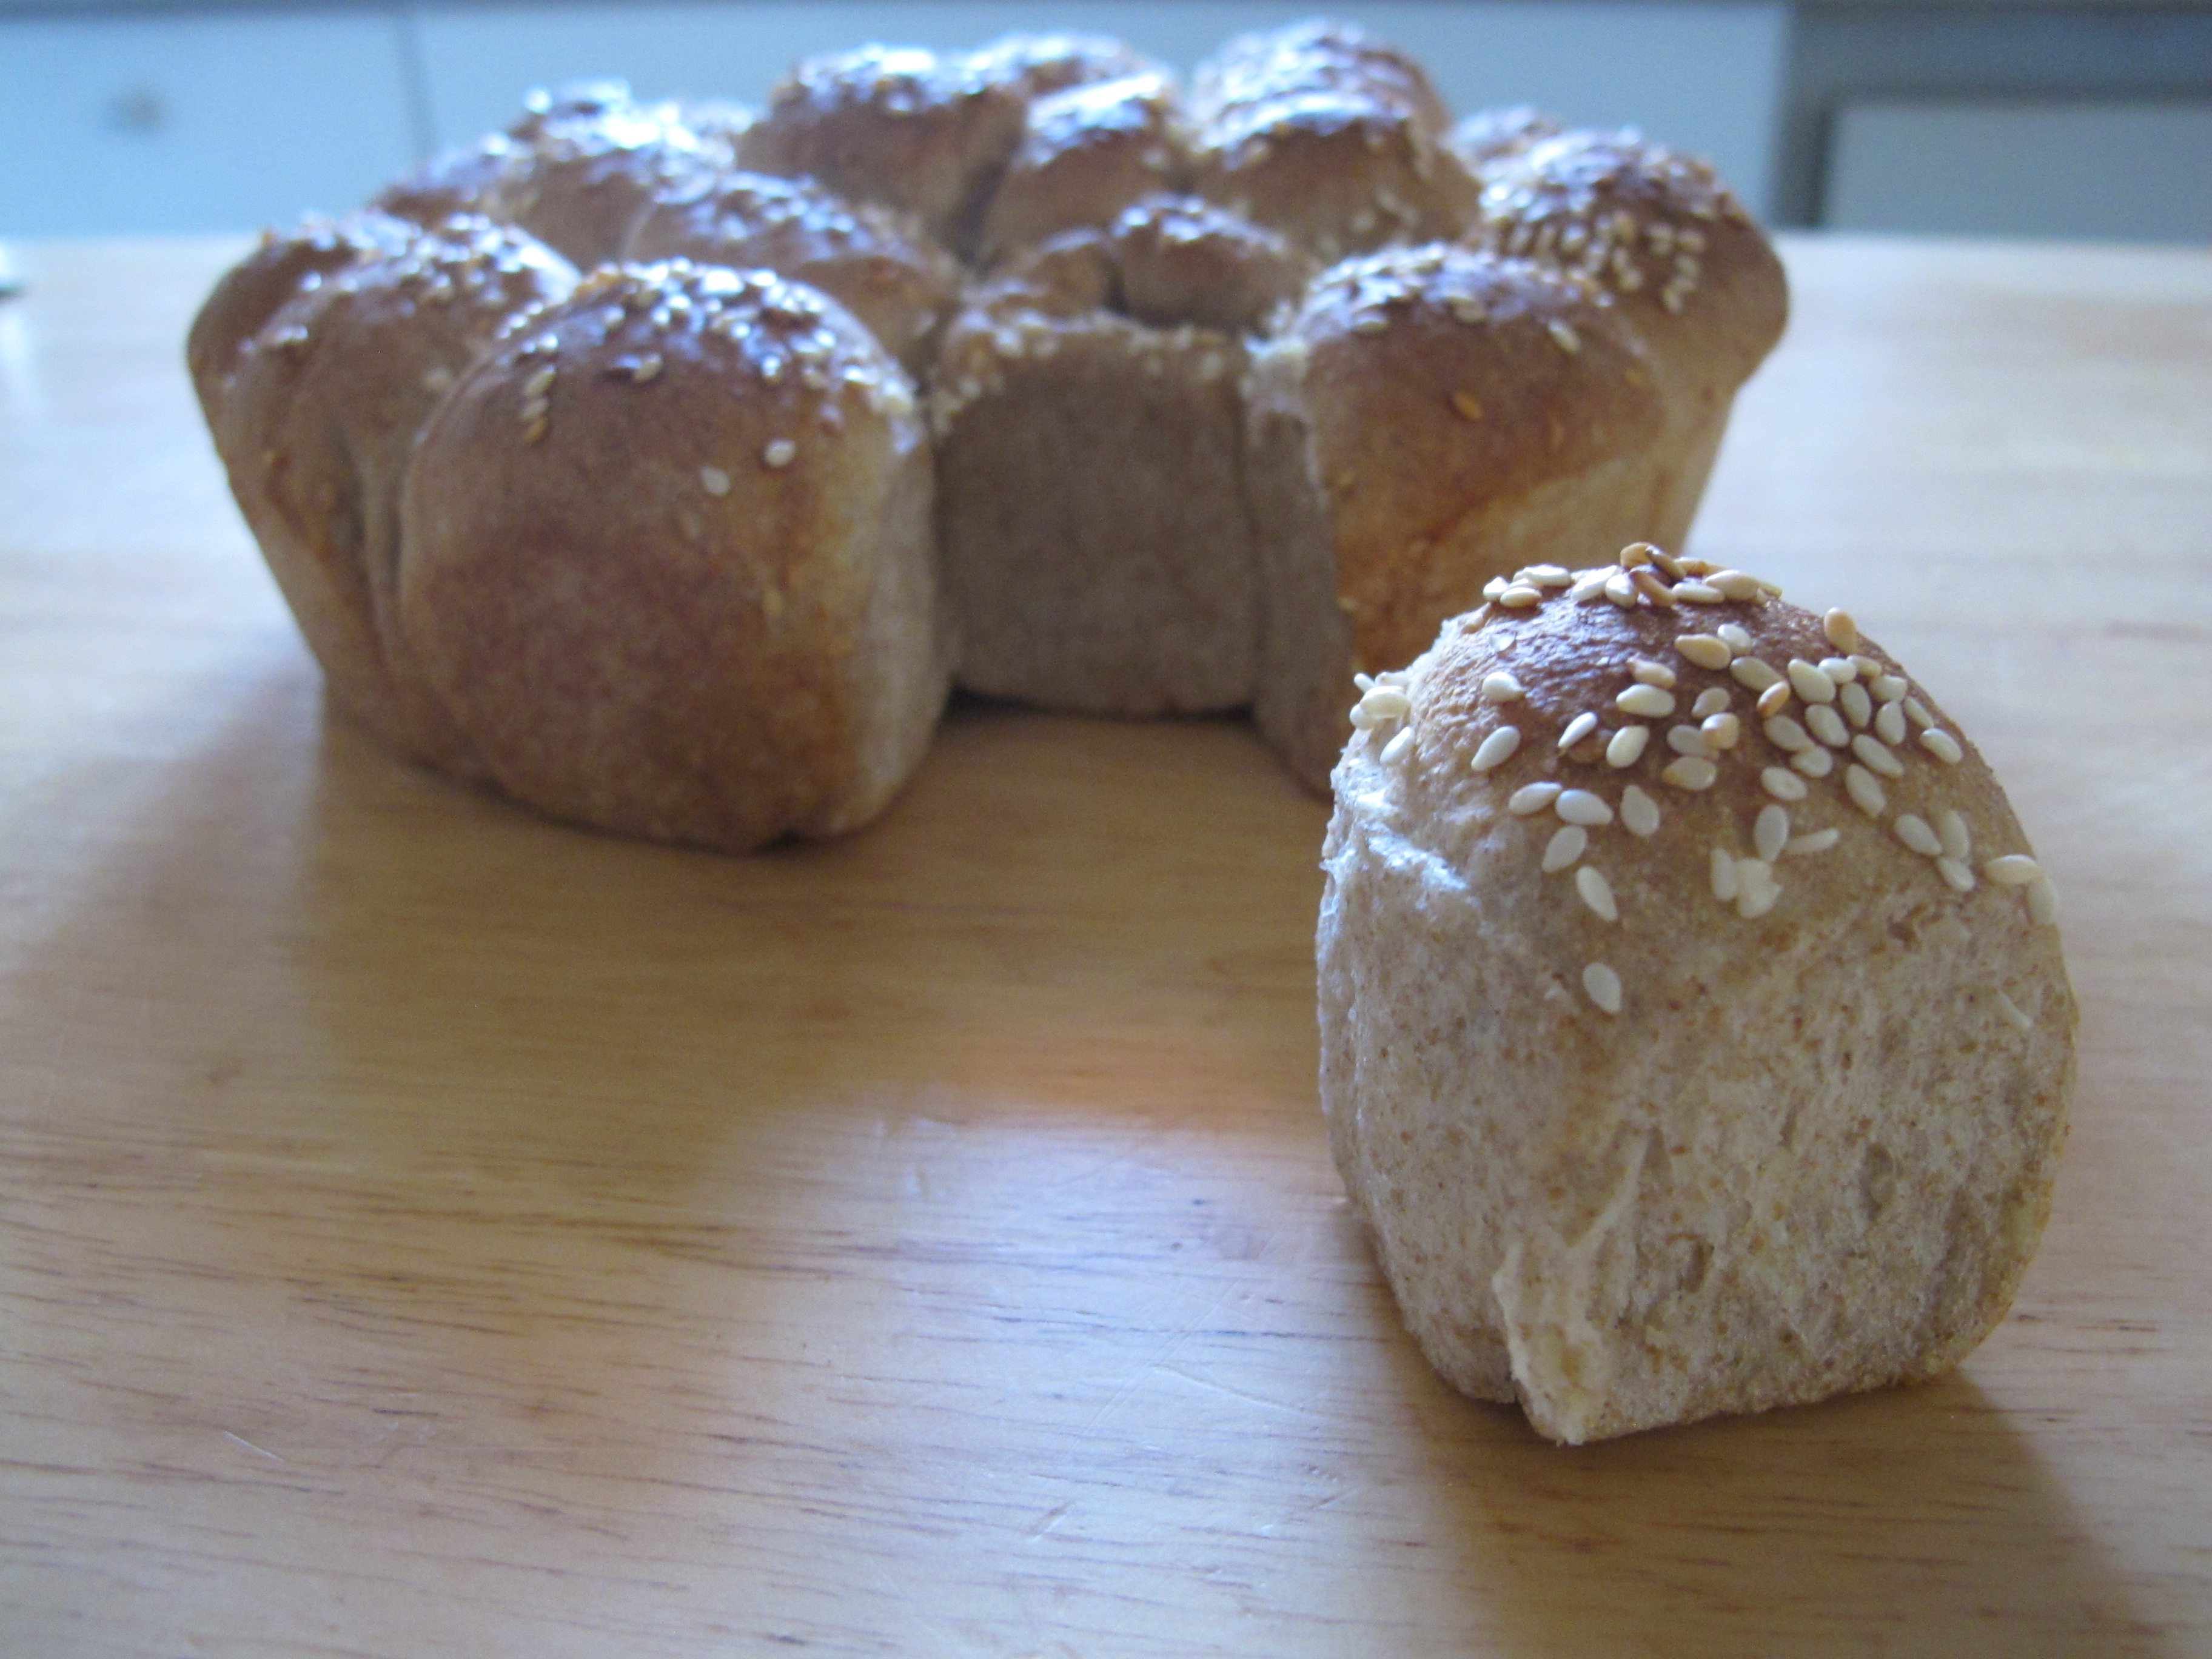
Ready for dinner or tomorrow’s lunchbox!
We’ve spent a lot of time experimenting and learning about yeast. Pele’s kindergarten class did a unit on bread last year and I volunteered to bake bread with the children and to teach them about yeast. The children were fascinated to learn that yeast, “poop” carbon dioxide. They were also fascinated to learn that yeast is a fungus (we loosely covered the different kingdoms) and closer to mushrooms than they are to plants!
Using 5 test tubes, we also did an experiment to see what yeast preferred to eat (salt, sugar, baking soda, soil, molasses). We also established that certain things (like molasses) actually were sugars which explained why the yeast responded to those. I was happy to learn that we weren’t the only family to use nutritional yeast (great in popcorn), brewers yeast (ginger ale, beer) in addition to baking yeasts.
For this recipe, one of the first steps to preparing the dough is to, “proof” your yeast. Think of proofing as literally finding proof that your yeast is still living or “active” and prepared to work. It’s a great way of explaining it to children. They “get” that some living things hibernate or remain dormant for periods. The warm water gently awakens the yeast (as the warmer spring weather does the bears) and gives them a safe environment to thrive. A teaspoon of sugar gives those hungry yeast something to feast on. Let your child smell the yeast and watch as it multiplies.
I allow the children to add ingredients and to help me knead the dough. In truth, if the children weren’t around, I’d do most of this in the Kitchen Aid mixer in the name of efficiency and if your child is a toddler, I suggest that you do that and just allow them to pat/knead a small piece of dough. You can let their little pat rise in a ramekin. The dough in this recipe is tough and you’ll need to put all of your weight into kneading it well. I allow my eldest to knead it and once he becomes bored, I take over and add the elbow grease.
Enjoy!
Whole Wheat Dinner Rolls (with sesame seeds)
2 tsp Active Dry Yeast
1 1/4 C lukewarm water (use only 1/4 cup for proofing)
1 1/2 C All Purpose Flour
1 1/2 C Whole Wheat Pastry Flour (whole wheat is fine too)
2 tsp Salt
1/2 C Sesame Seeds (optional)
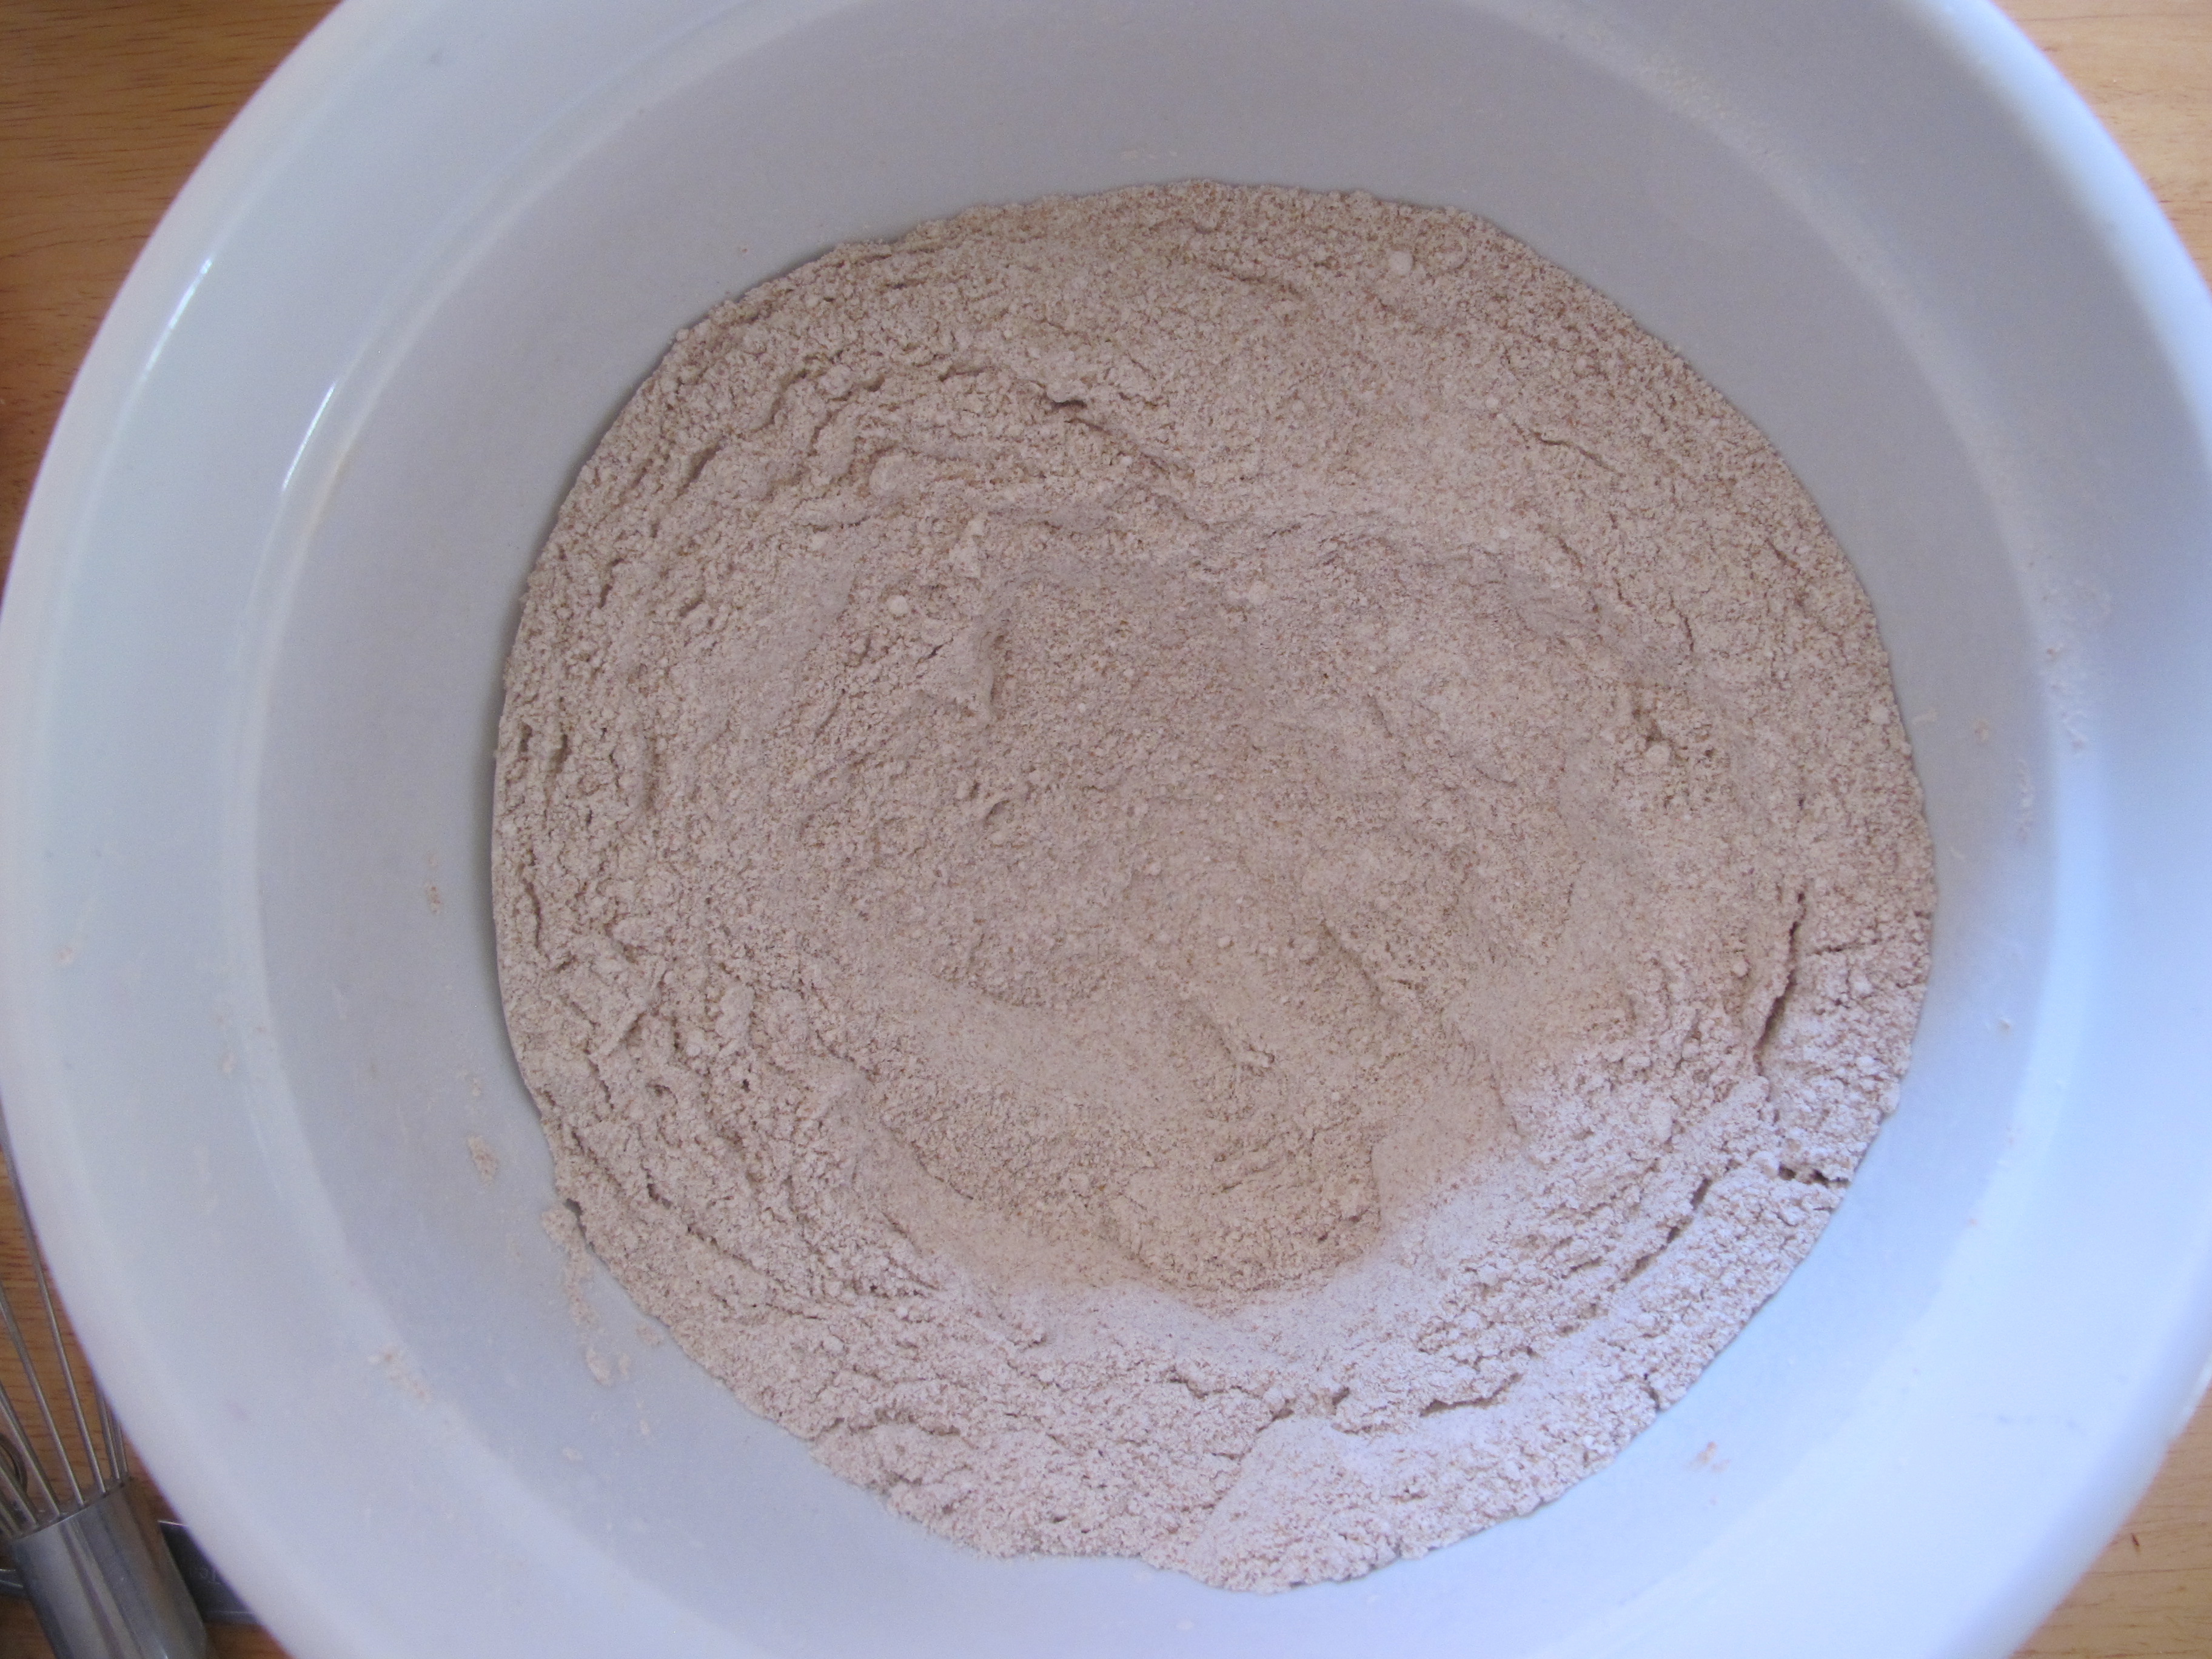
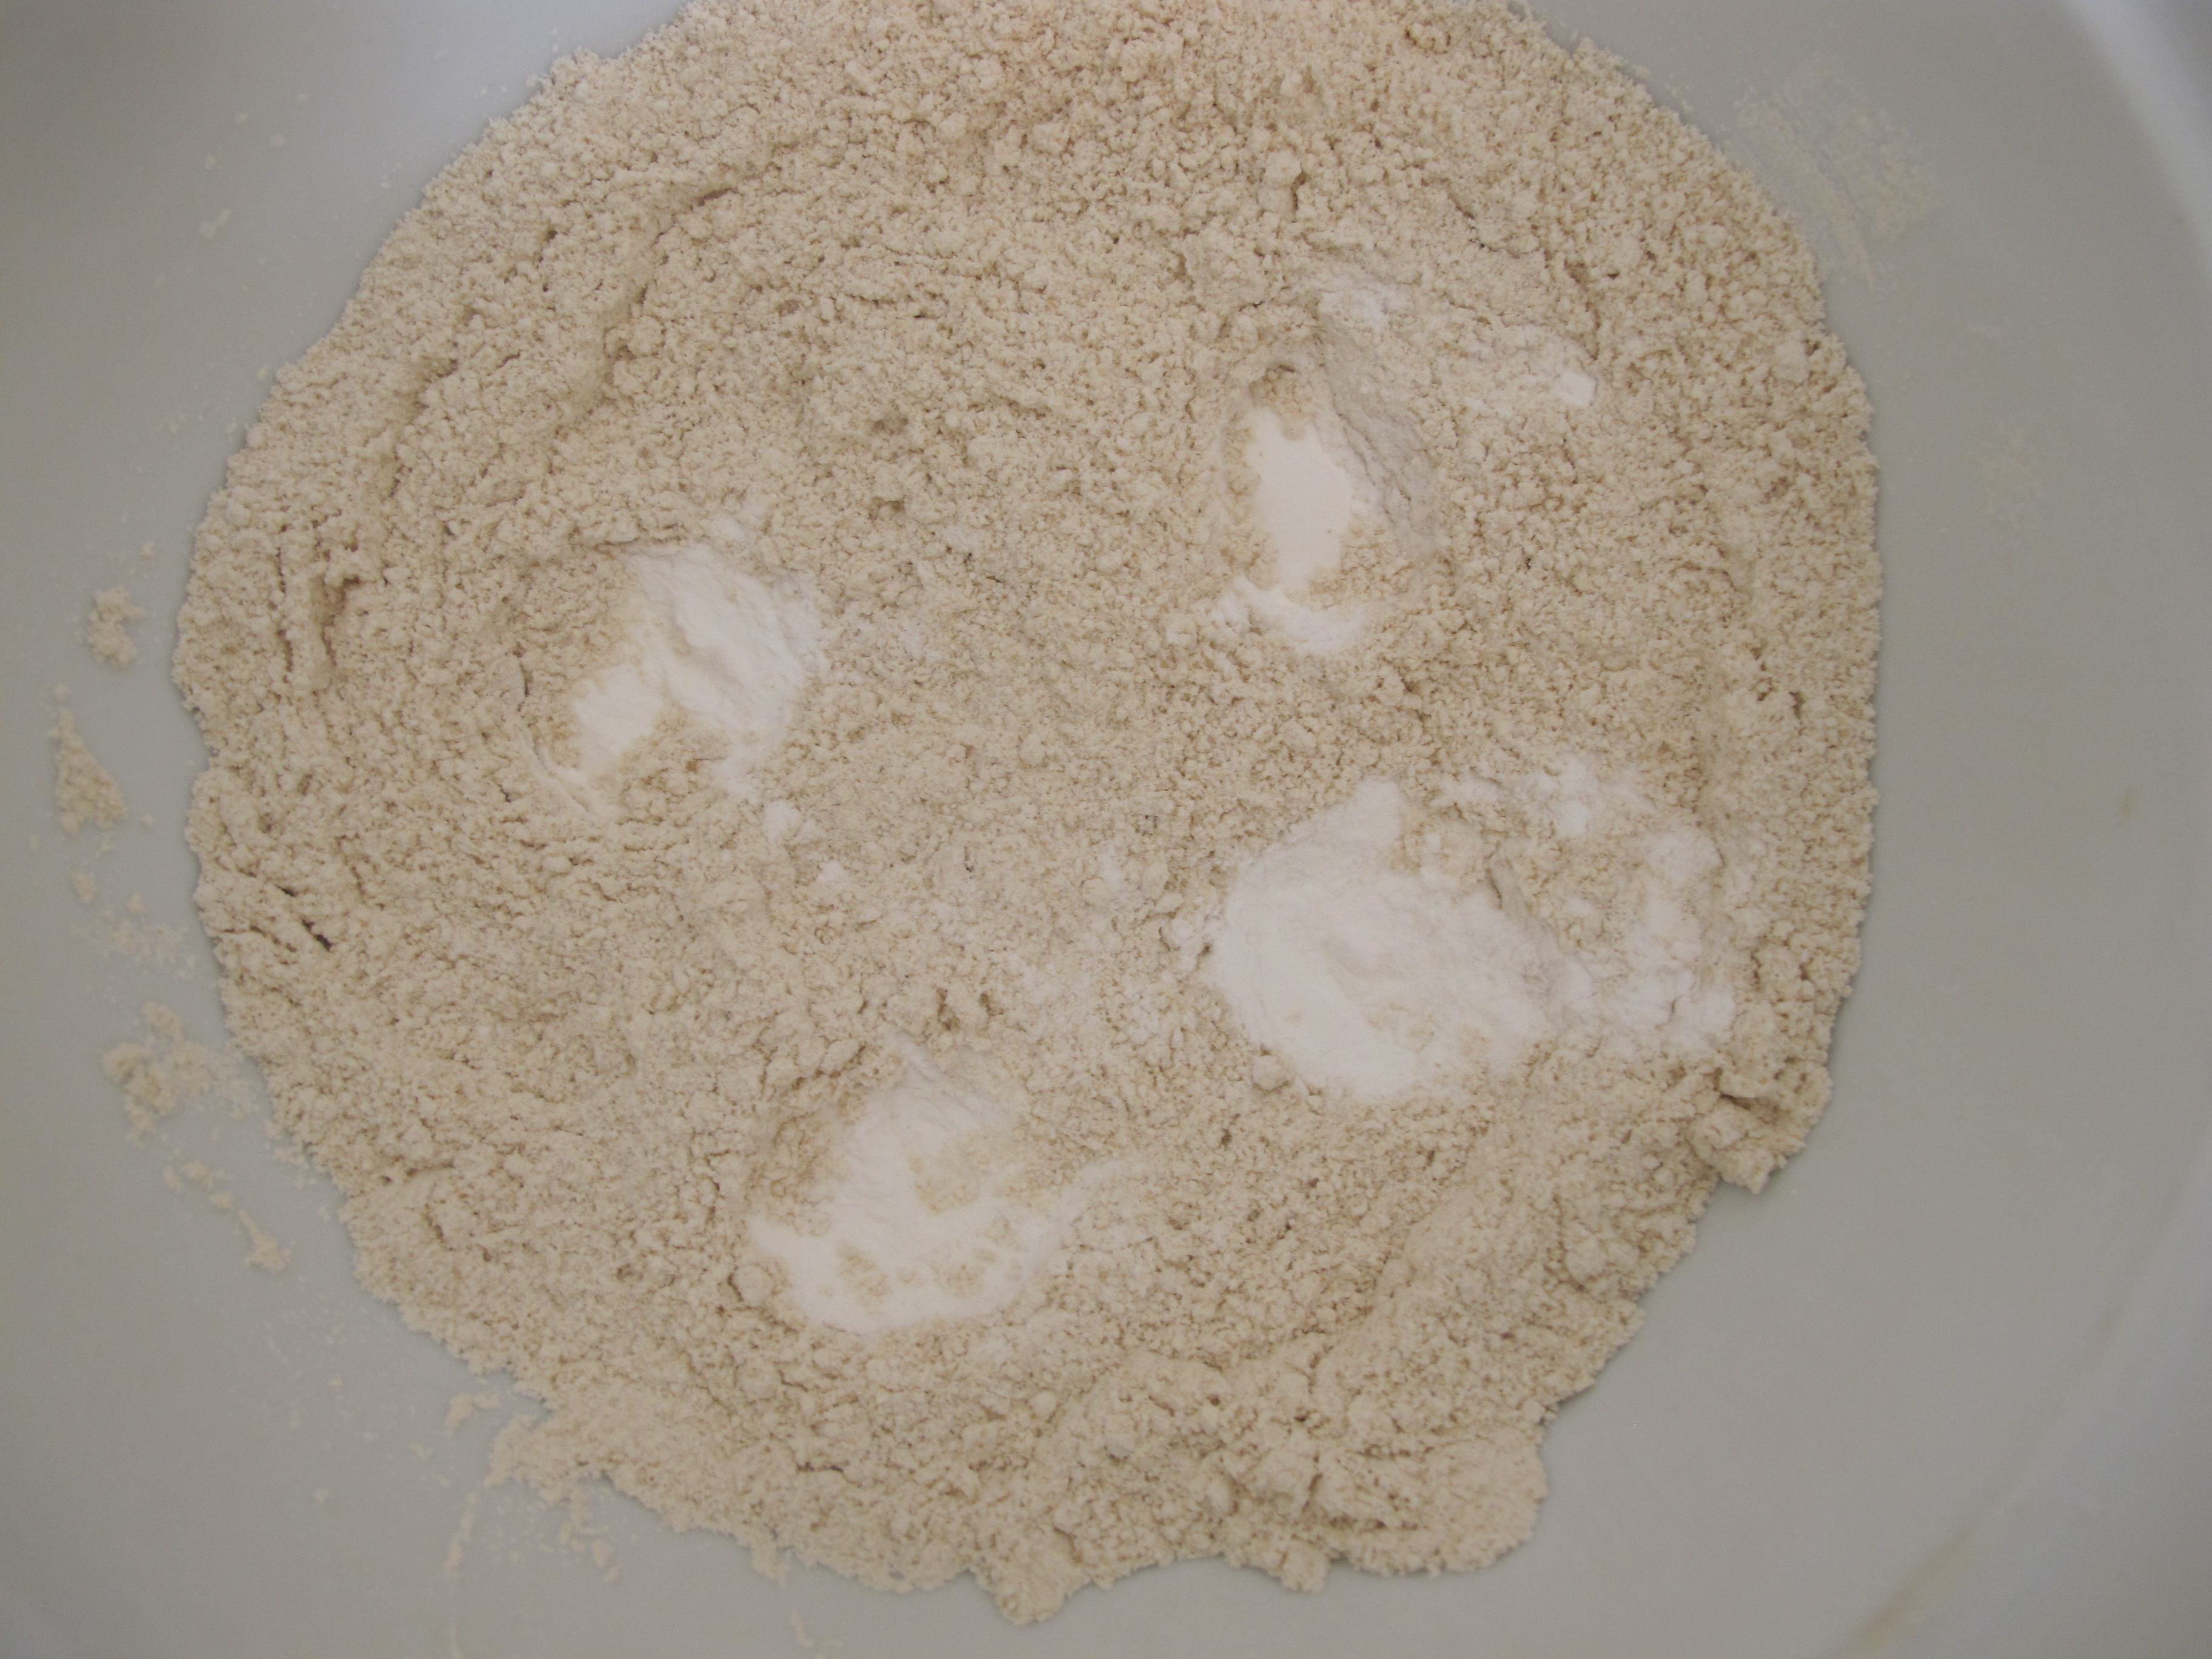
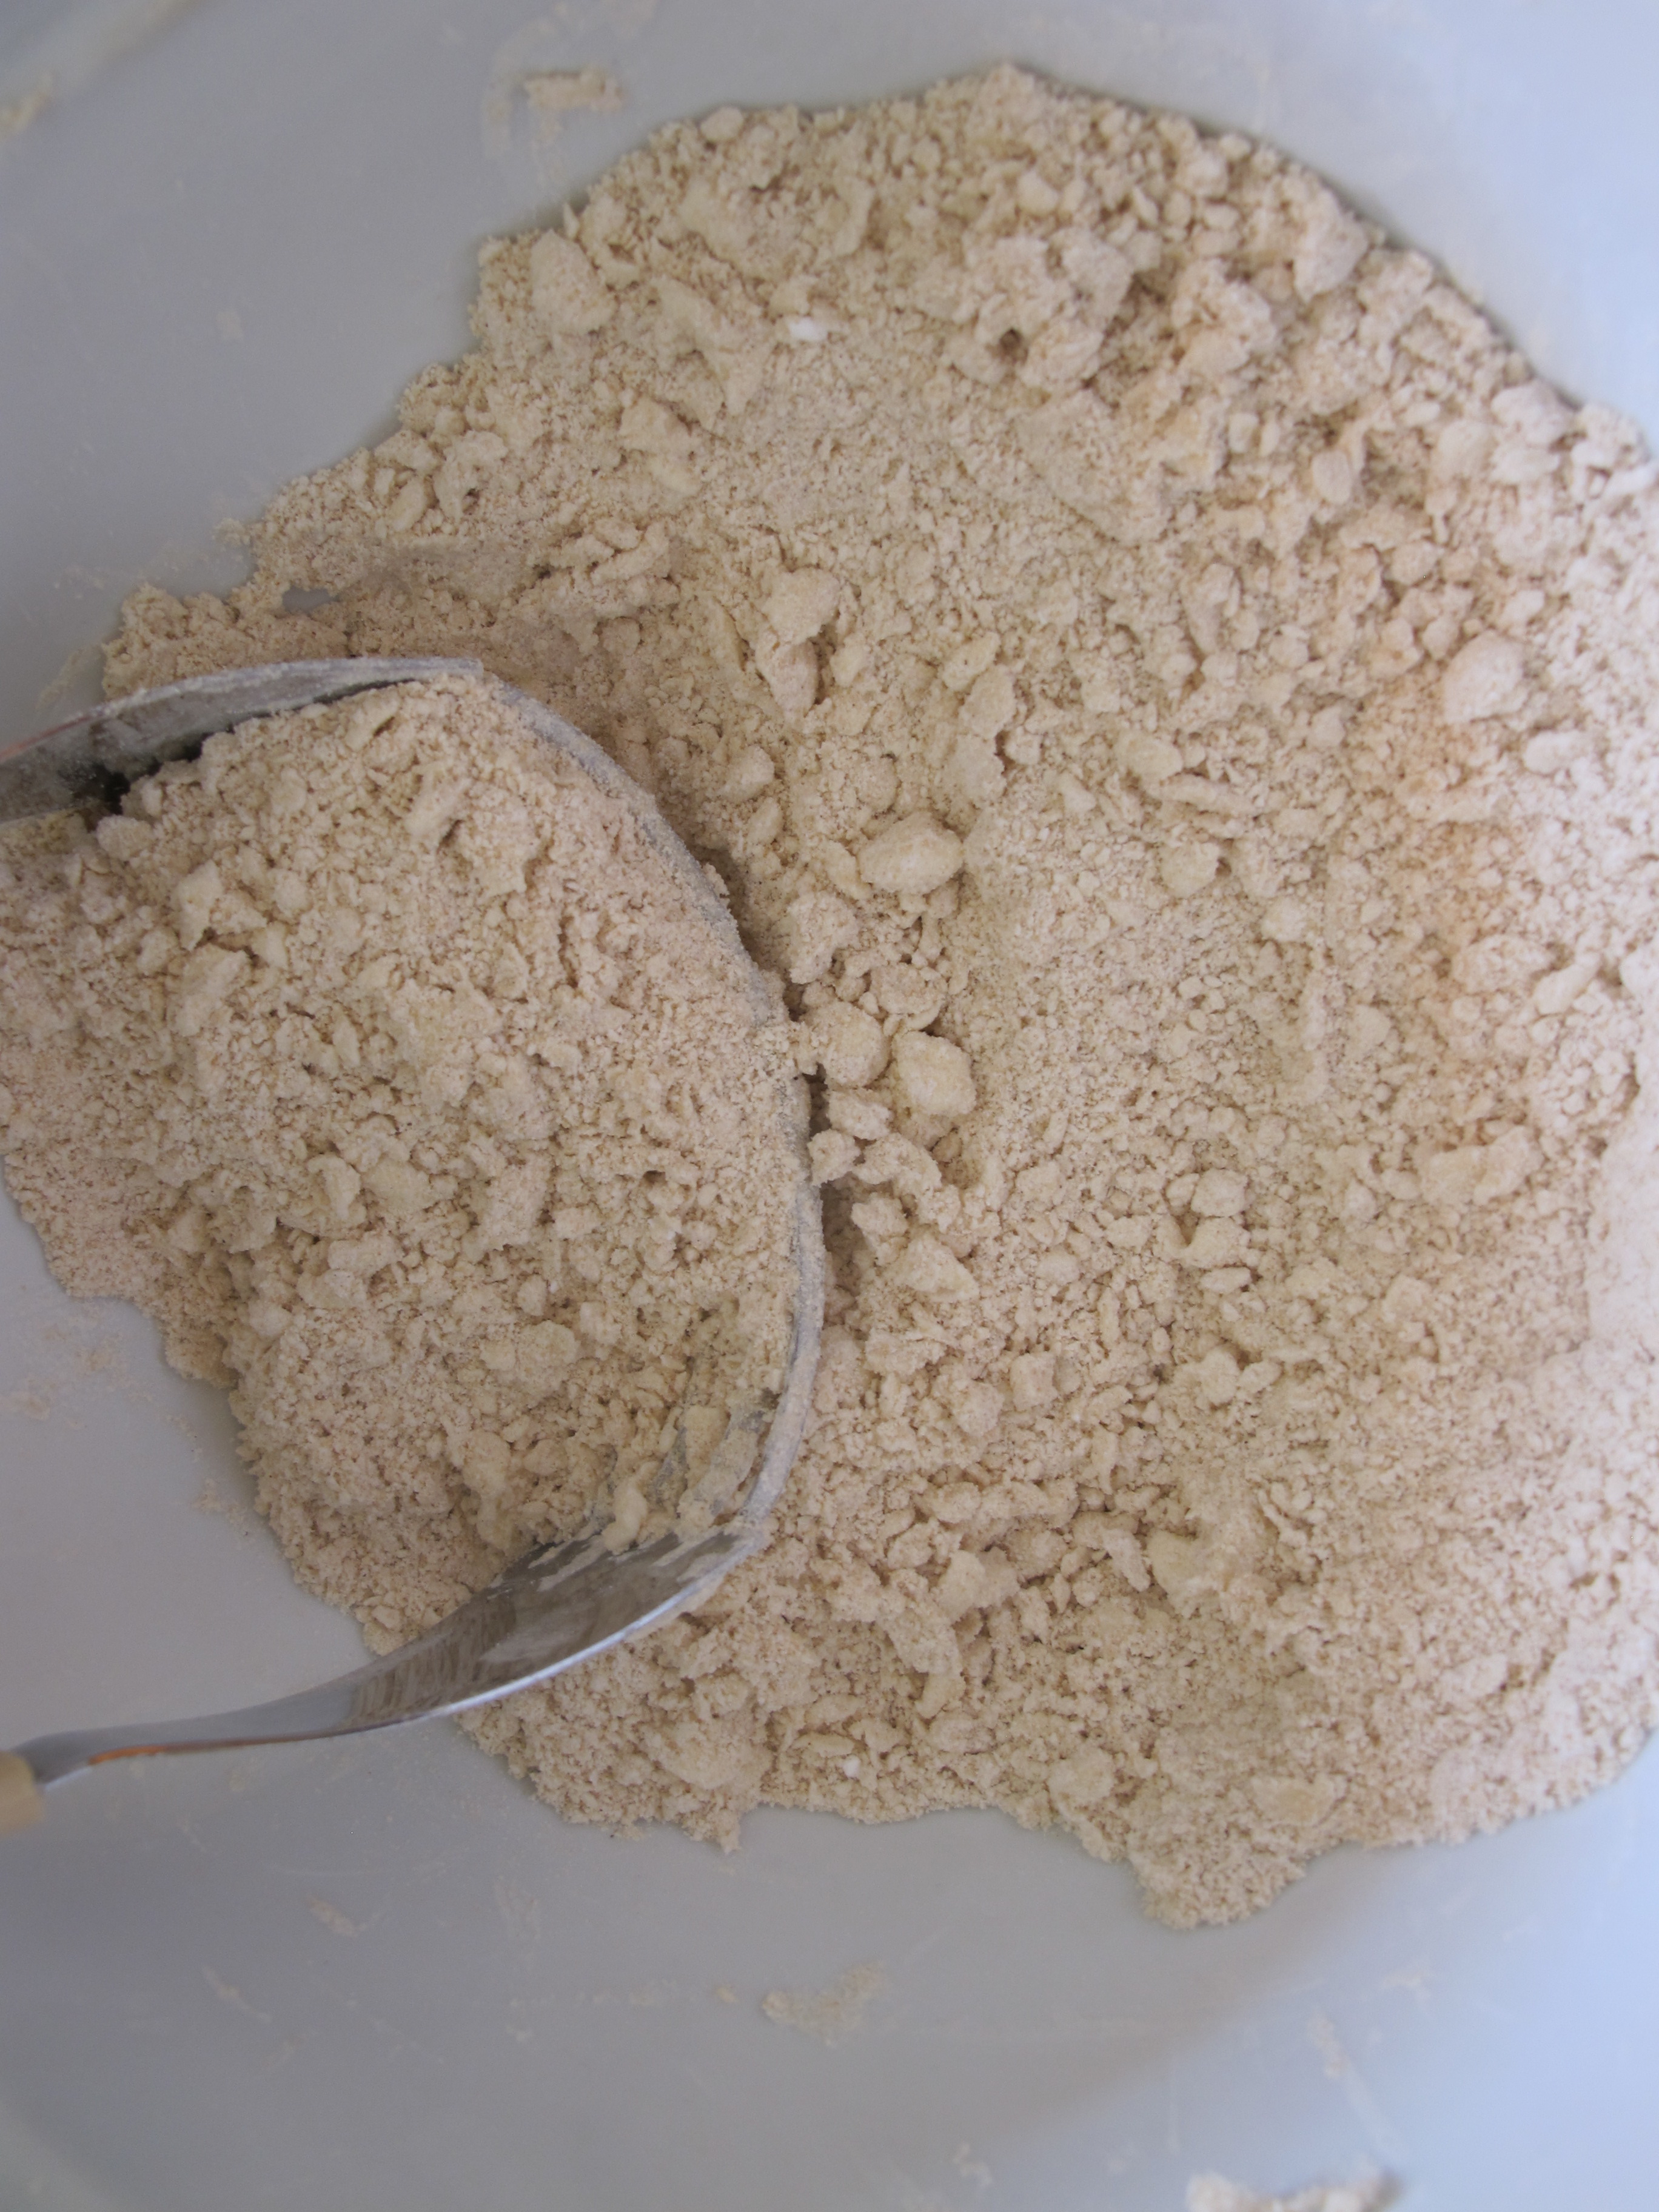
Whisk all dry ingredients (not including the yeast) and create a well in the center.
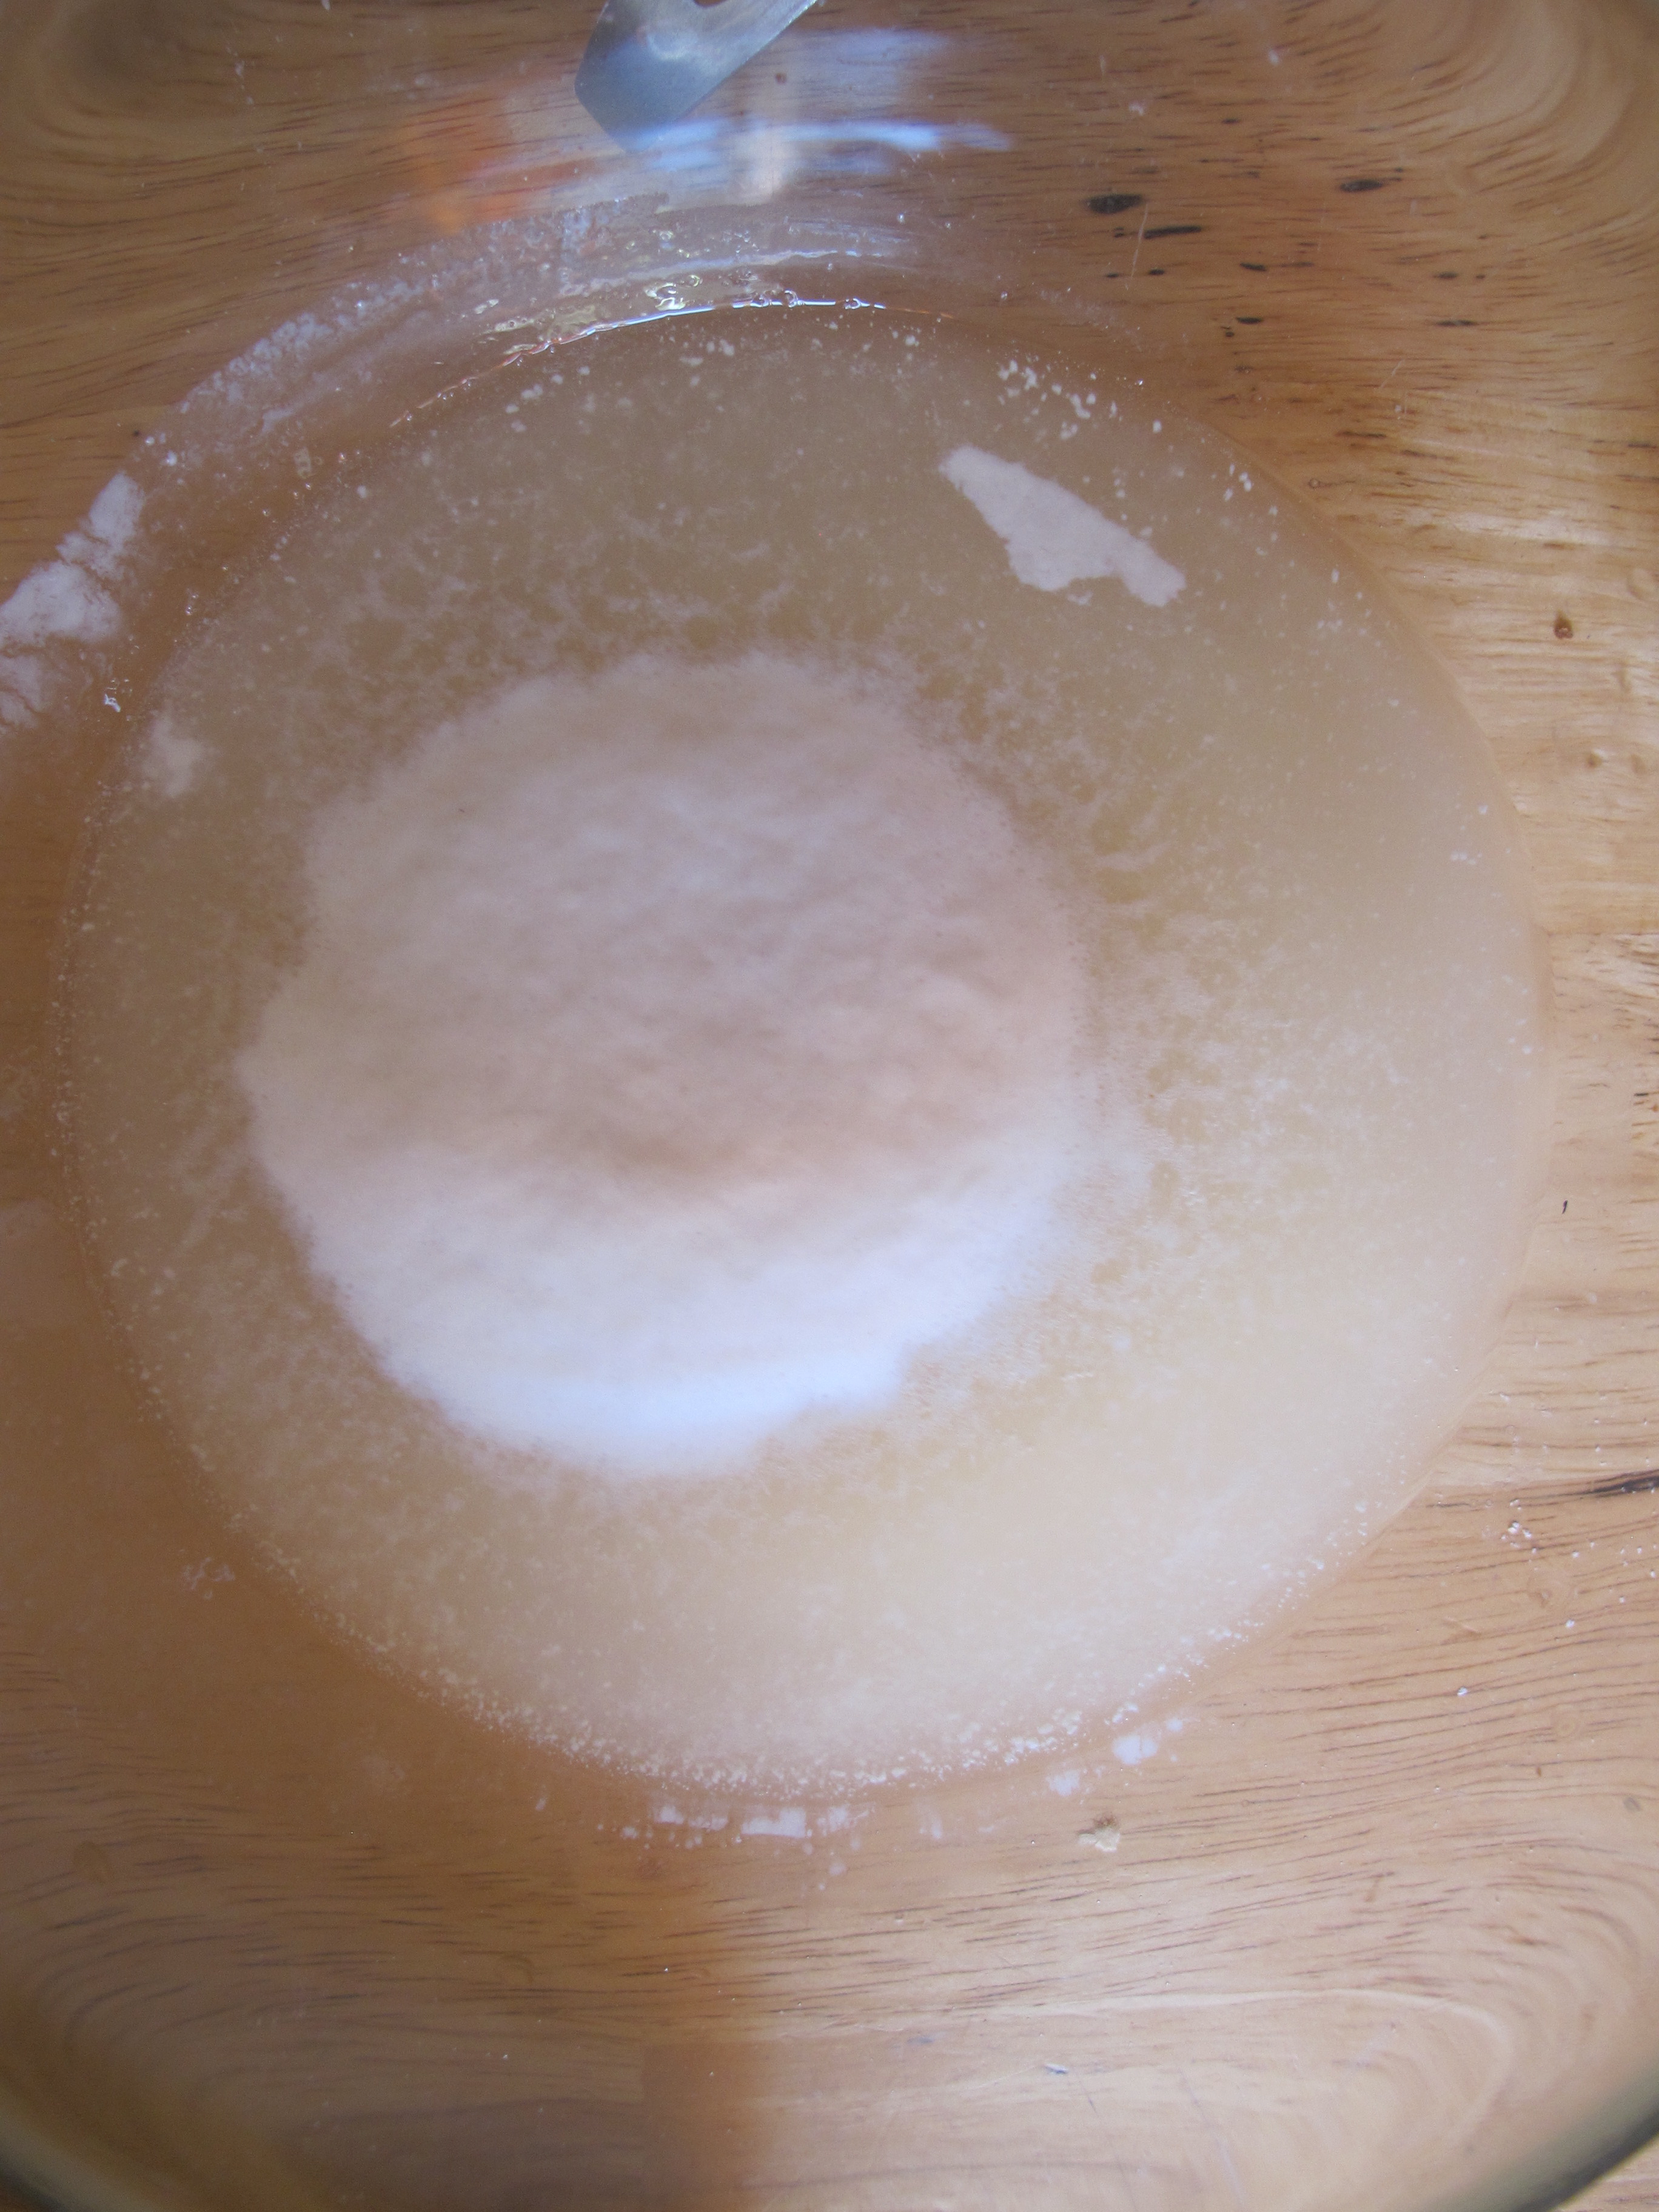
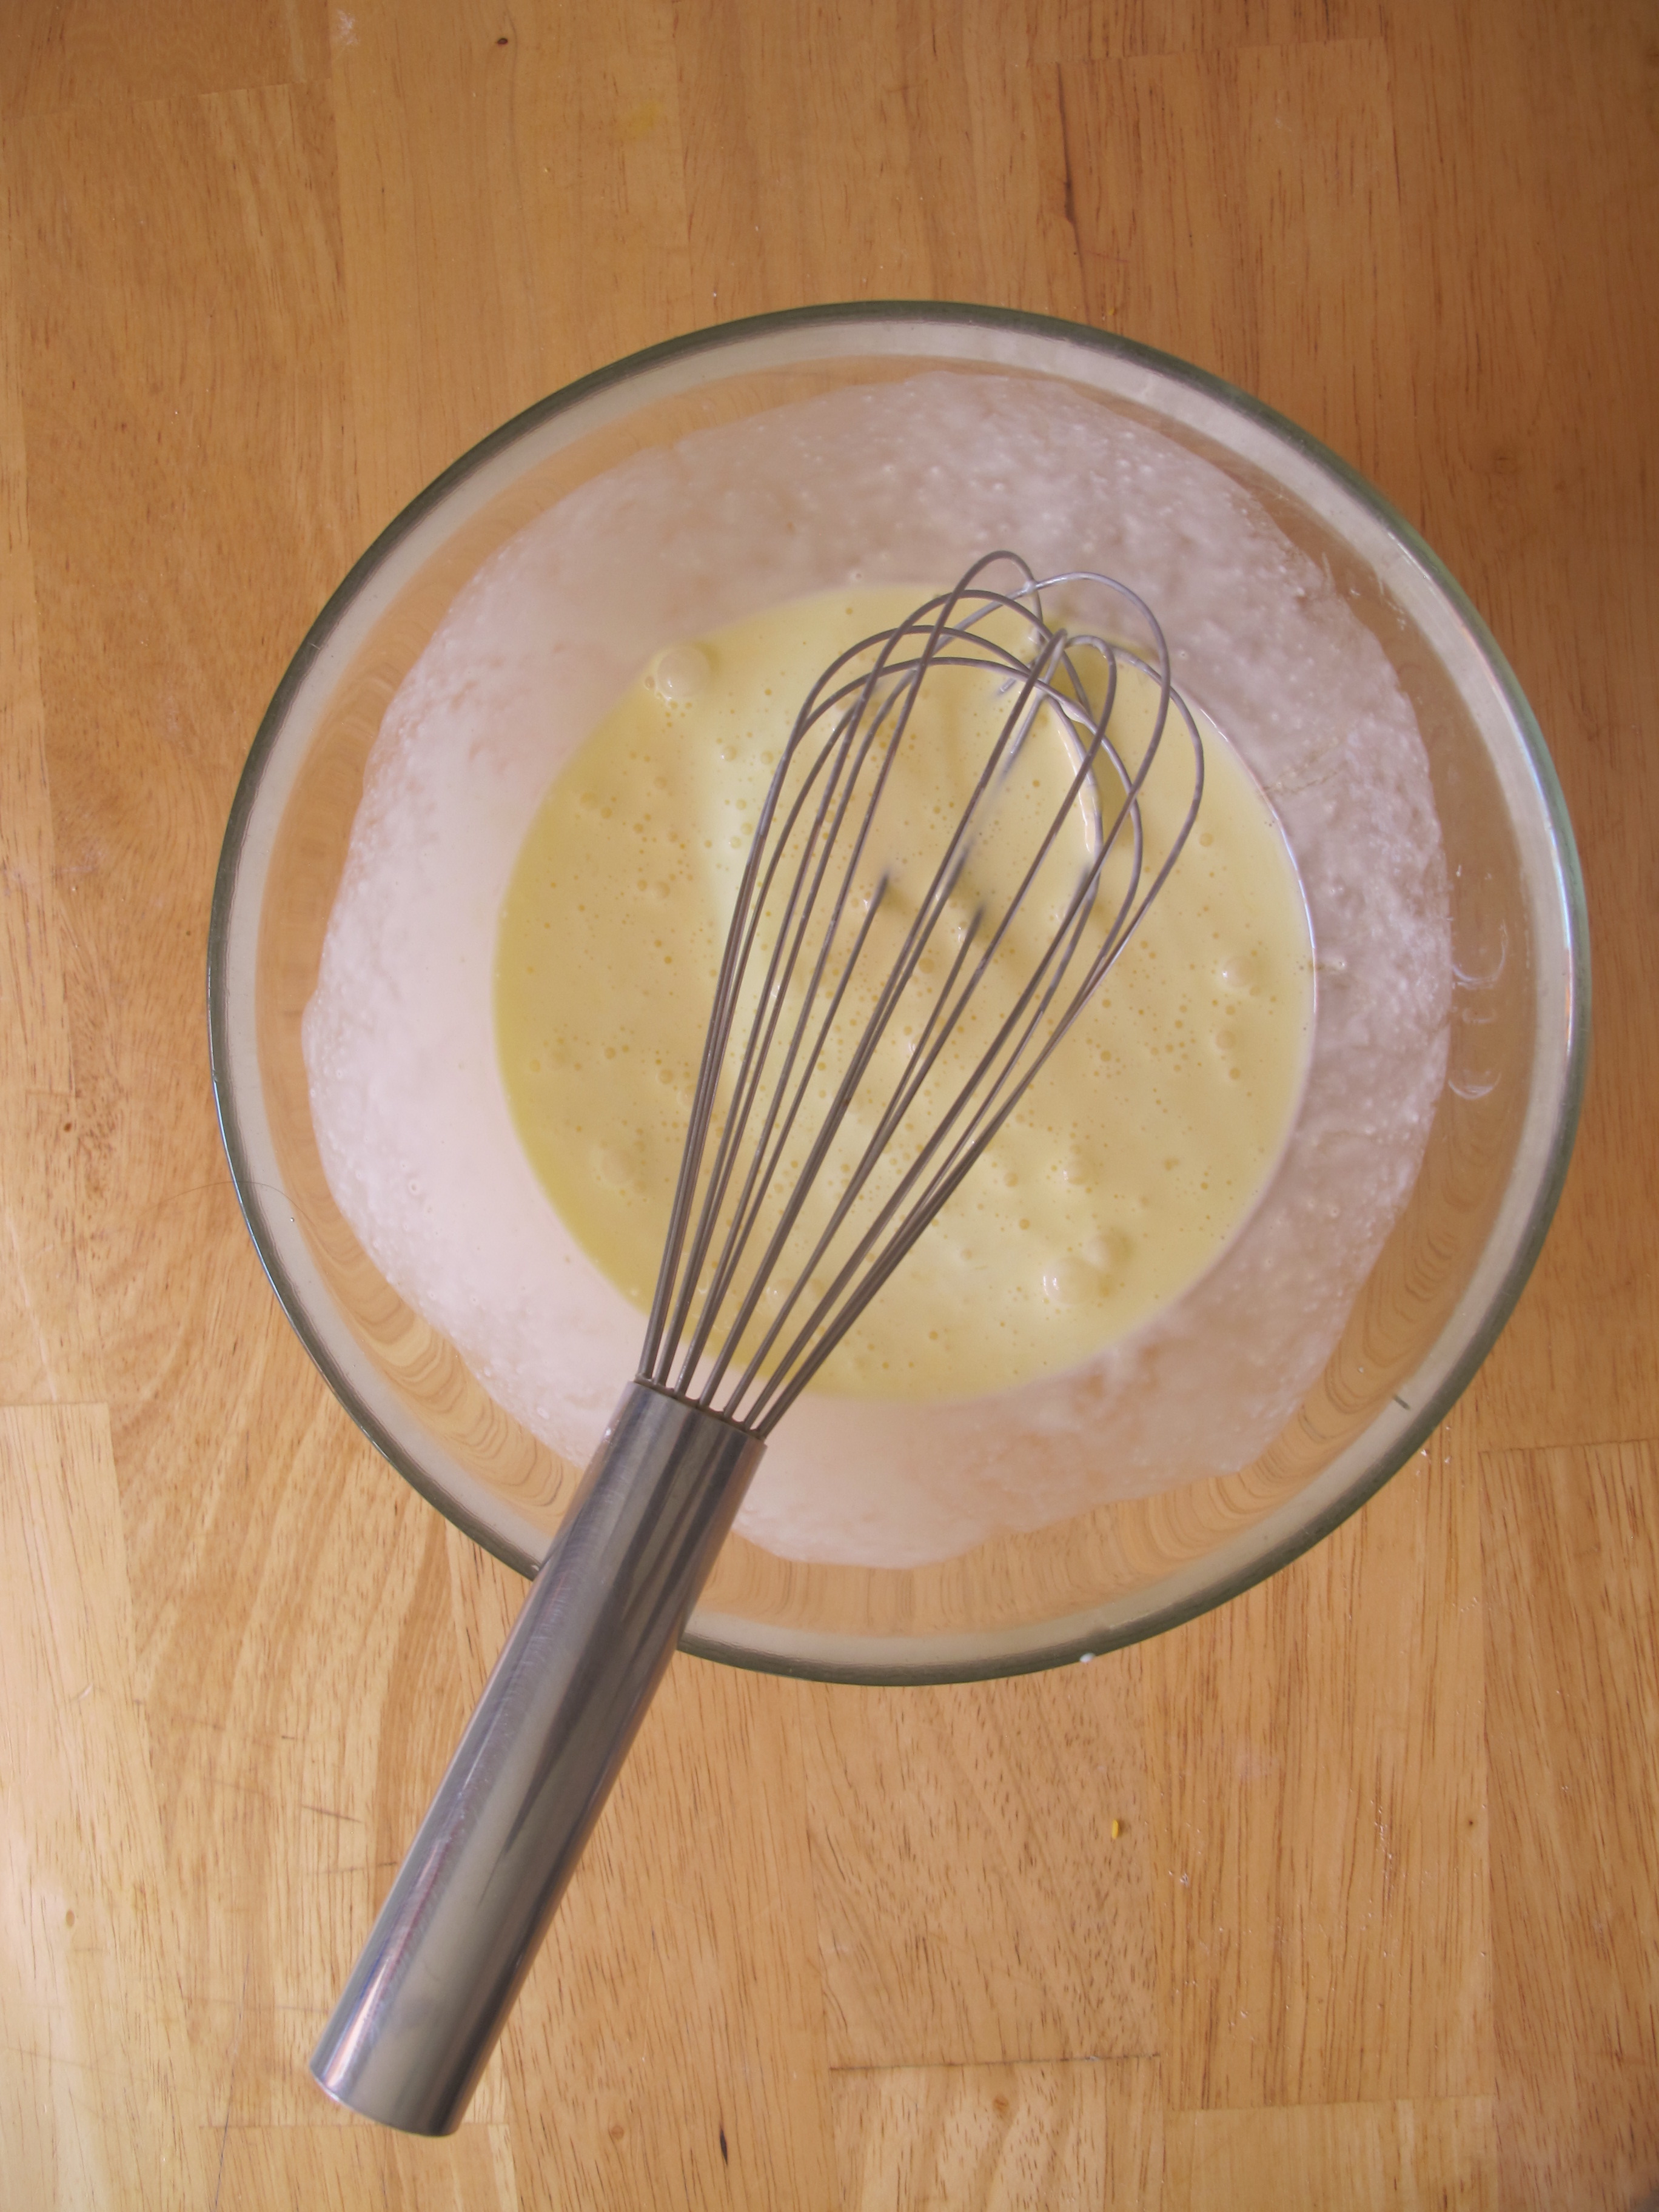
In a separate bowl, proof your yeast using 1/4 C of the warm water and a generous pinch of brown sugar.

After 20 minutes if your yeast has passed the test, add the yeast solution along with the remaining cup of lukewarm water to the well of the dry ingredients.
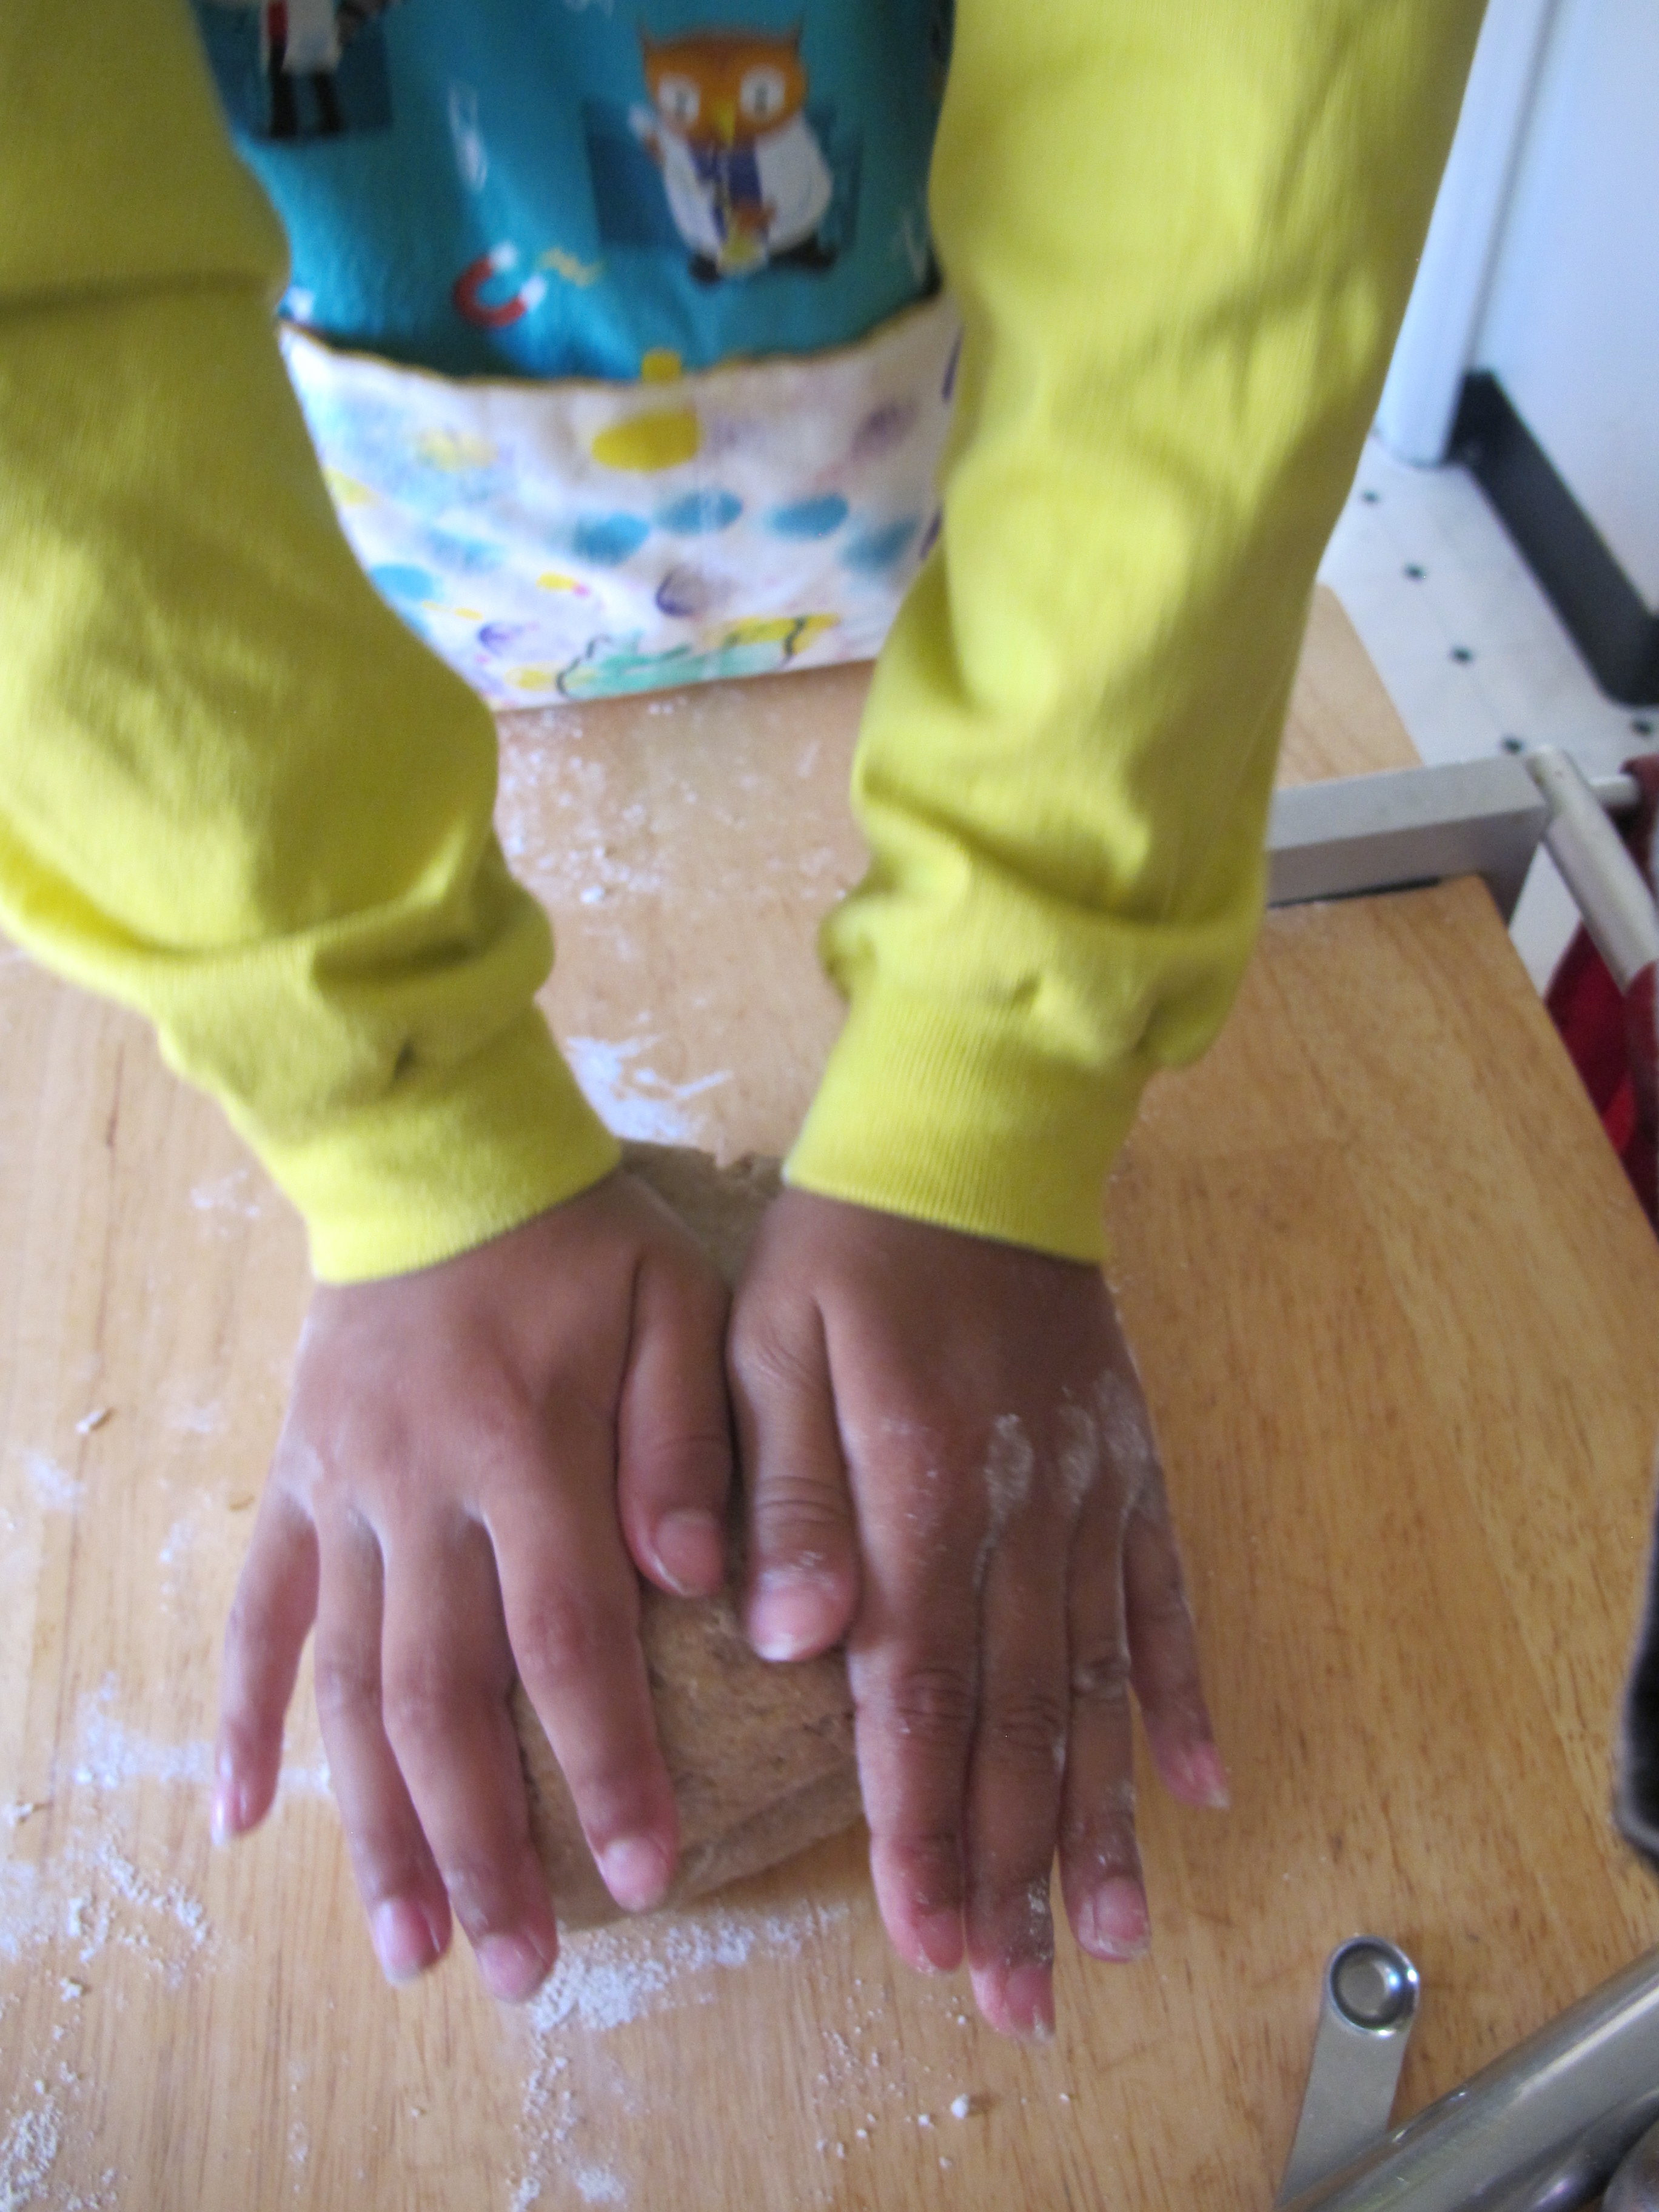
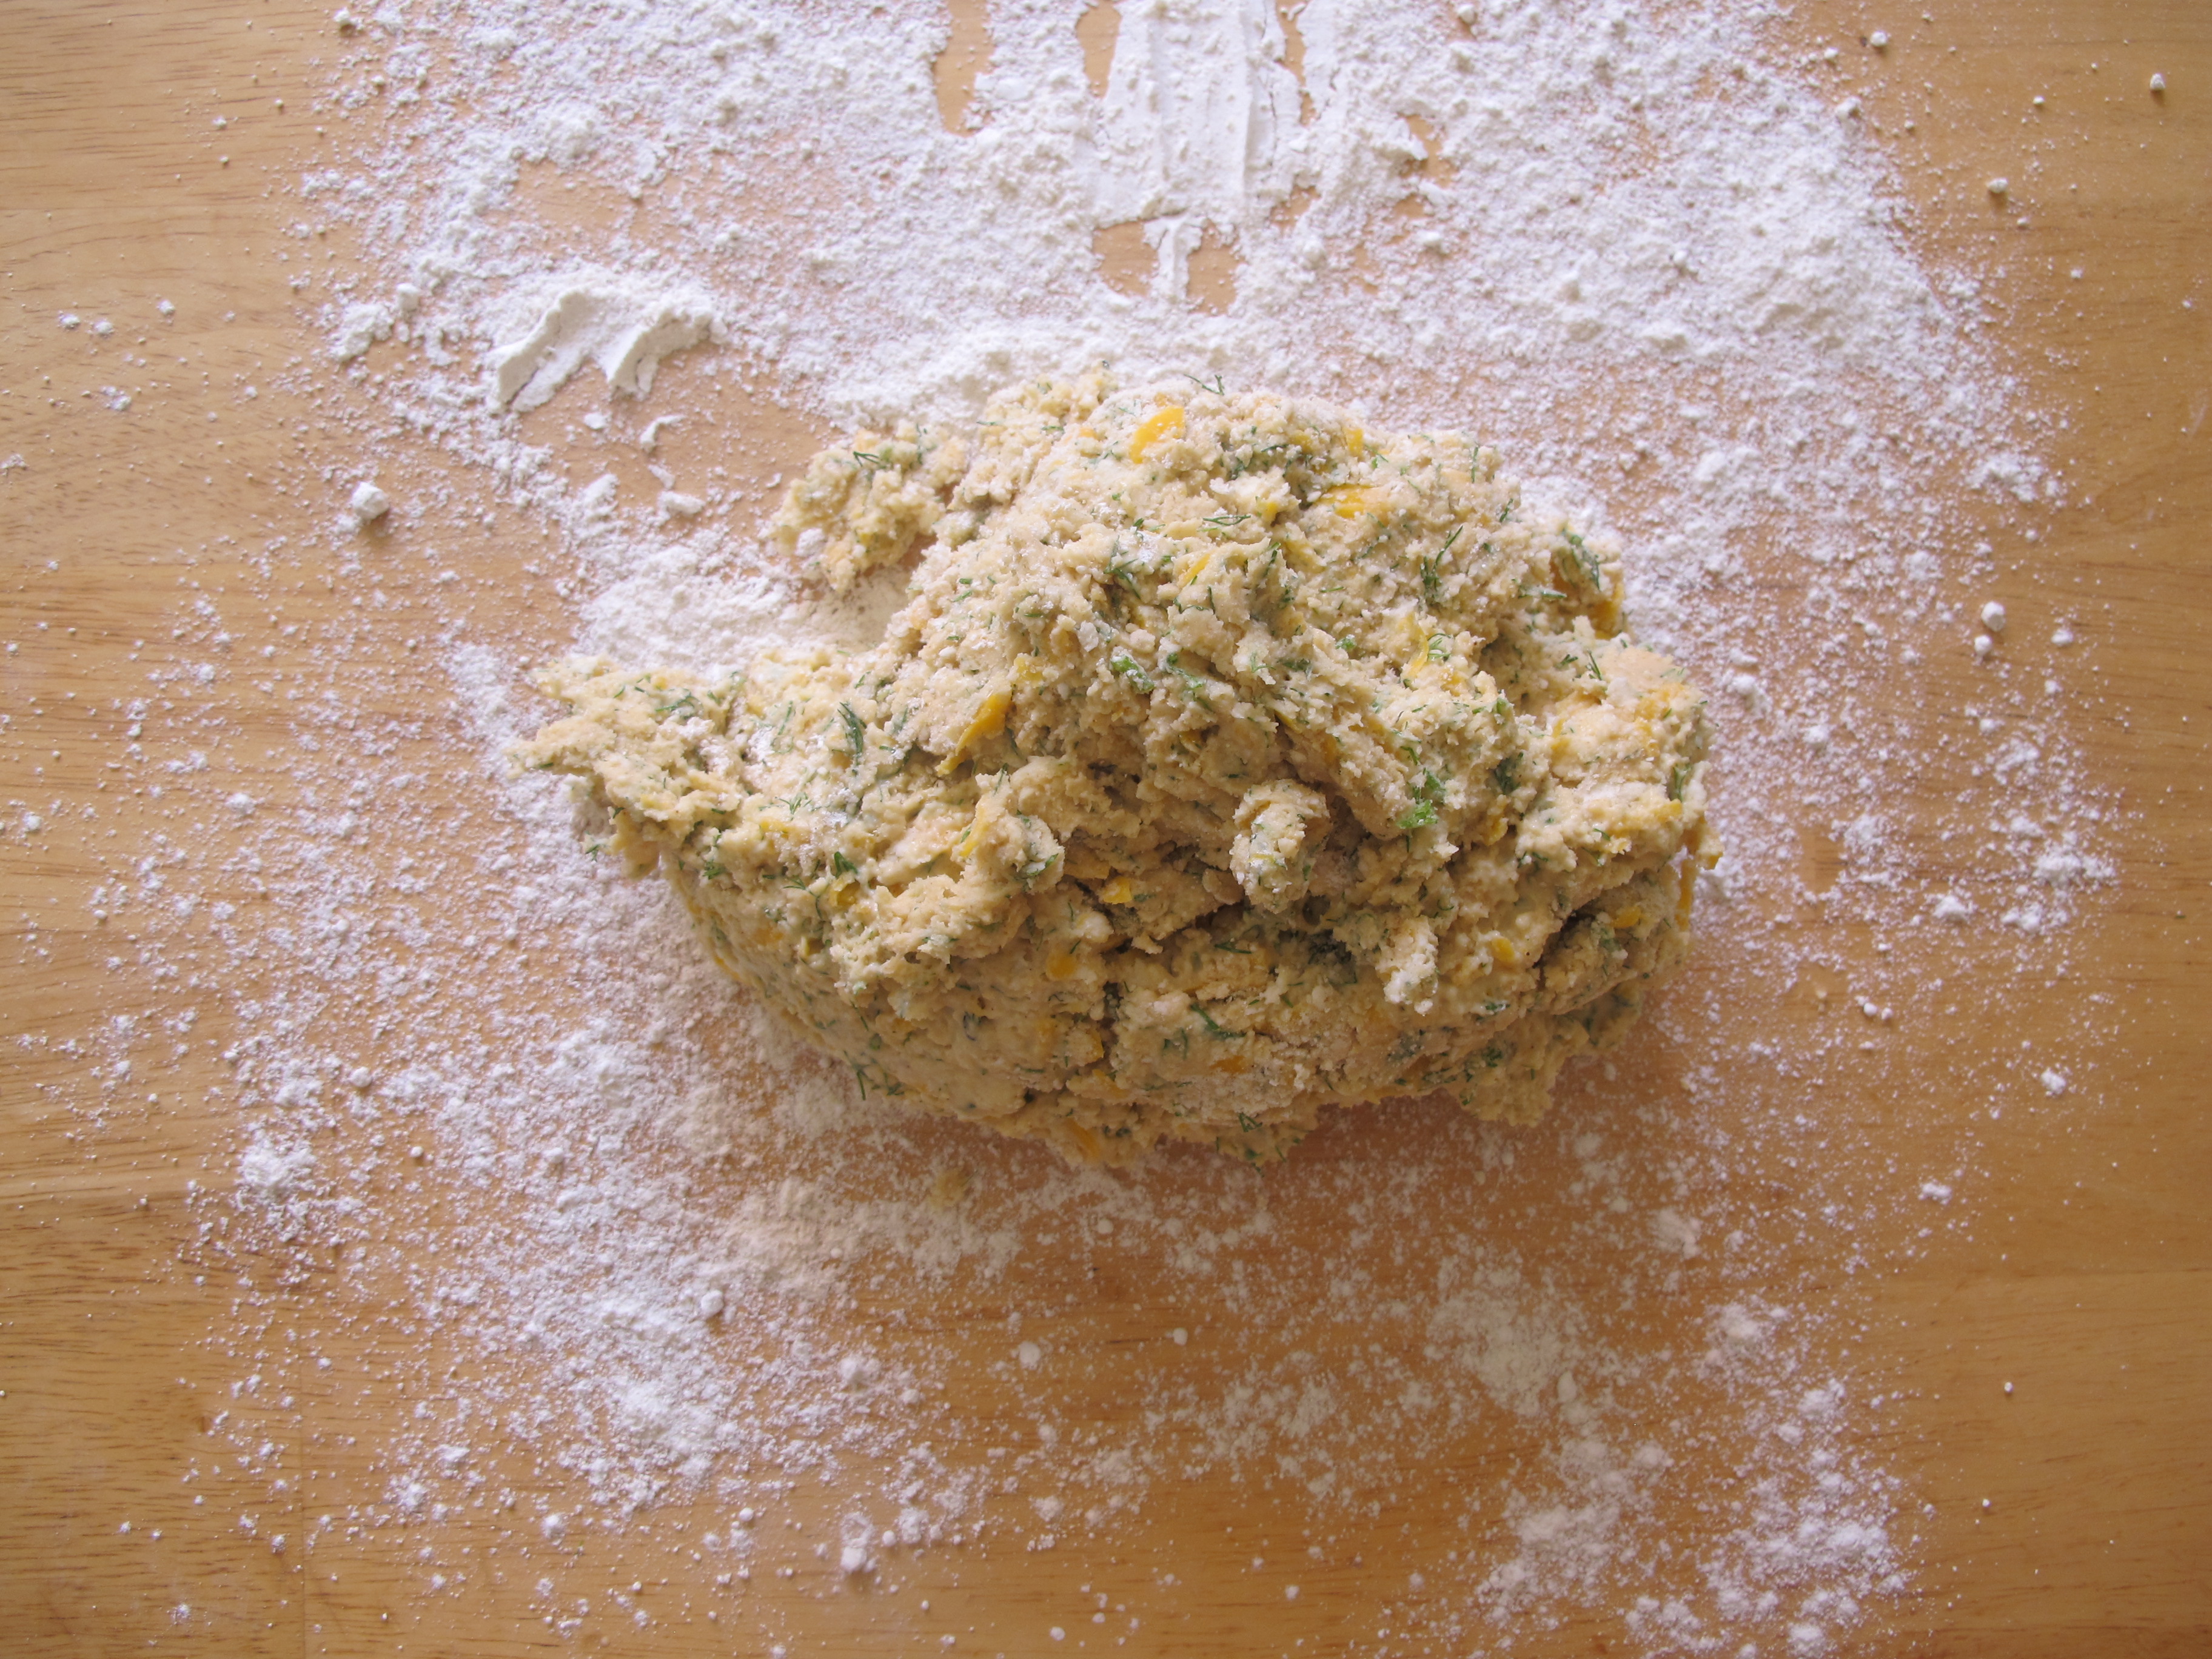
Put those little hands to work and then bring out the “big guns” and knead until your dough is smooth and elastic– should not be sticky.
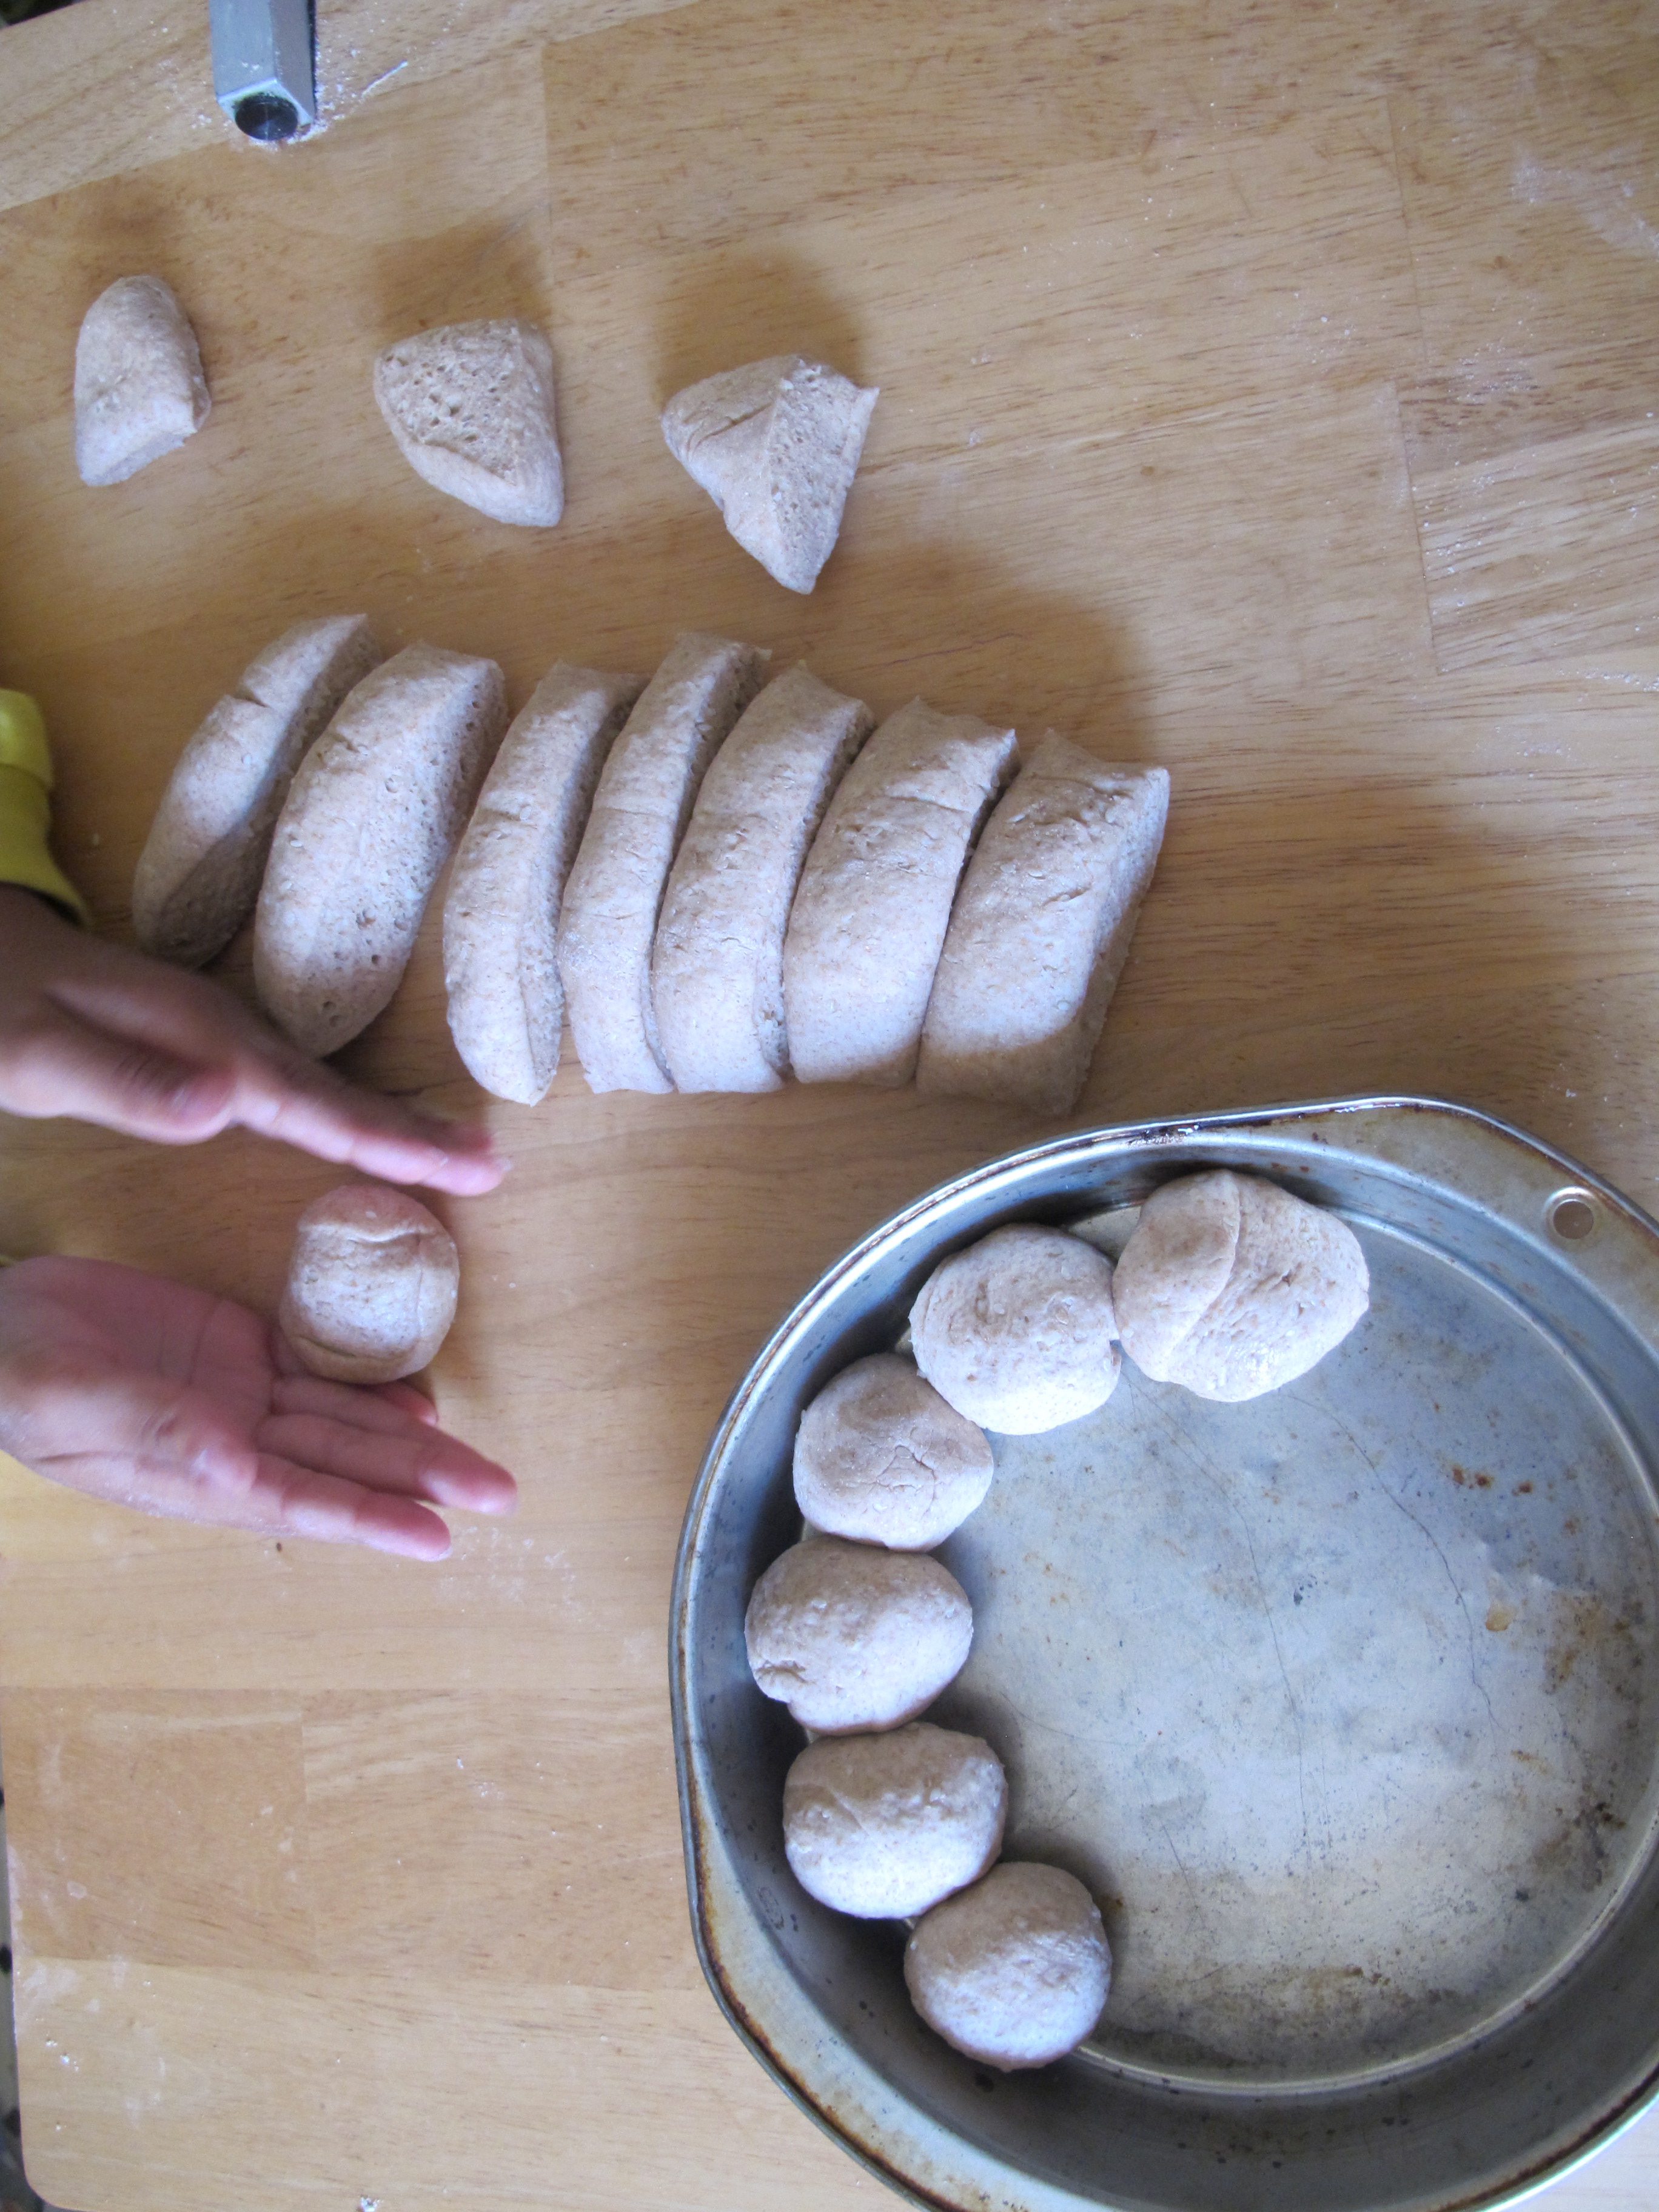
Once the dough has risen, punch it a knead it a tad more. Cut it into 14 even pieces and roll them into balls (don’t stress that your chid’s balls aren’t perfectly round, they will all rise and taste the same– even if it is a little funny looking ;o). Place them in a round, buttered) cake pan, cover and leave them to rise until they have risen over the rim of the pan.
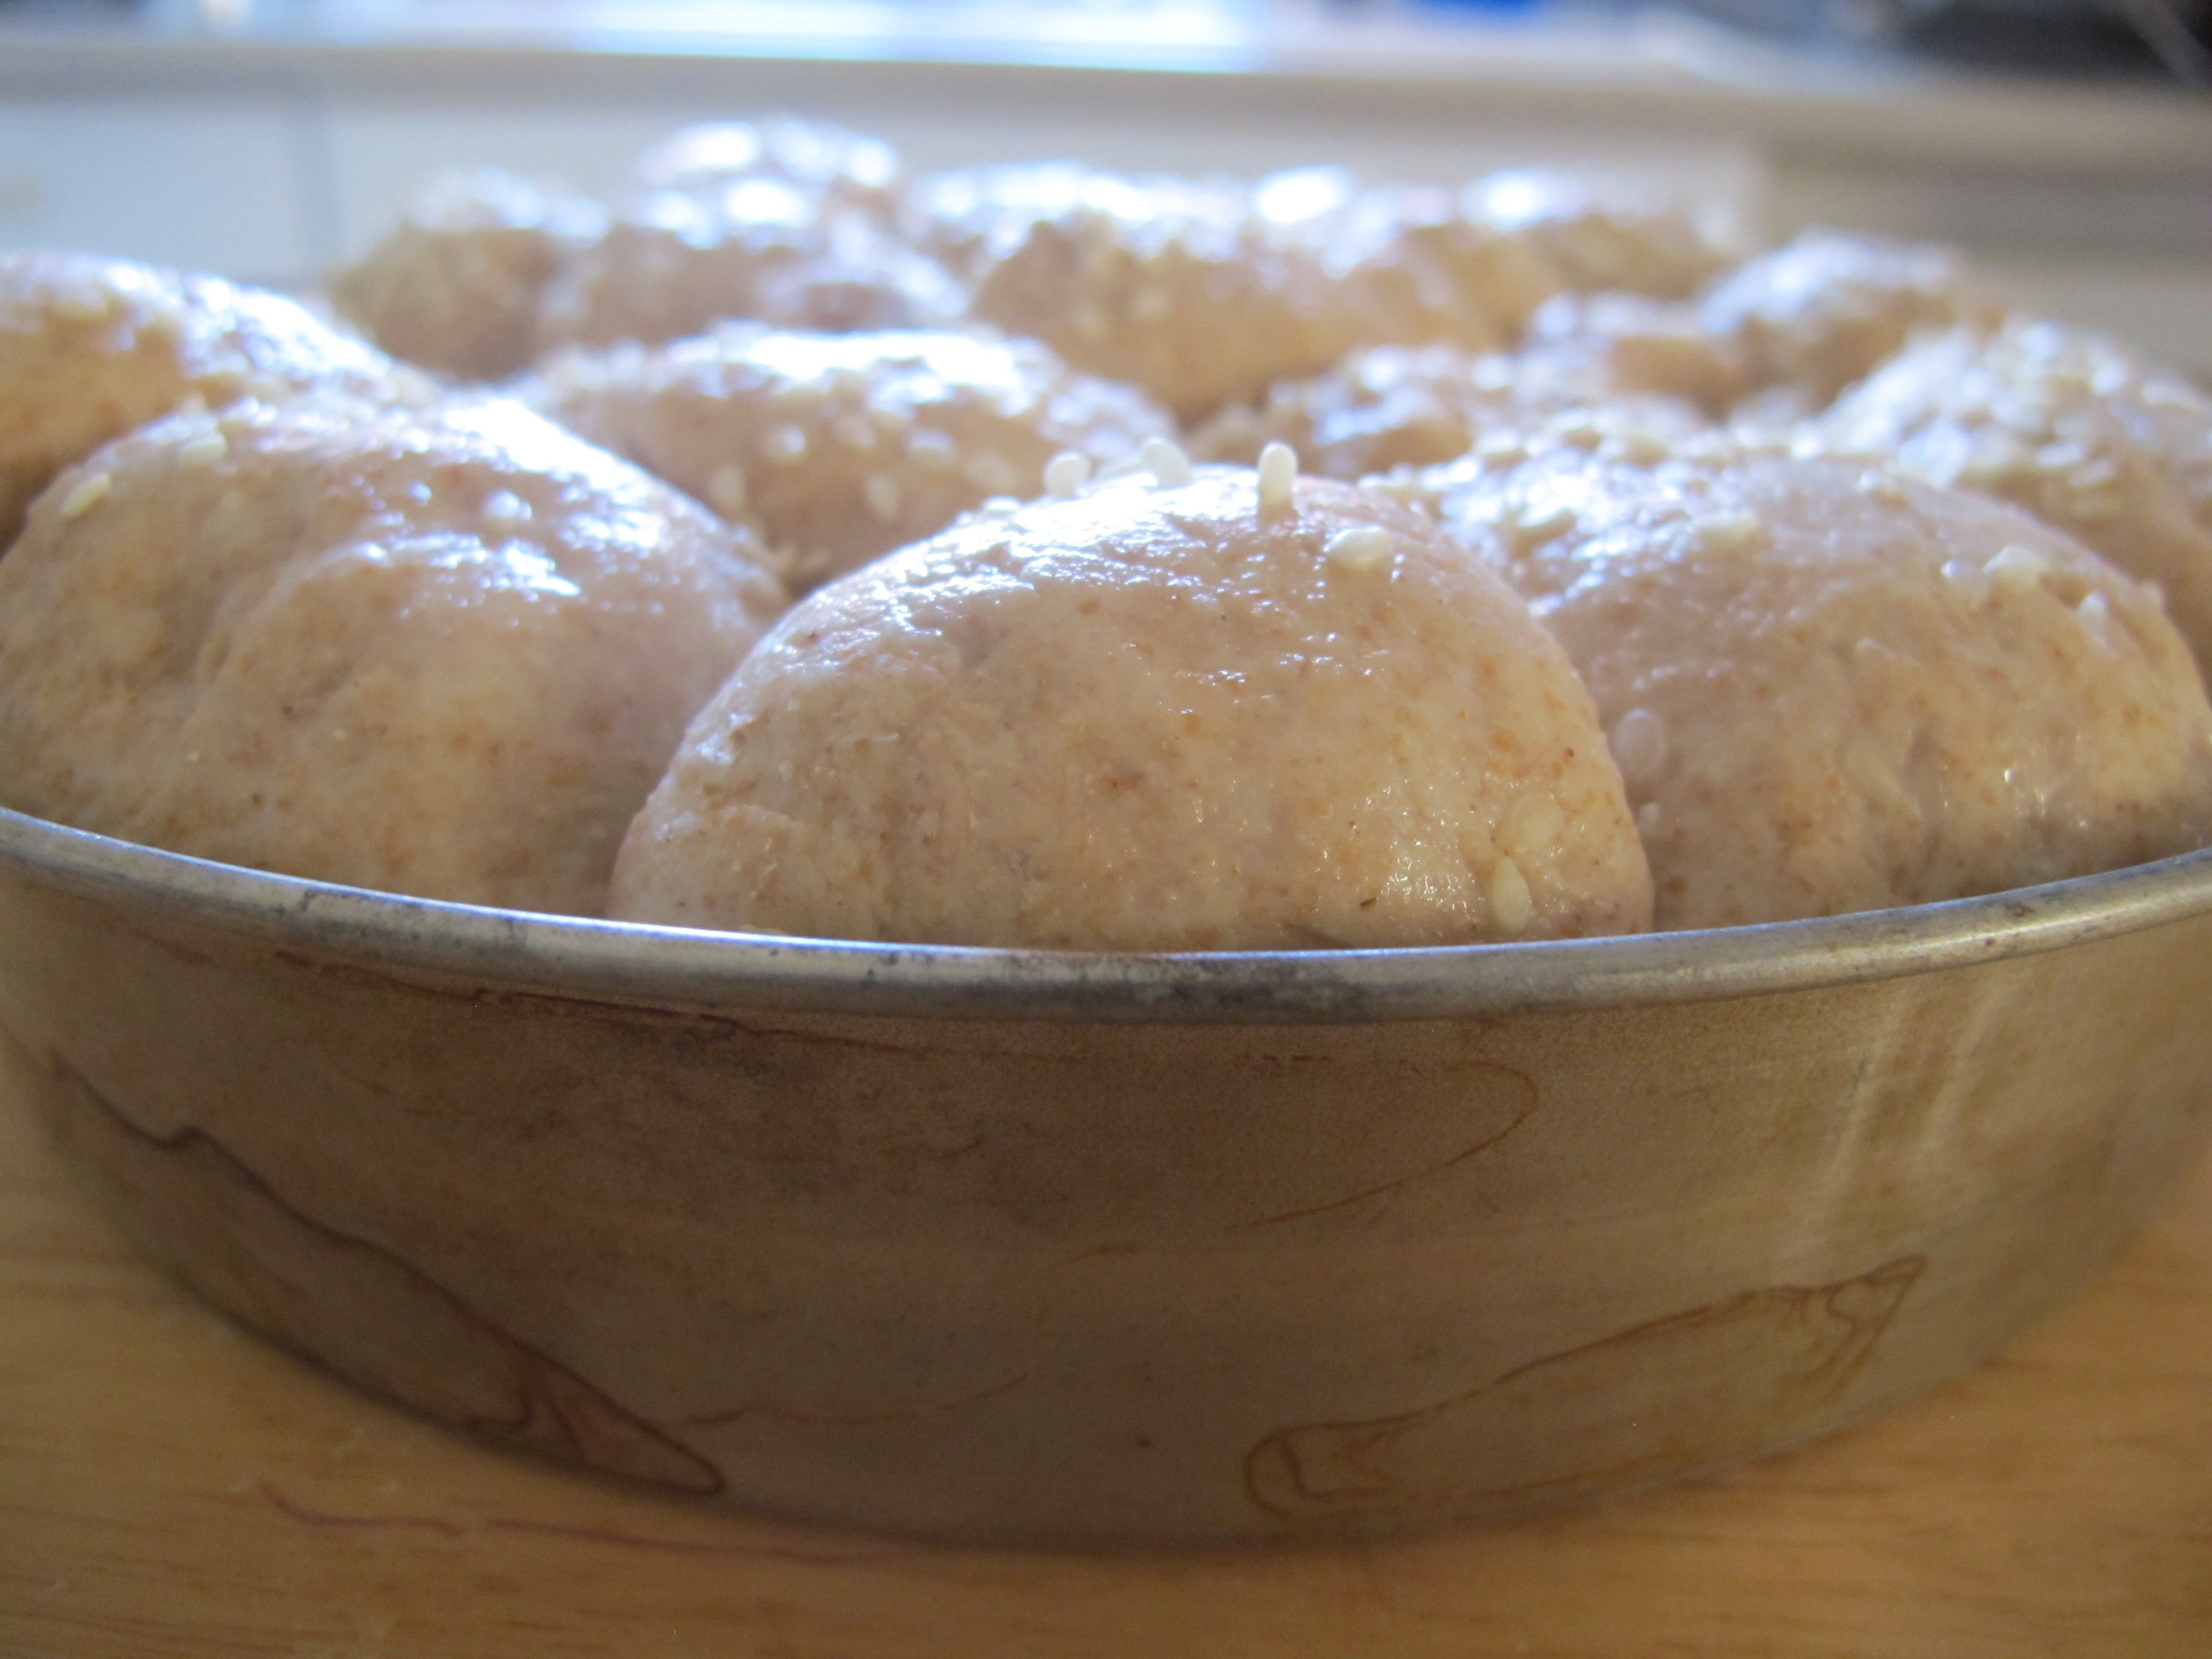
Once they have risen the second time, put them into your preheated 375 F degree oven and bake for roughly 30 minutes. If using sesame seeds, sprinkle some on top.

Once bread is removed from the oven, allow it to cool on a rack.