Years ago while in graduate school, I worked a baker’s shift (yep 4am- noon) at an old coffee house in Alameda. One of my favorite pastries that I learned to make were cheddar dill scones. After leaving, I spent years trying to figure out how to make them taste exactly like the one’s that I remember. I used science to figure out how to make them flakier or denser (depending on whether they were being served with high tea, or stew). More butter, less butter, cheddar cheese, monterey jack… it just went on and on. After 10 years, I am finally ready to share my warm and savory little experiment with you all.
Once cut and wash has been added, you can freeze them (first on a tray and then in your freezing tupperware of choice). I don’t thaw them, but you can. Just pop them on a tray and place them in the oven. They’re as good as the first day.
*Variation* When adding the dil and cheddar, add chopped, crispy bacon for an even savory variation.
Kemmeo’s Cheddar Dill Scones
2 Cups of All Purpose or Whole Wheat Pastry Flour
4 tsp baking powder
1/2 tsp salt
12 Tbs butter (1 1/2 sticks)
1/2 Cup heavy cream
2 eggs
3 Tbs chopped fresh dill
3/4 Cup of grated cheddar (+ an optional 1/4 cup extra for garnish)
1 yolk with 2 Tbs heavy cream.
Preheat oven to 375 degrees F.
See Step-By-Step for directions
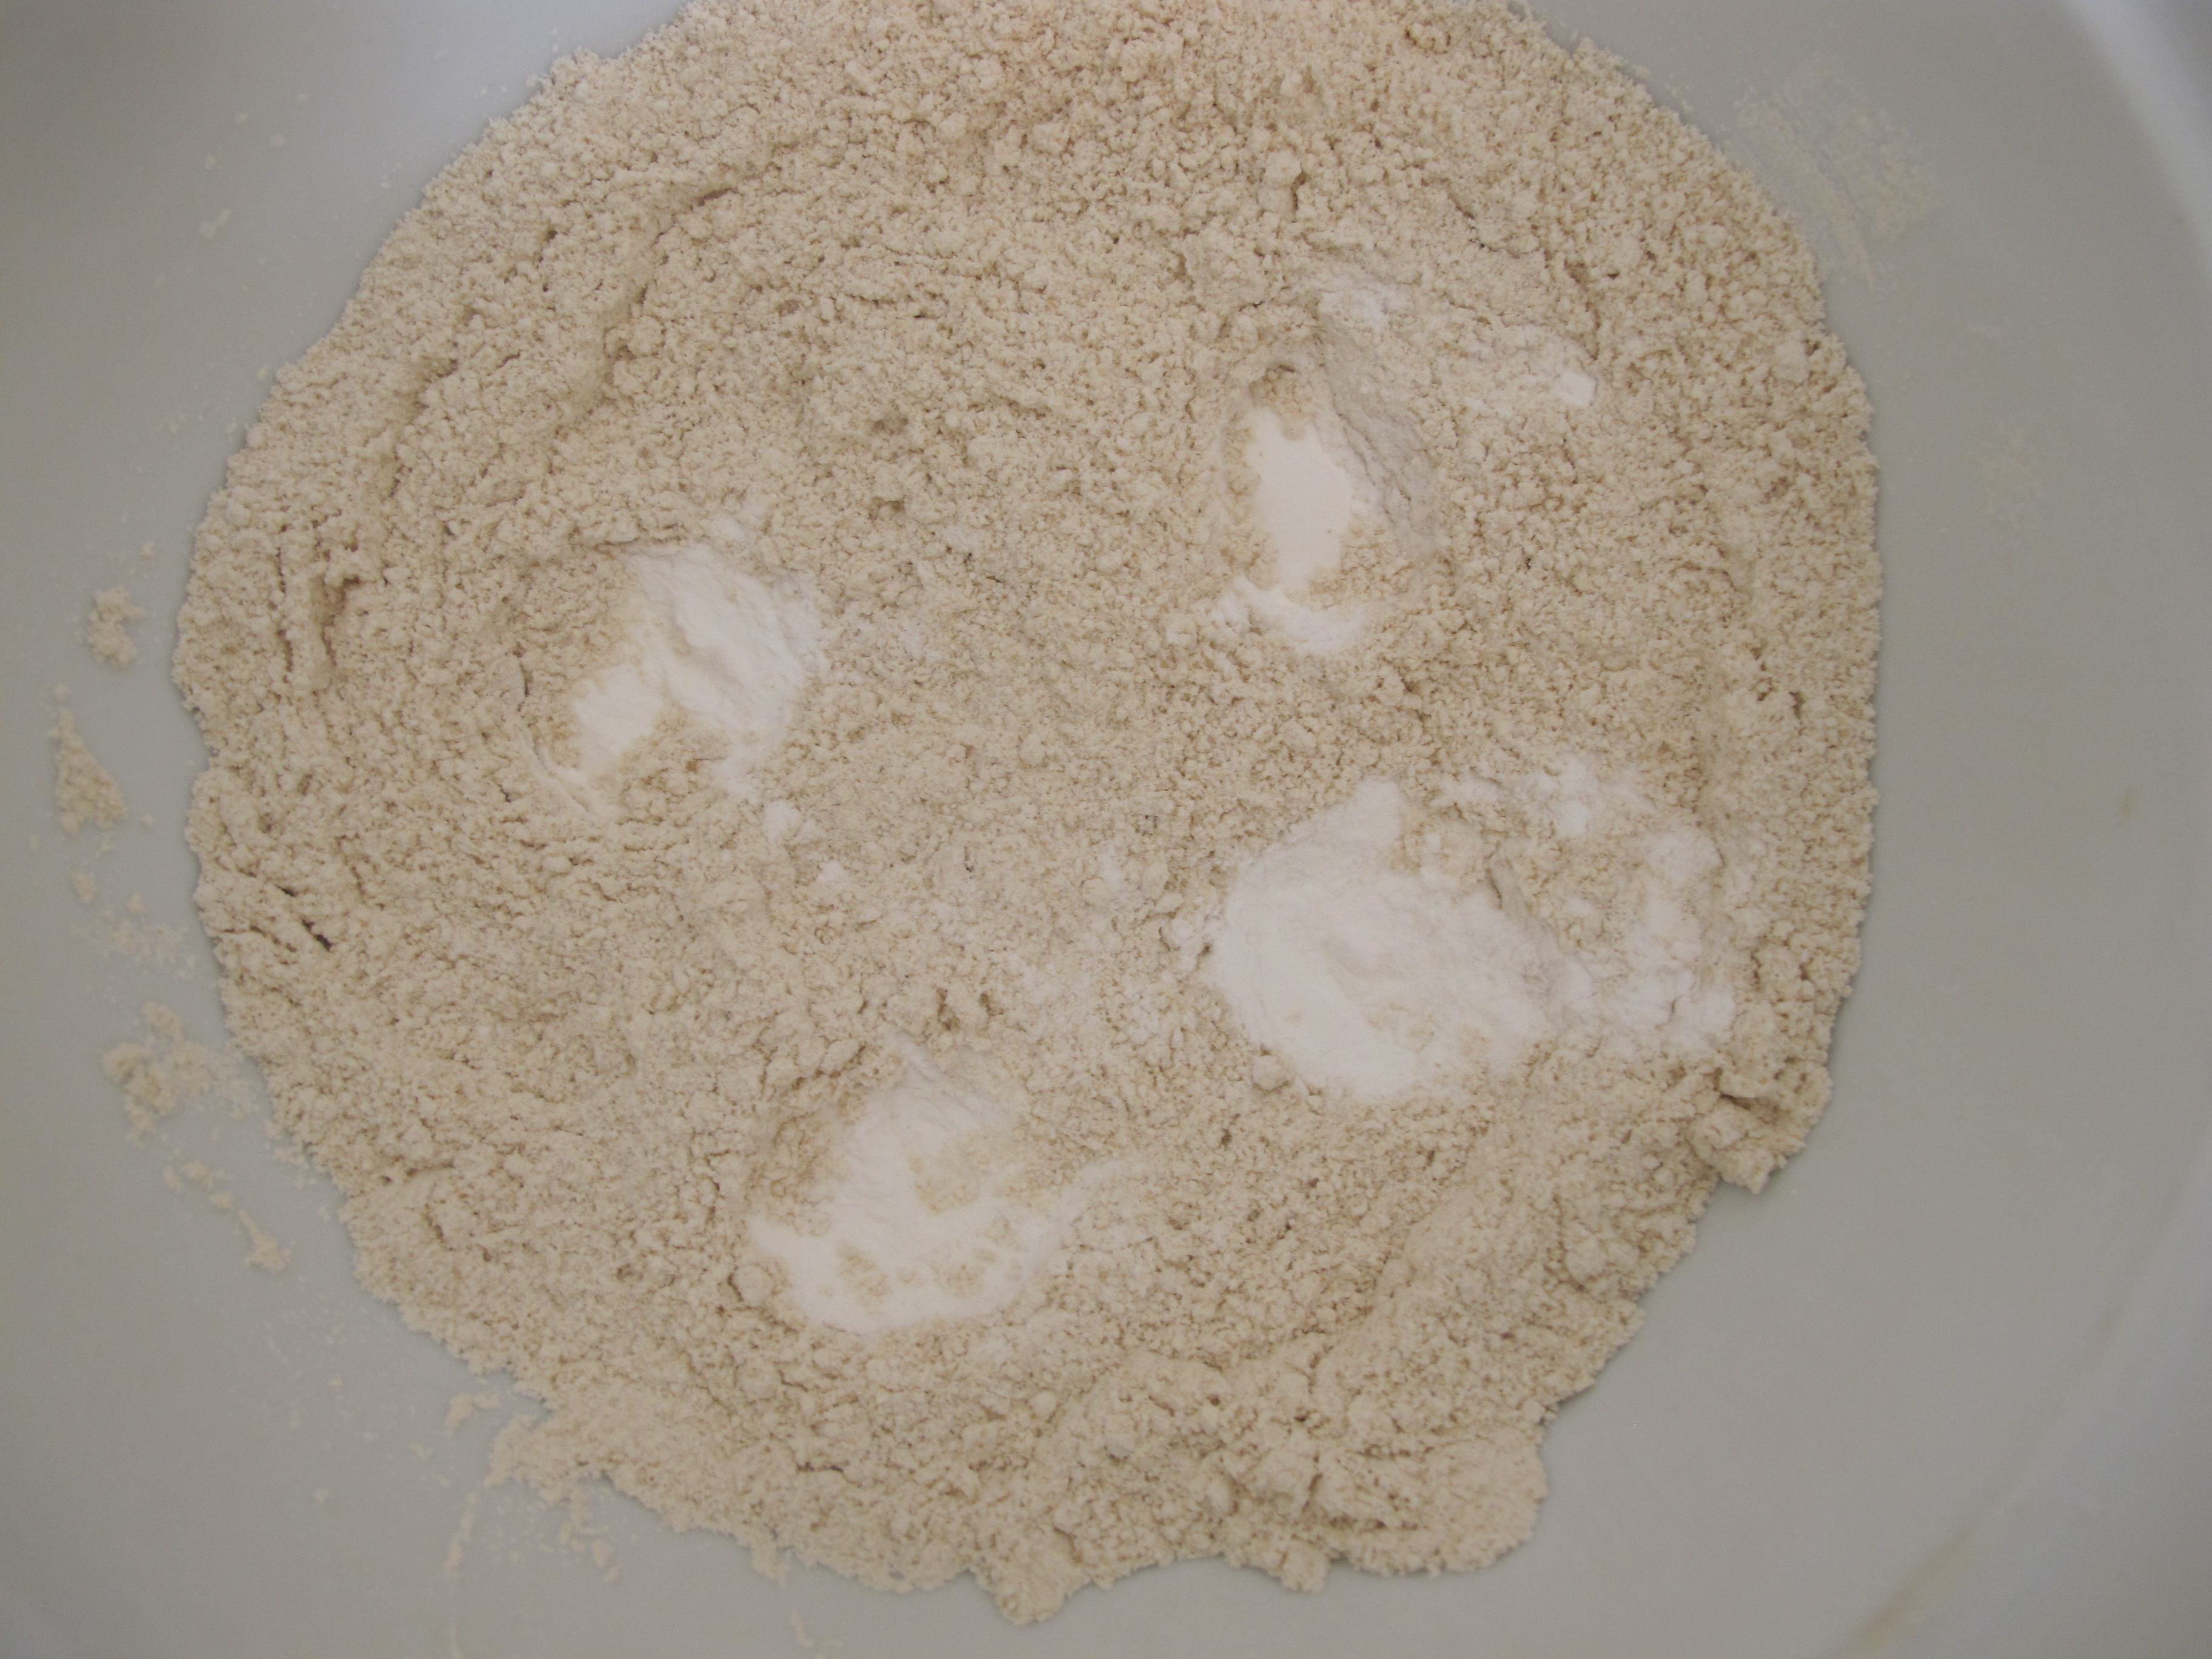
Preheat oven to 375 degrees F. In a large bowl, add all of the dry ingredients. One trick I learned while working a baker’s shift through graduate school, was to add each teaspoon of (salt/powder/soda) in separate heaps and whisk with each new ingredient. As a mom, as in a busy restaurant kitchen, it’s easy to get distracted and forget whether or not you paused in between that first and second teaspoon or third and fourth teaspoon of baking powder. Tip= Priceless!

Cut your butter into the flower until it resembles the peas. Pastry cutter is a tool of the trade. It’s worth it’s weight in gold if you’ve ever tried to use two butter knives or a fork to cut butter into your dry ingredients.
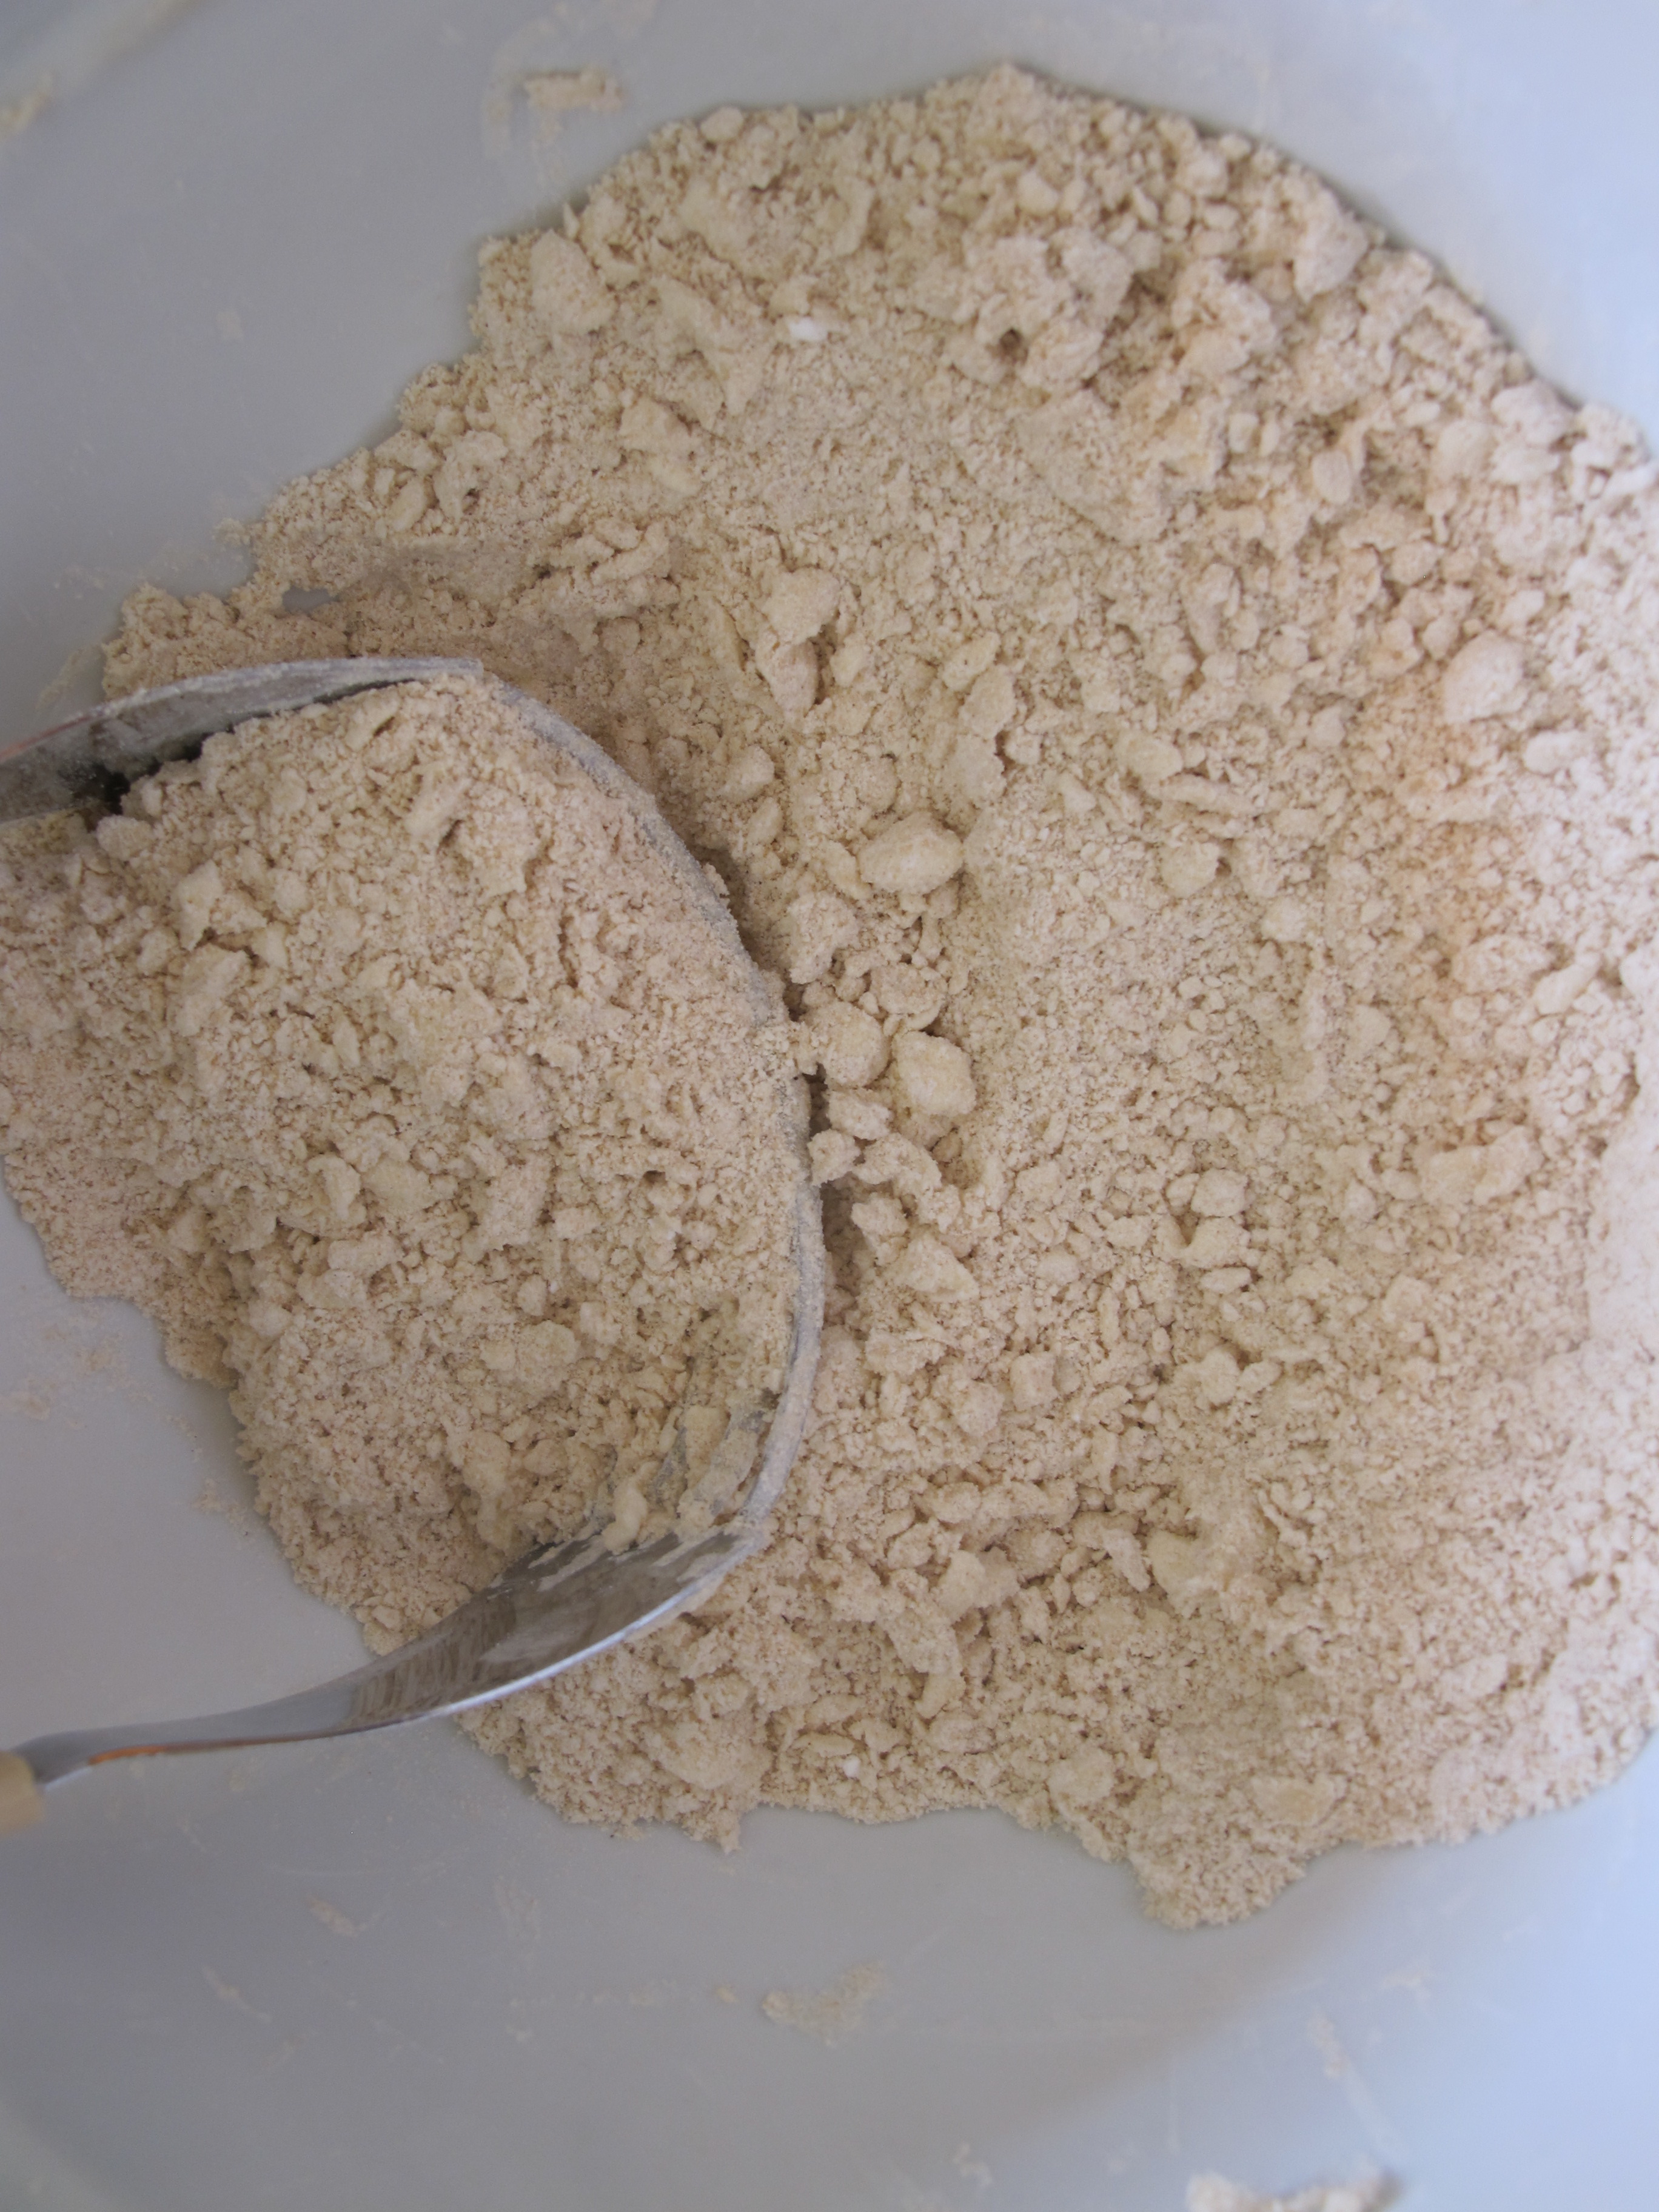
This is what I’m calling pea sized.

Chop dill and mix it into the flour.

Add shredded cheese and mix with a spatula or a wooden spoon.
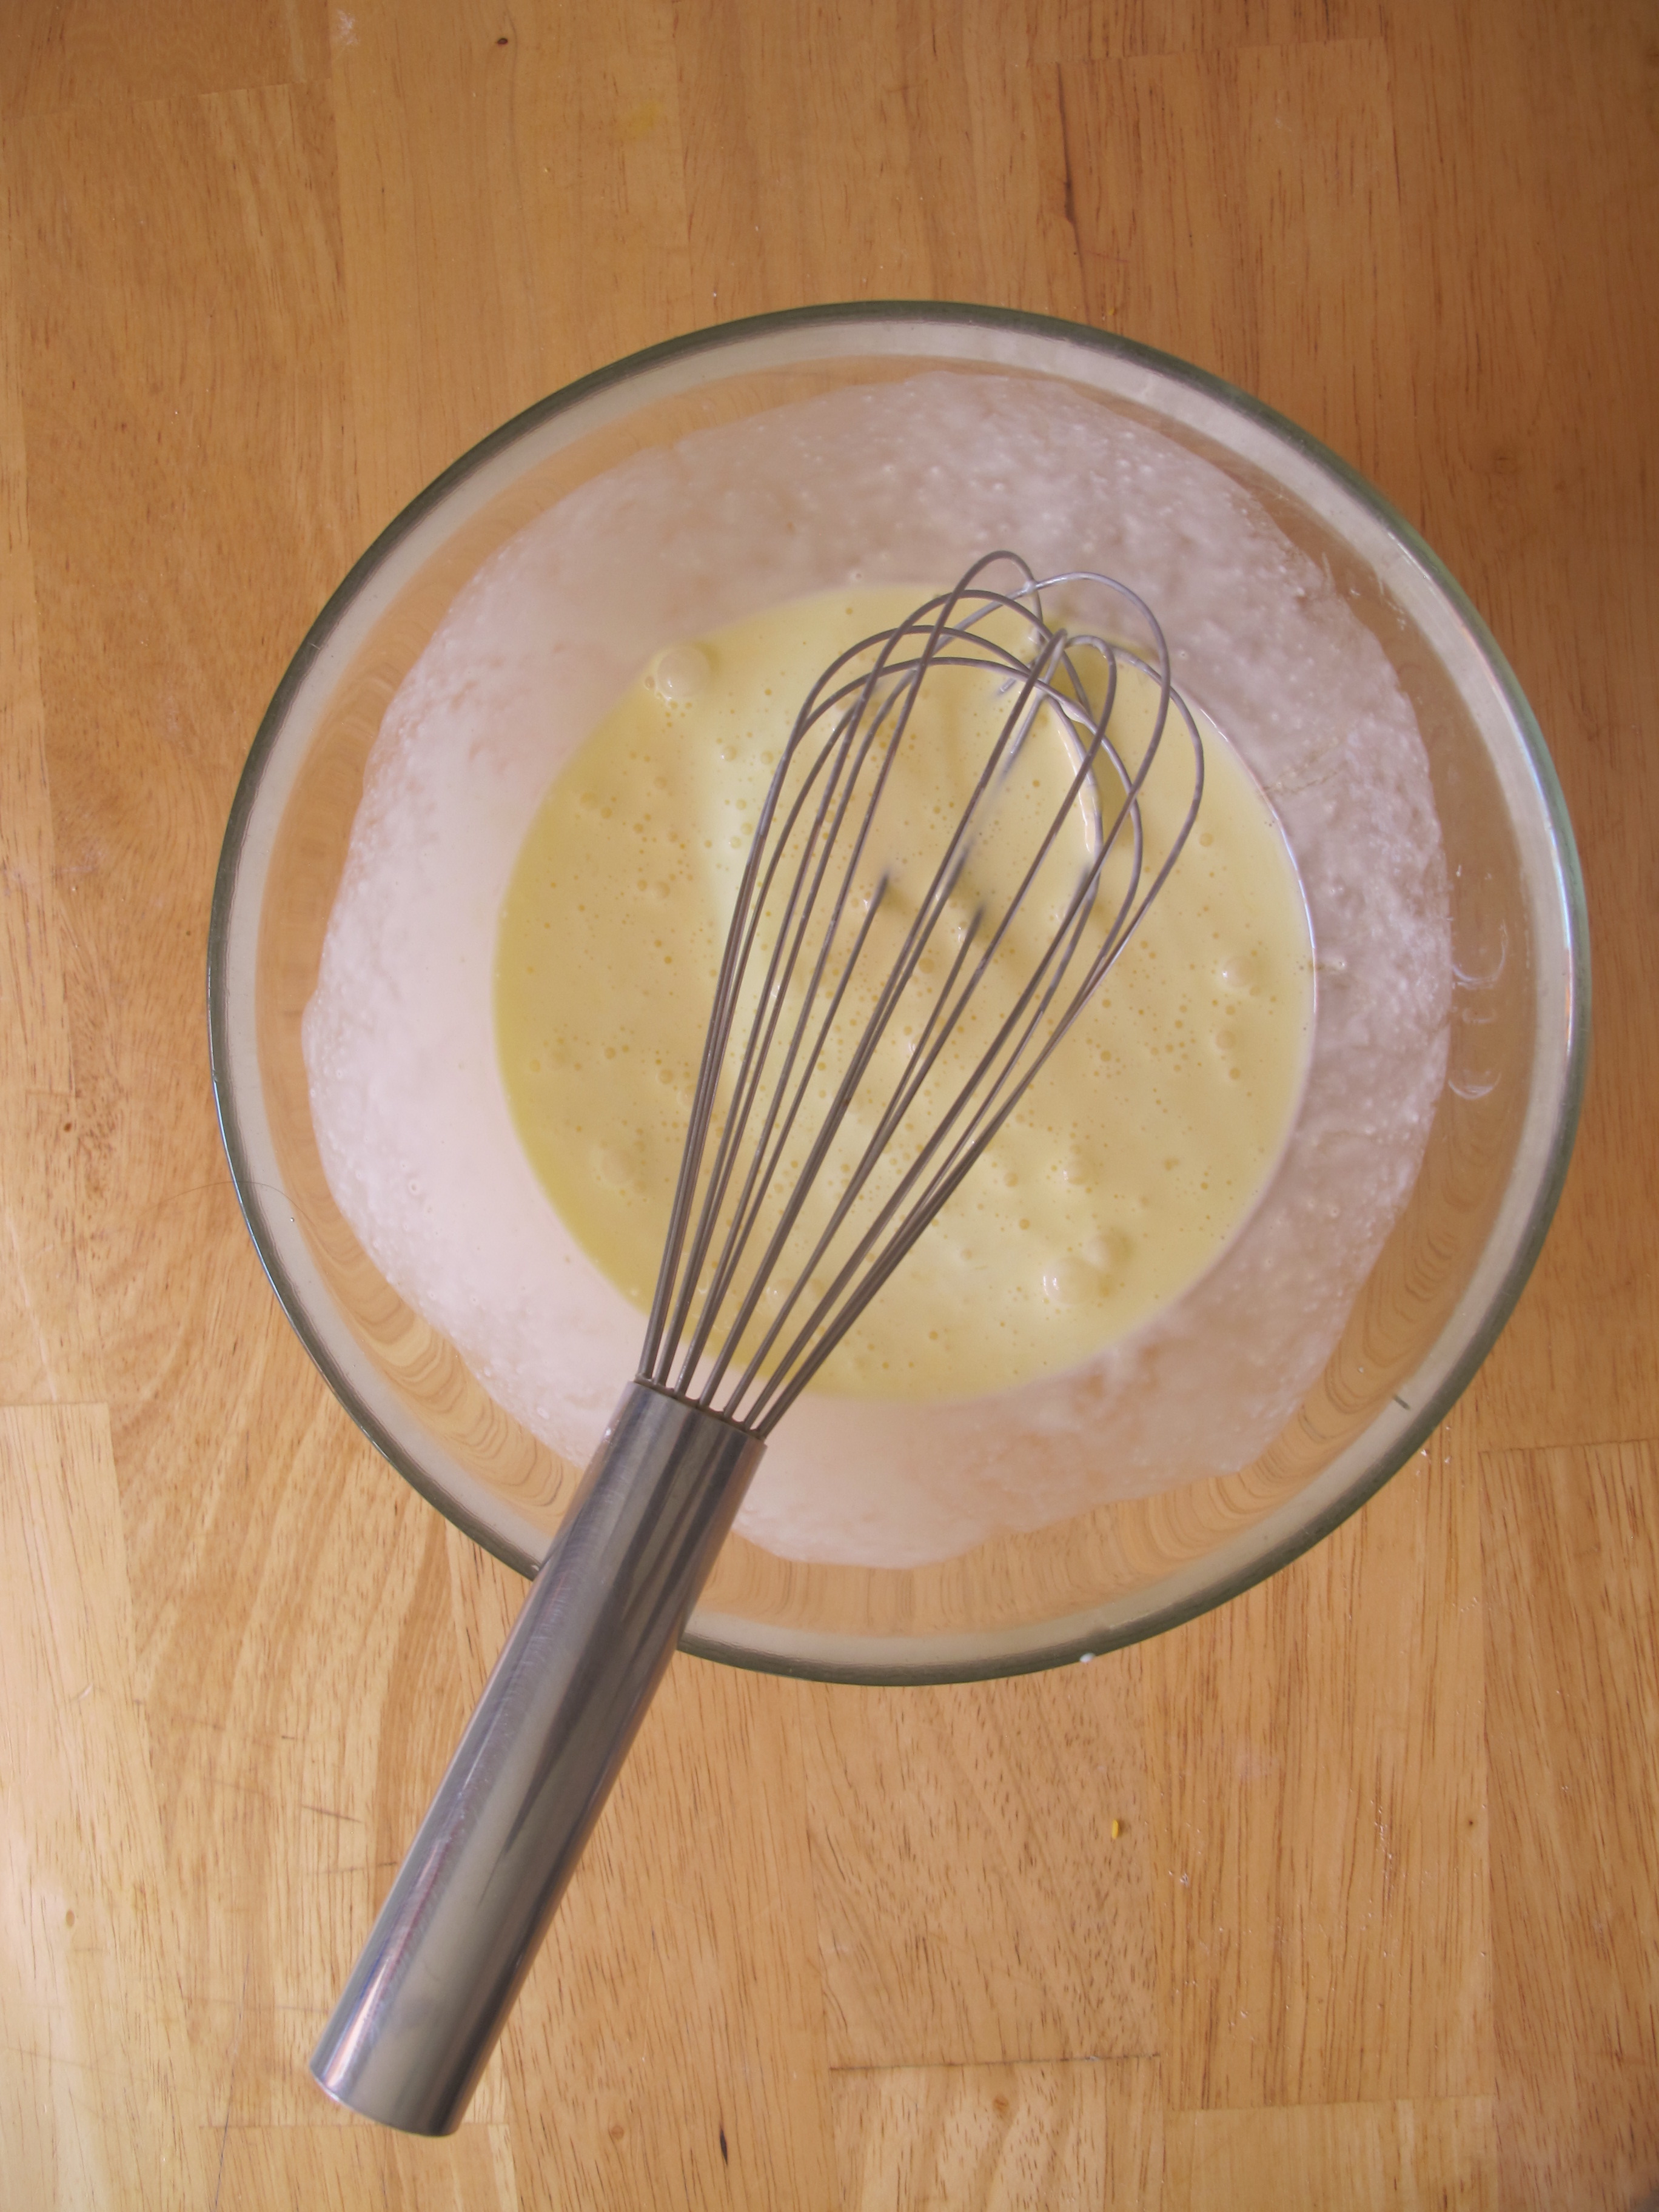
Beat cream and eggs with a whisk.. I sometimes like to add a pinch of paprika.
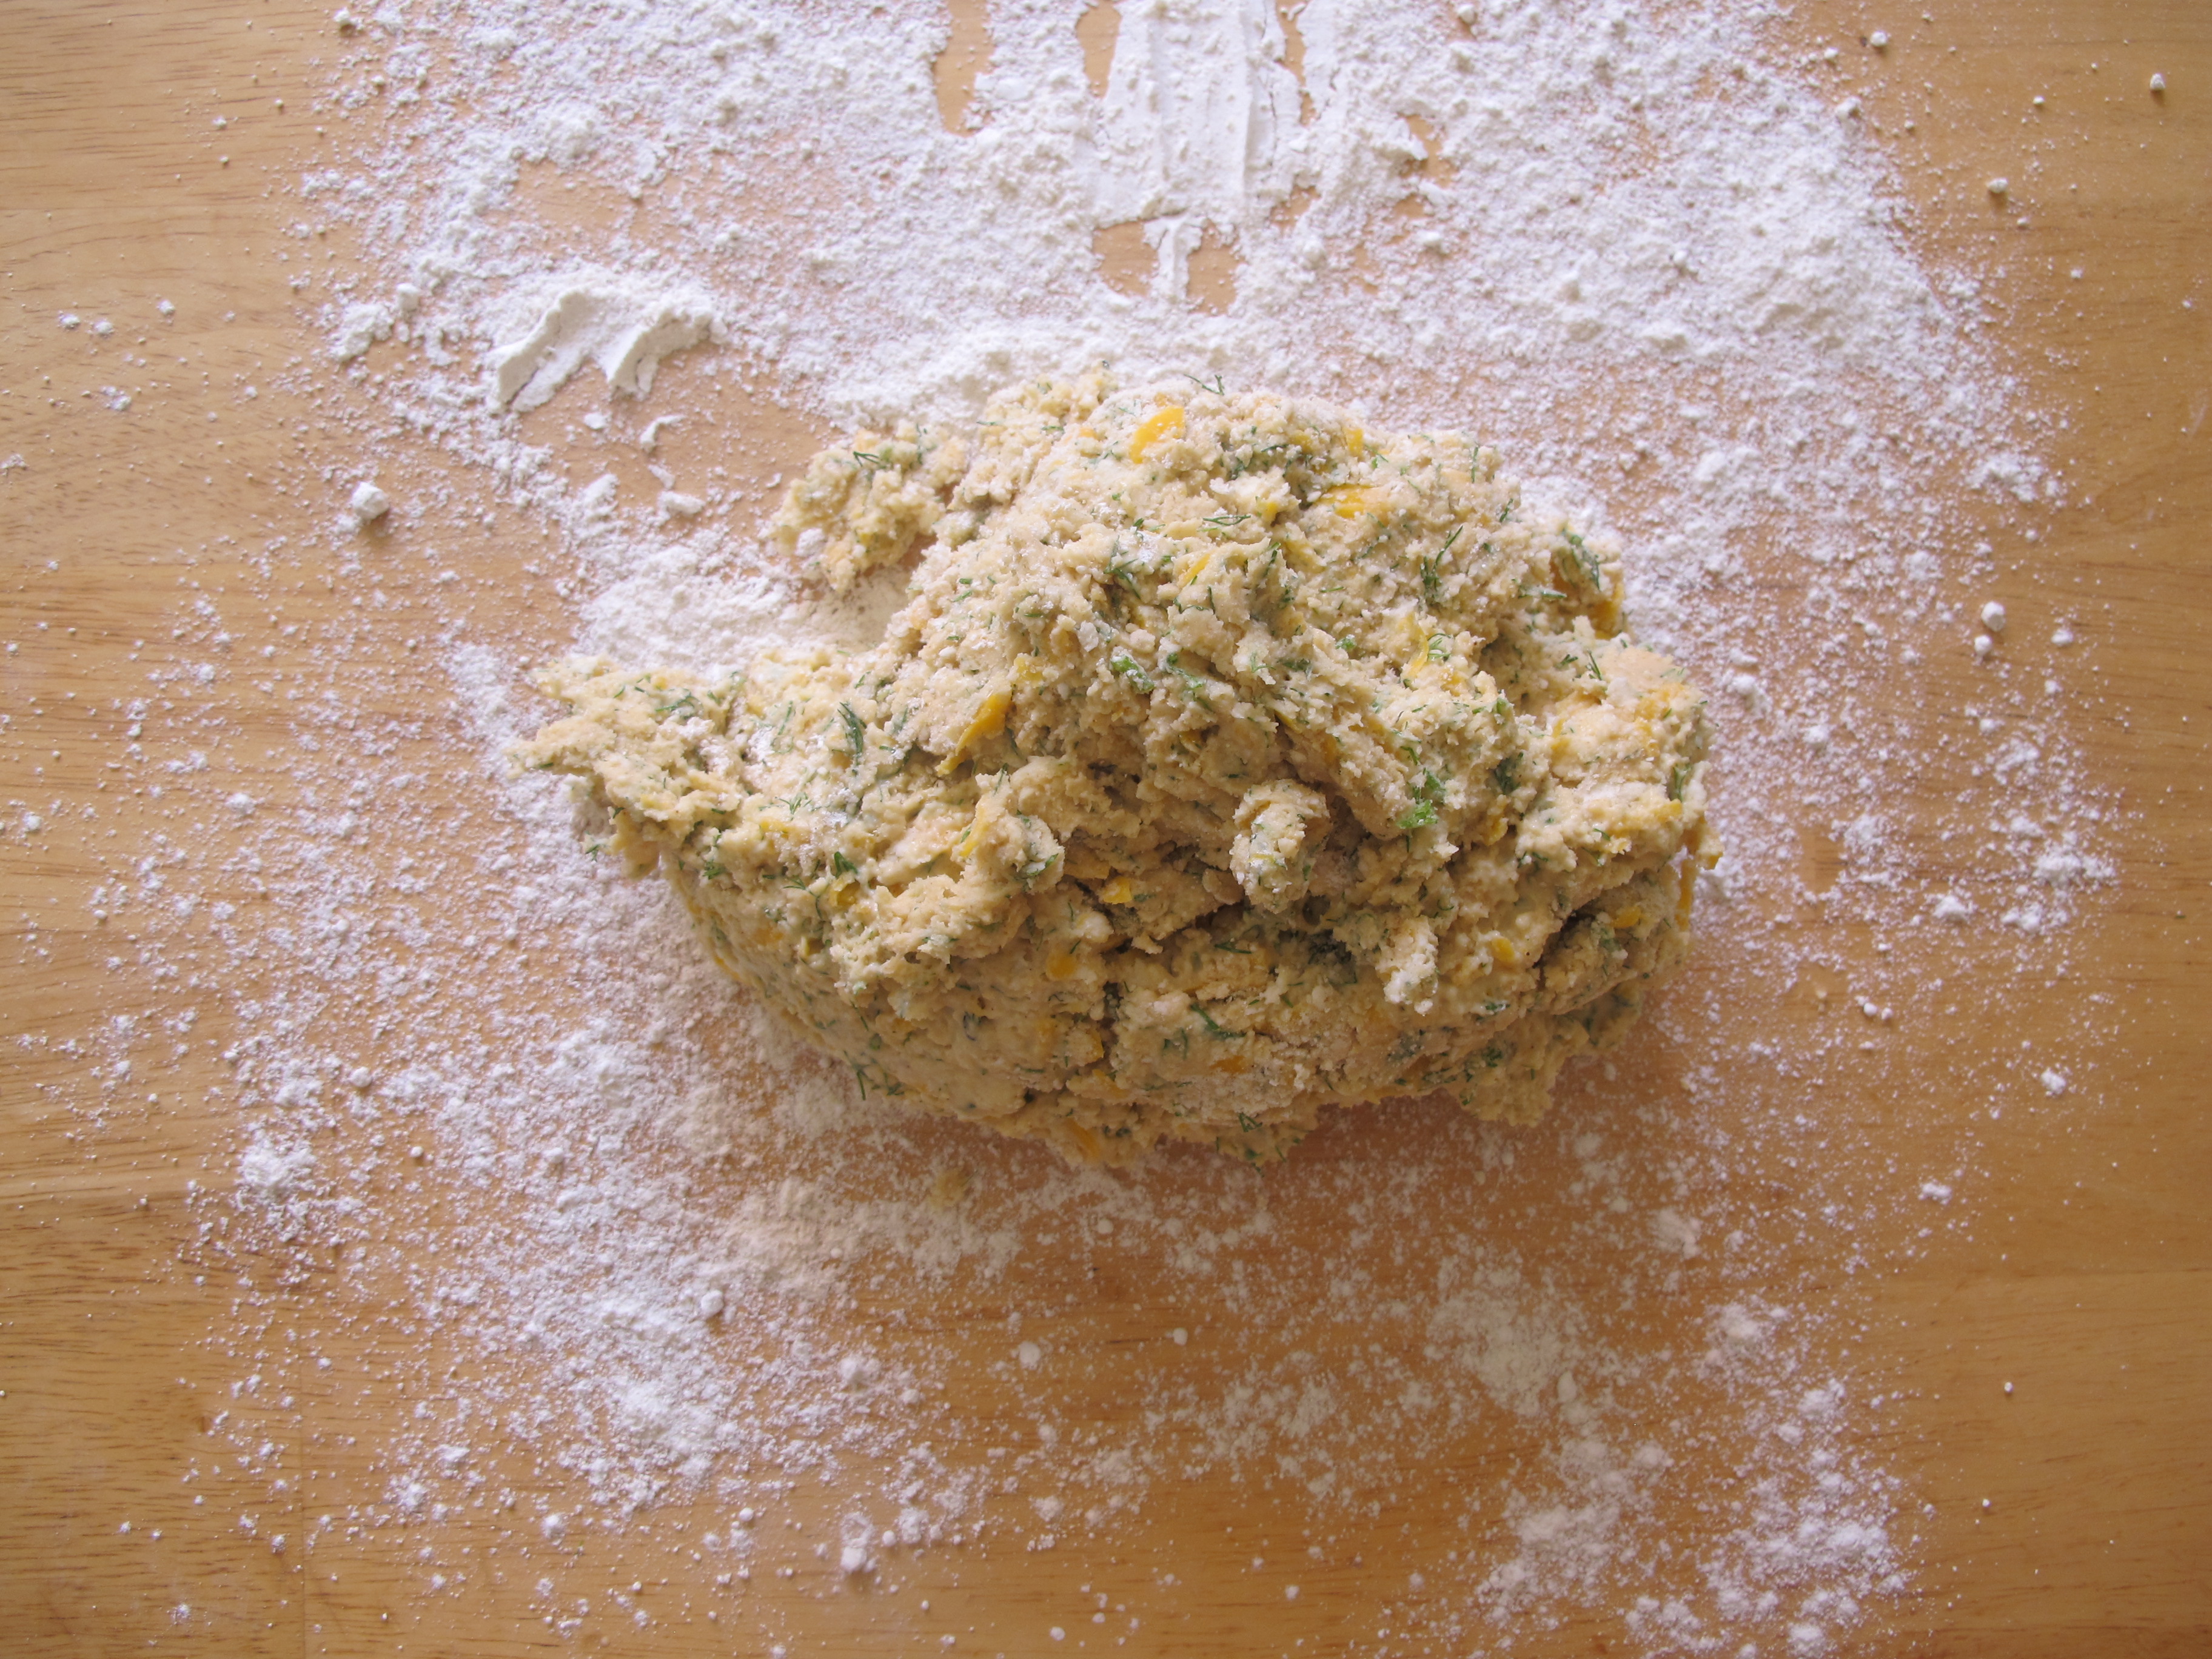
Add wet ingredients into flour ingredients and gently mix to combine the ingredients. Mix just enough so the dough is sticky and then place it on to a floured board. Be sure to cover both sides with the flour.
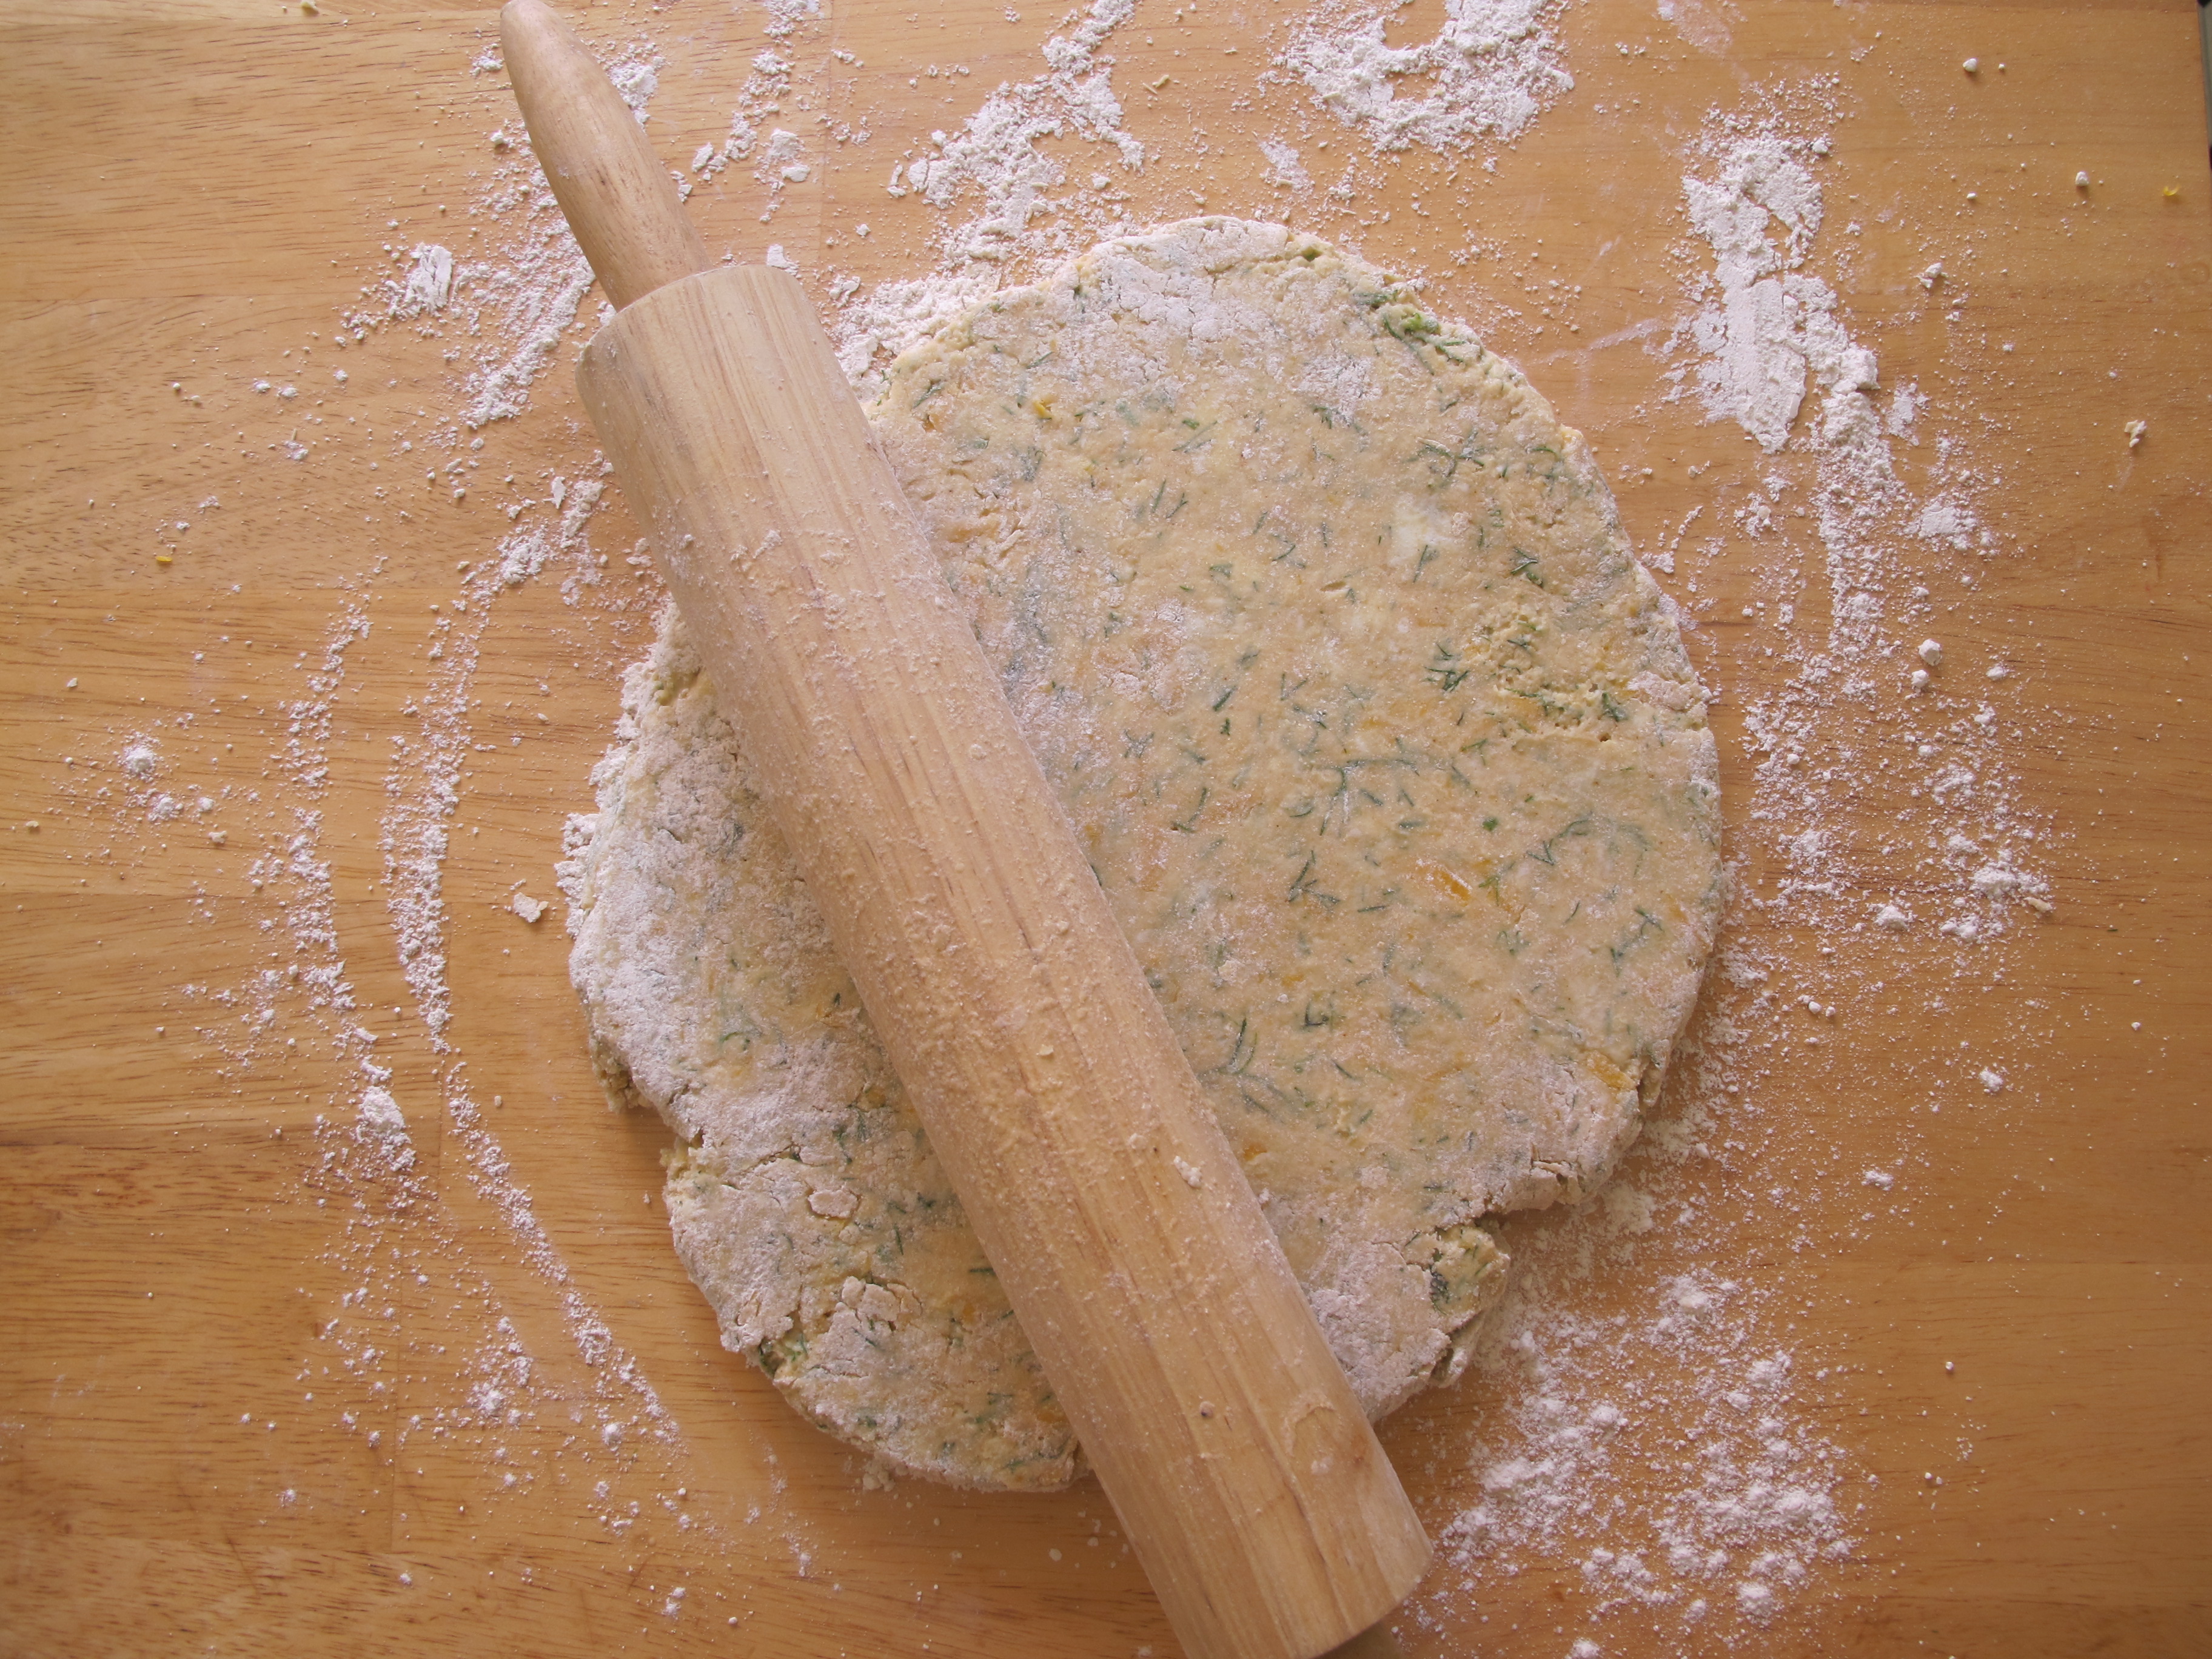
With a floured rolling pin, roll your dough out to a disc. Be sure to keep it roughly 1/2 inch thick.
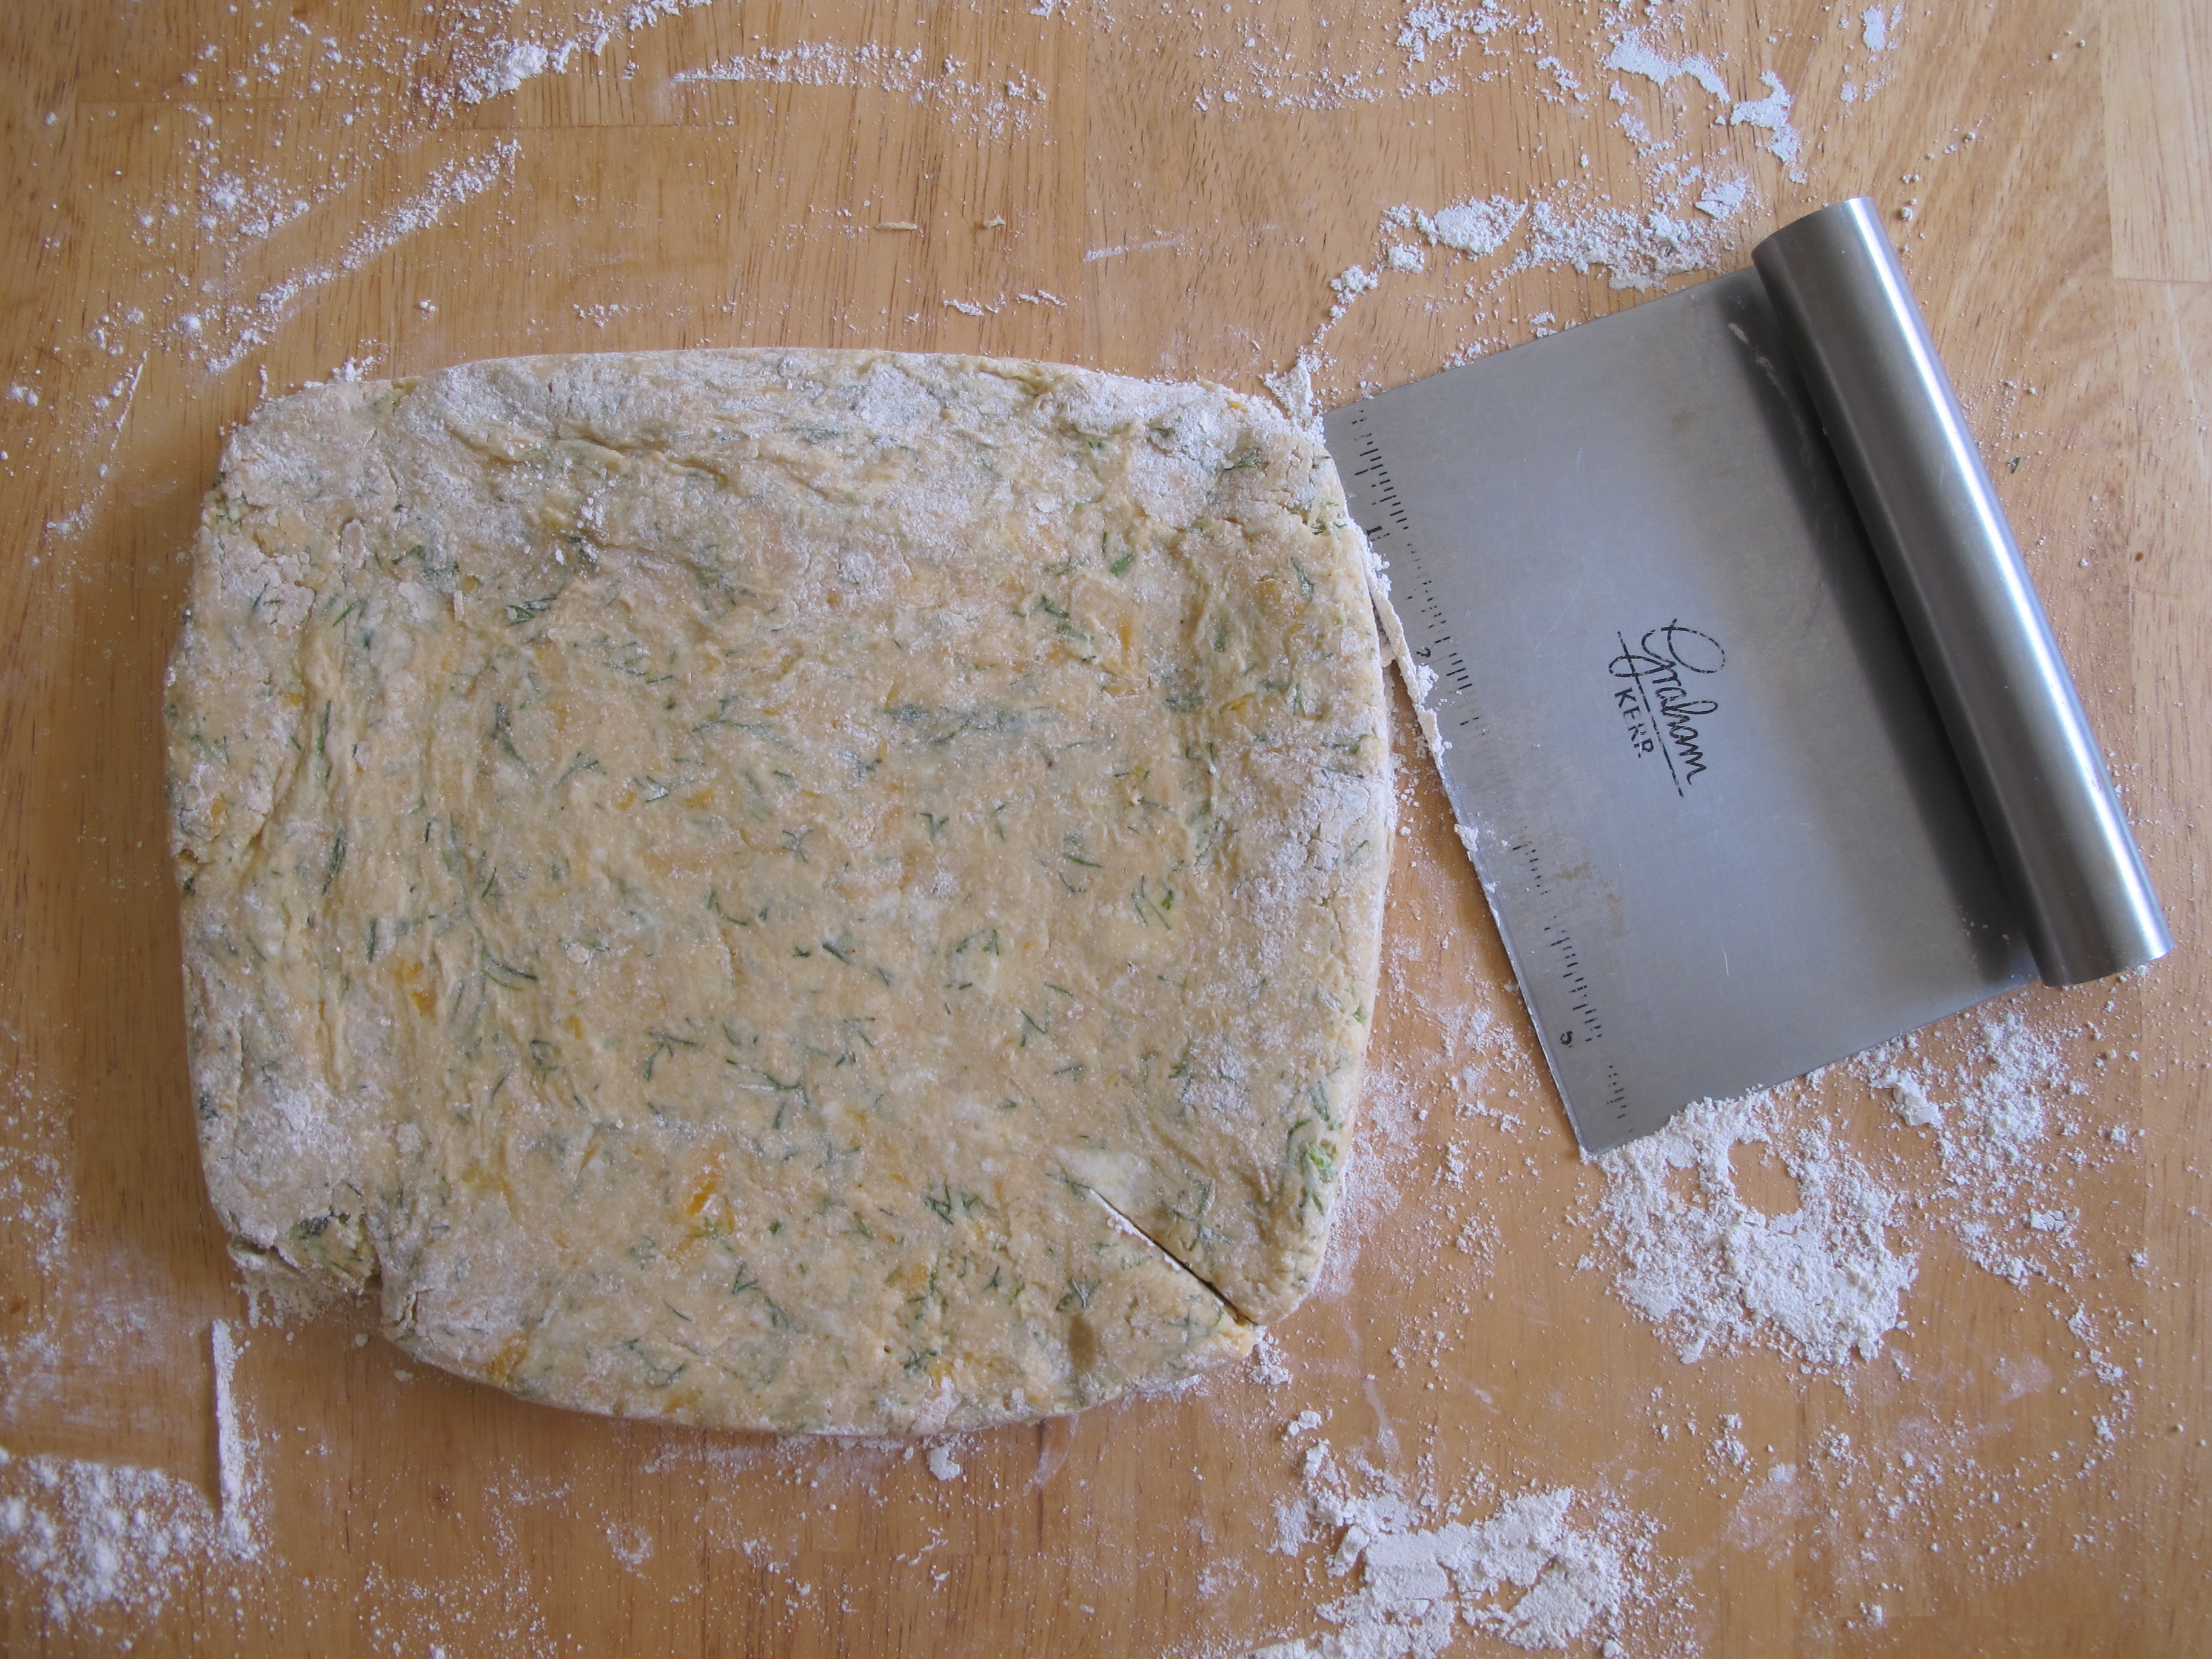
I like to square off my scones– others don’t mind the circular batch. I prefer right angles in this case. Another handy tool, also a pastry cutter. This one has a ruler on it so you can actually measure the width or thickness of your dough. Use it to slice your dough and when you’re all done, use it to shovel up leftover dough and flour on your table.
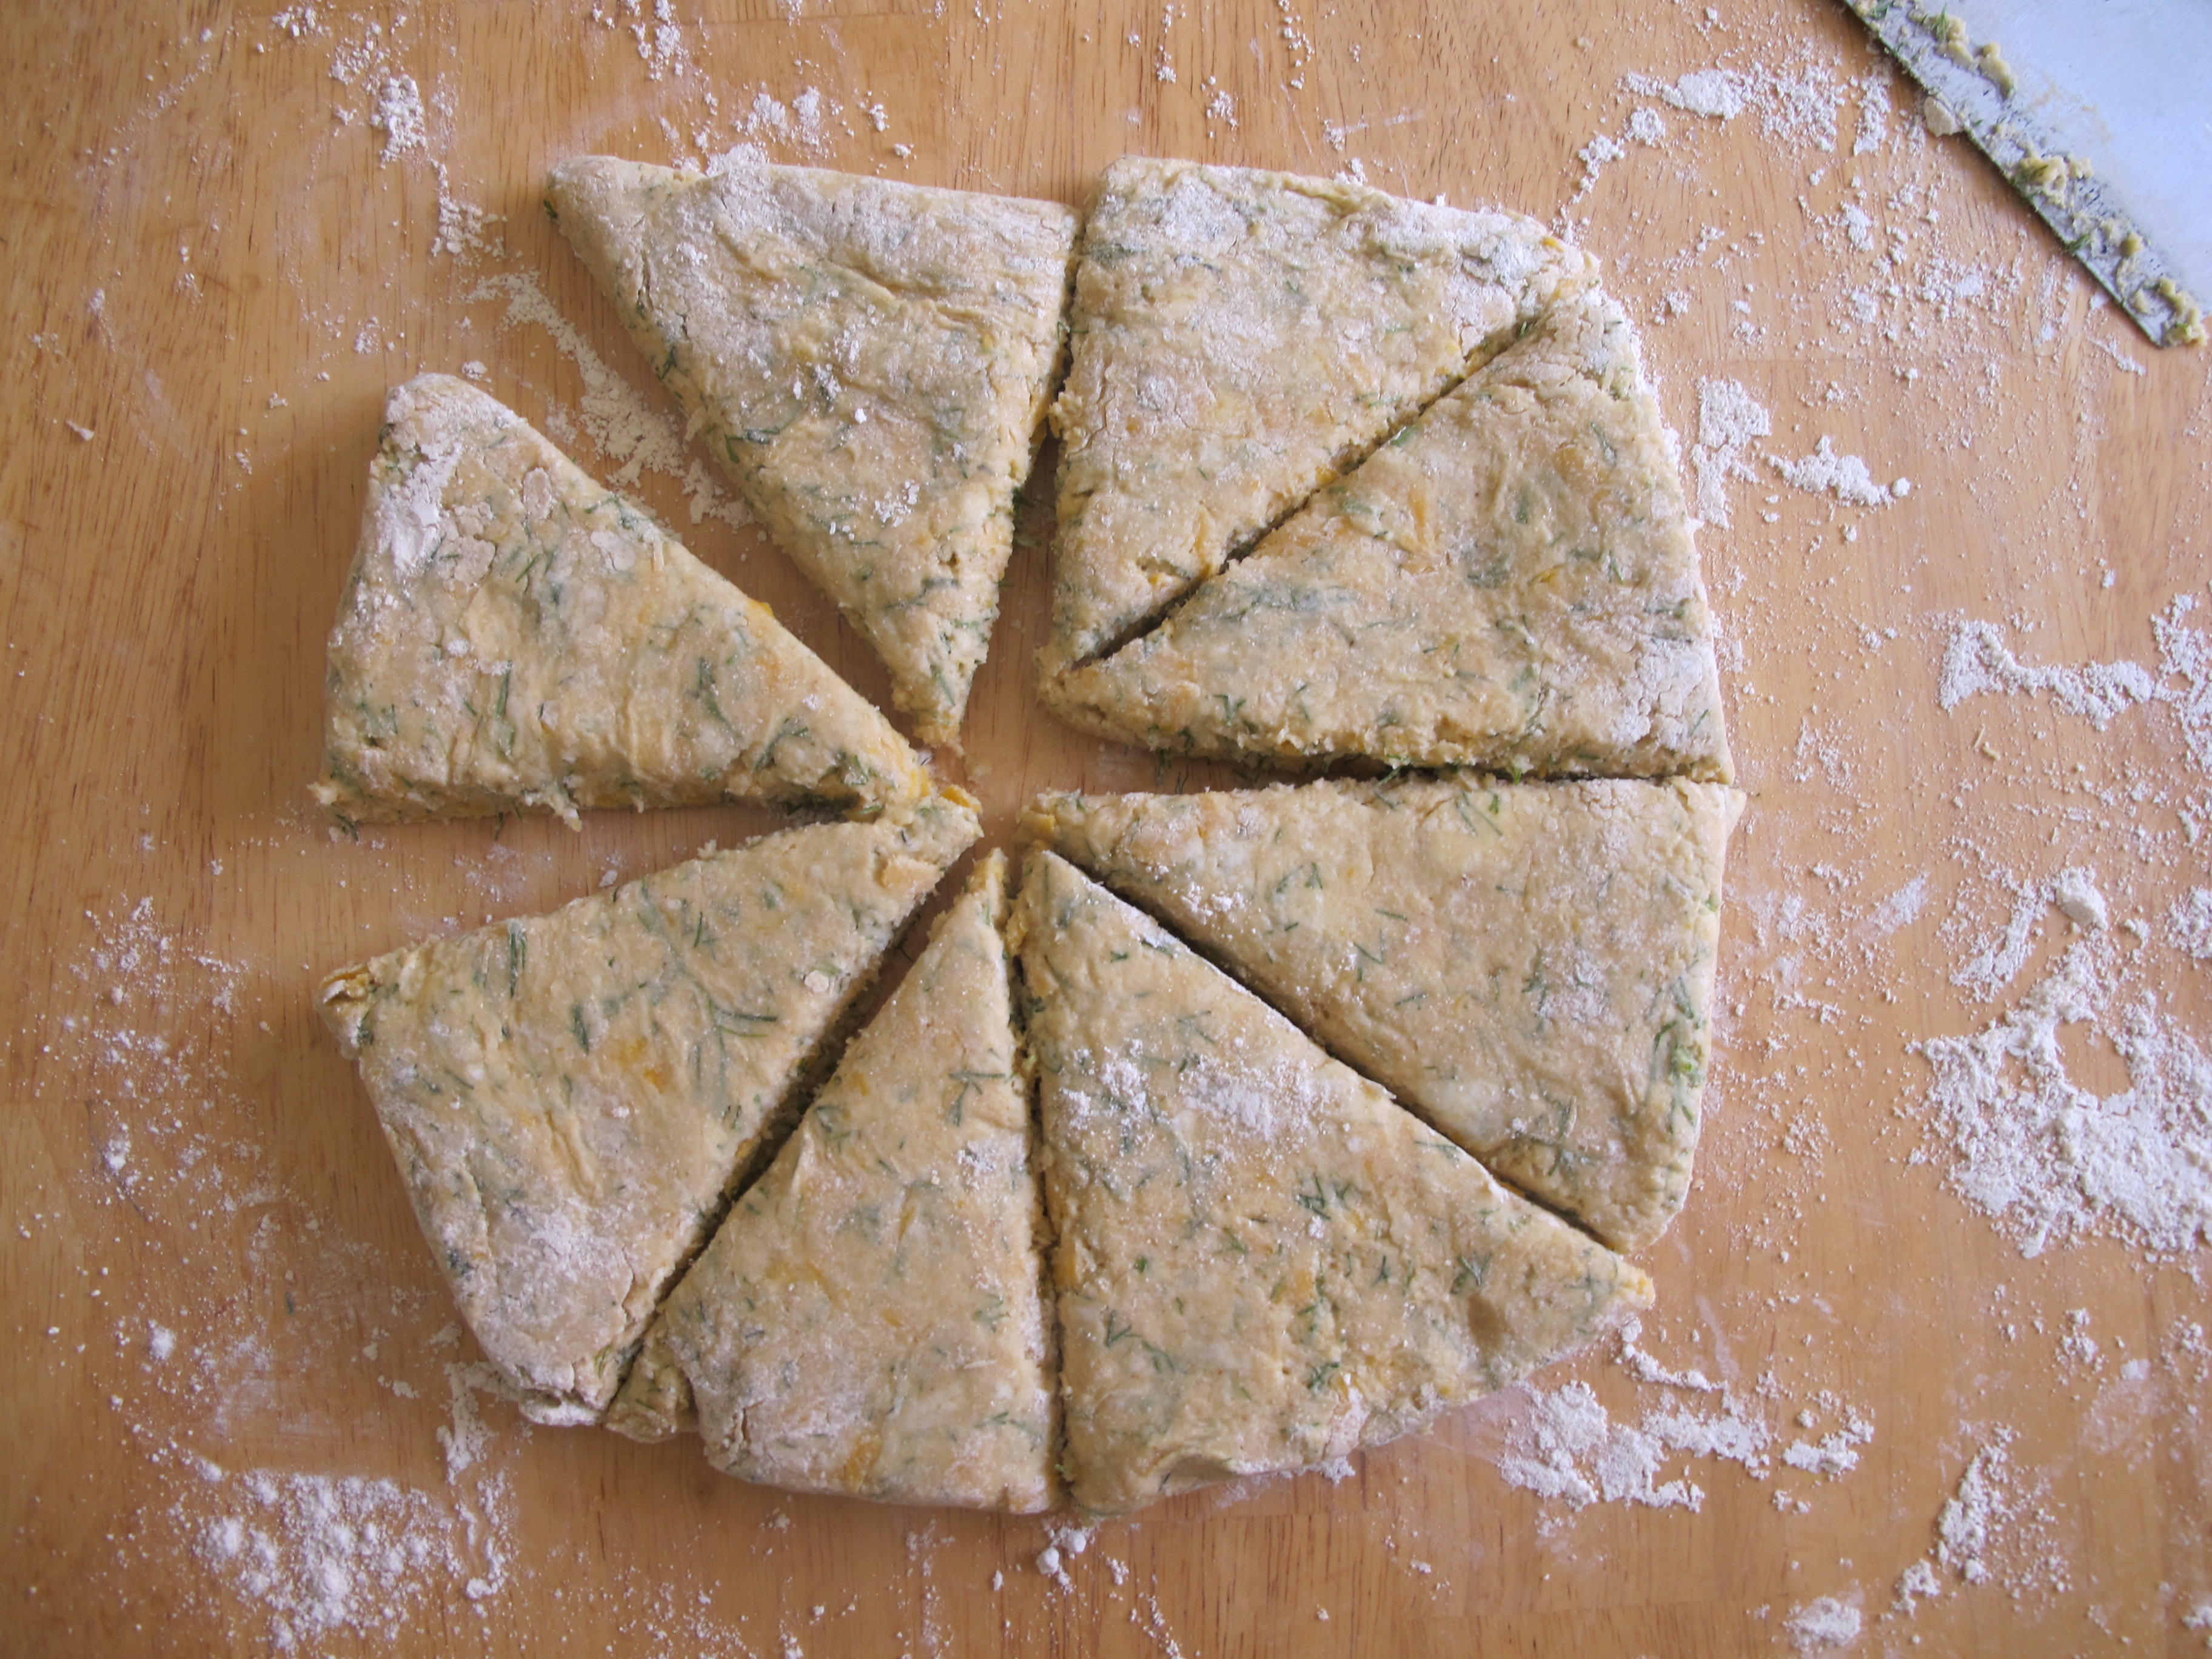
Slice the dough into eighths. First halves, then quarters, then eights.
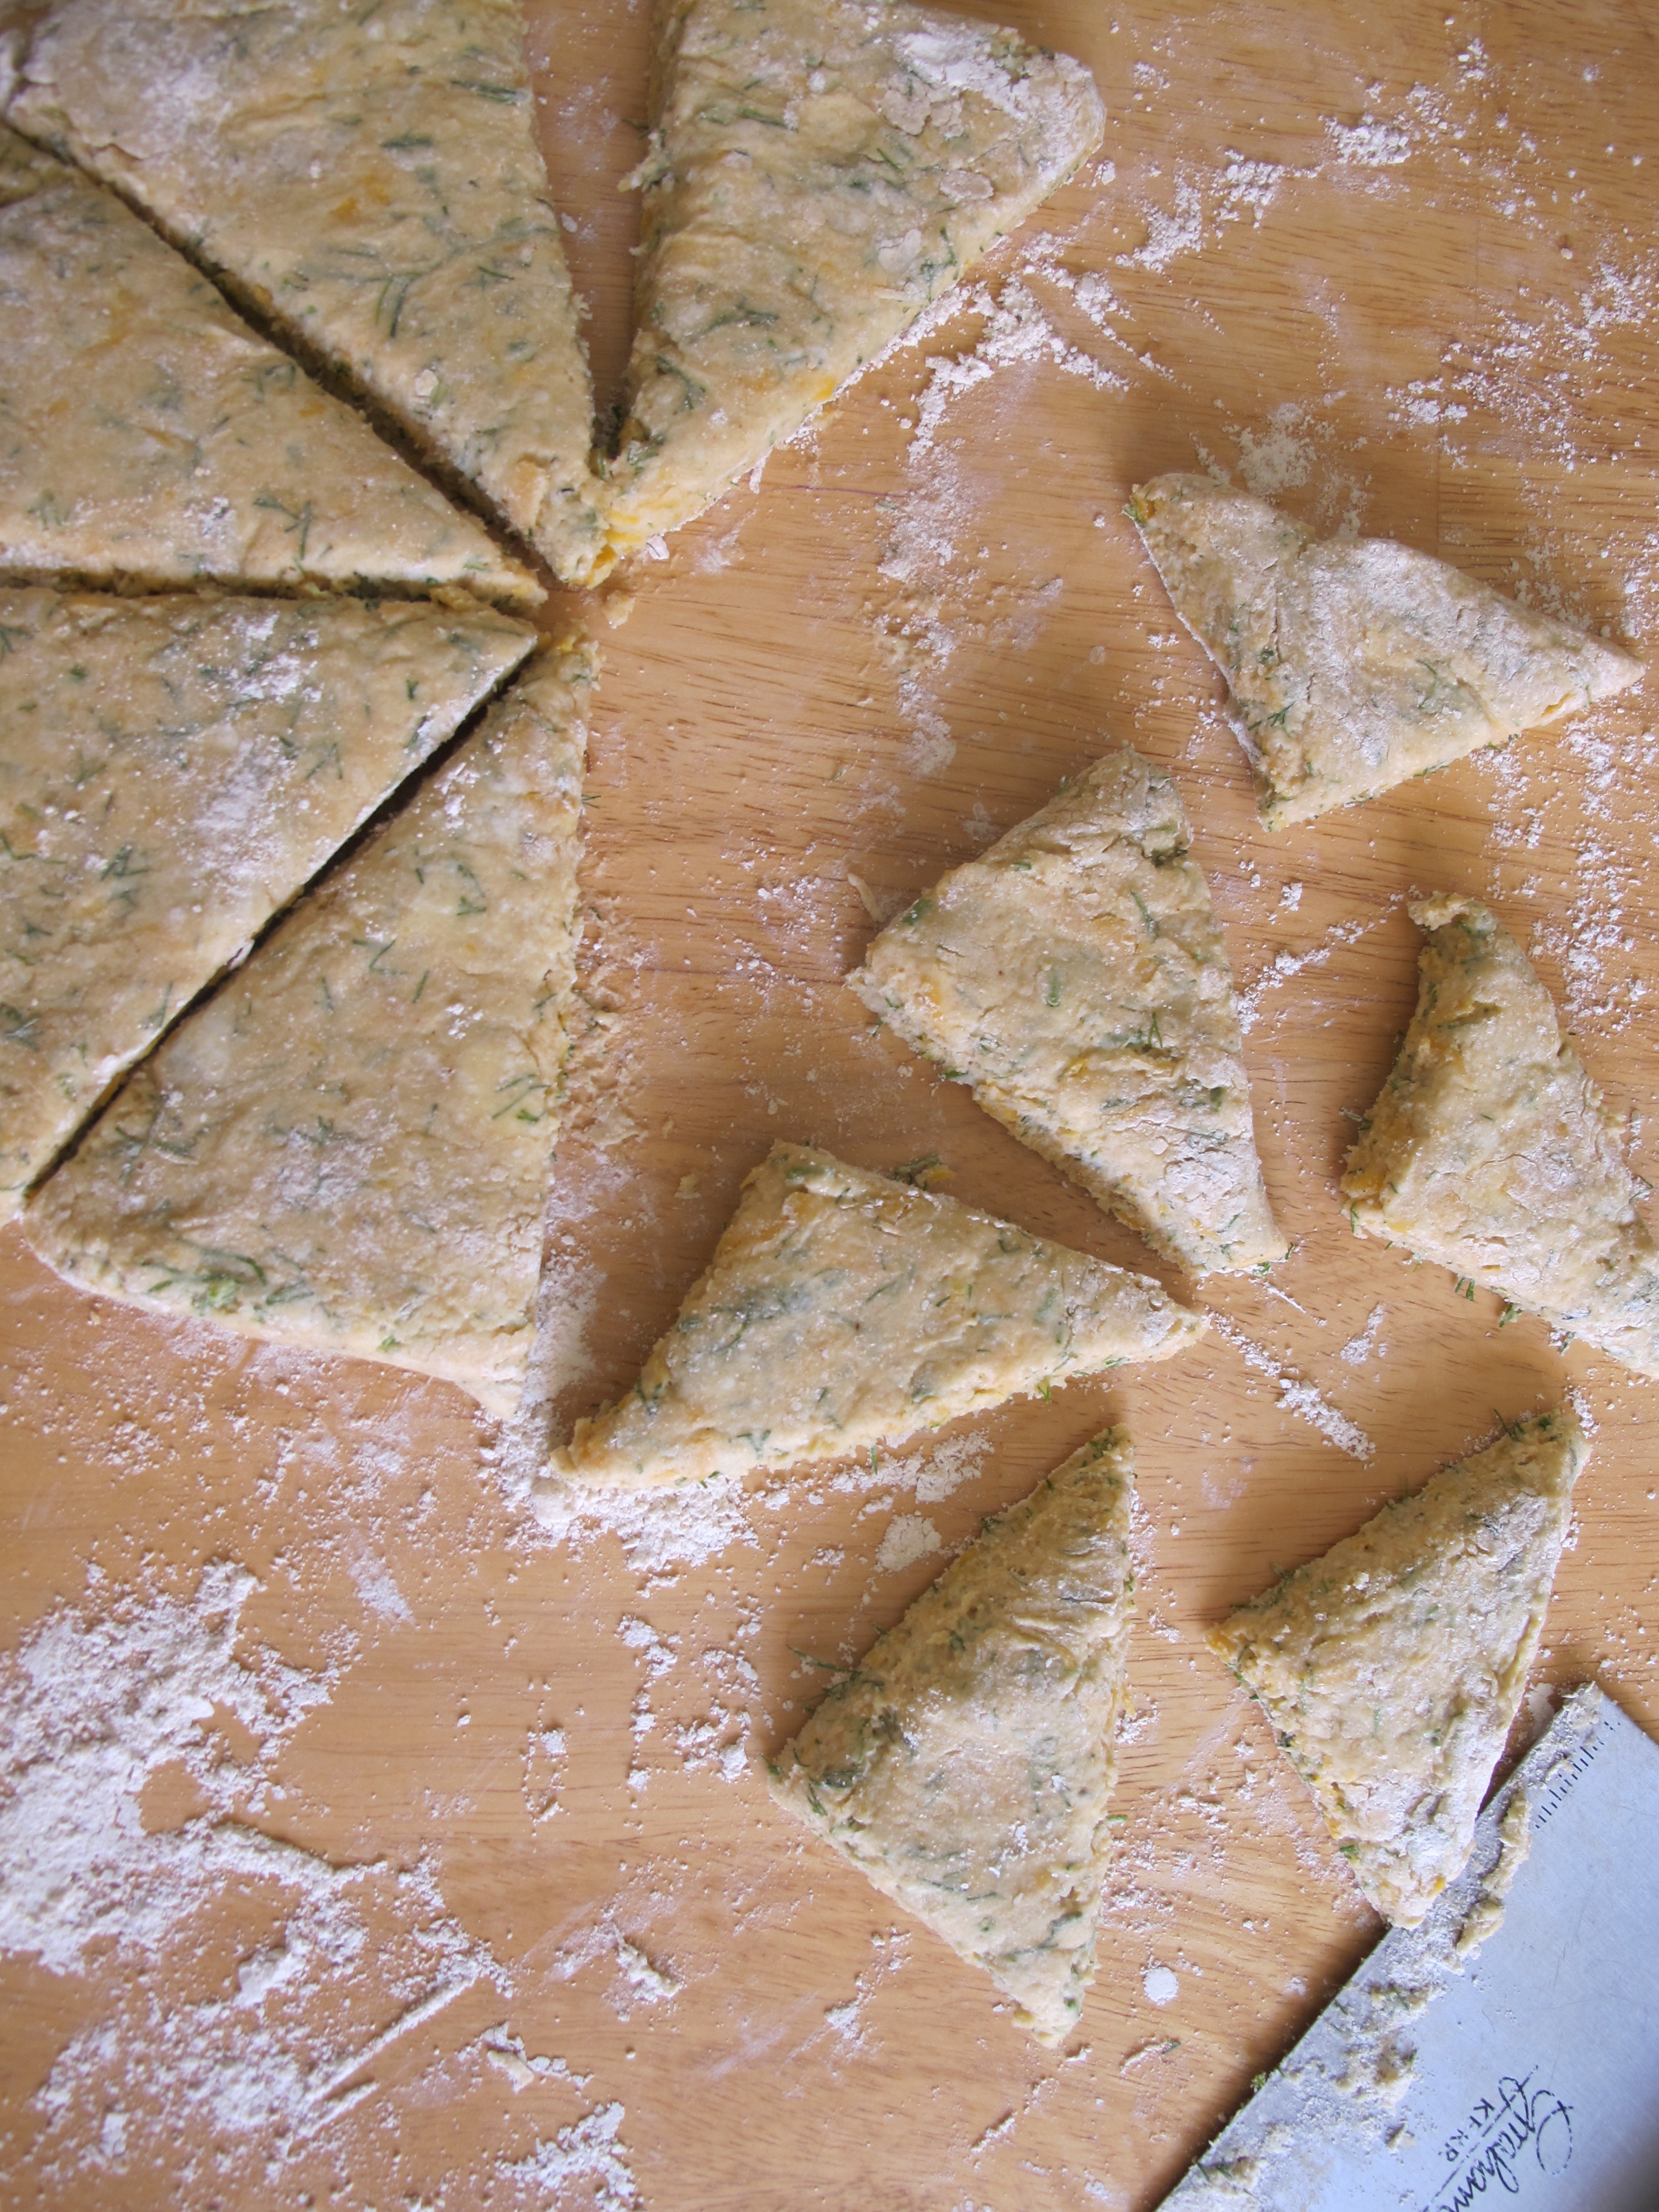
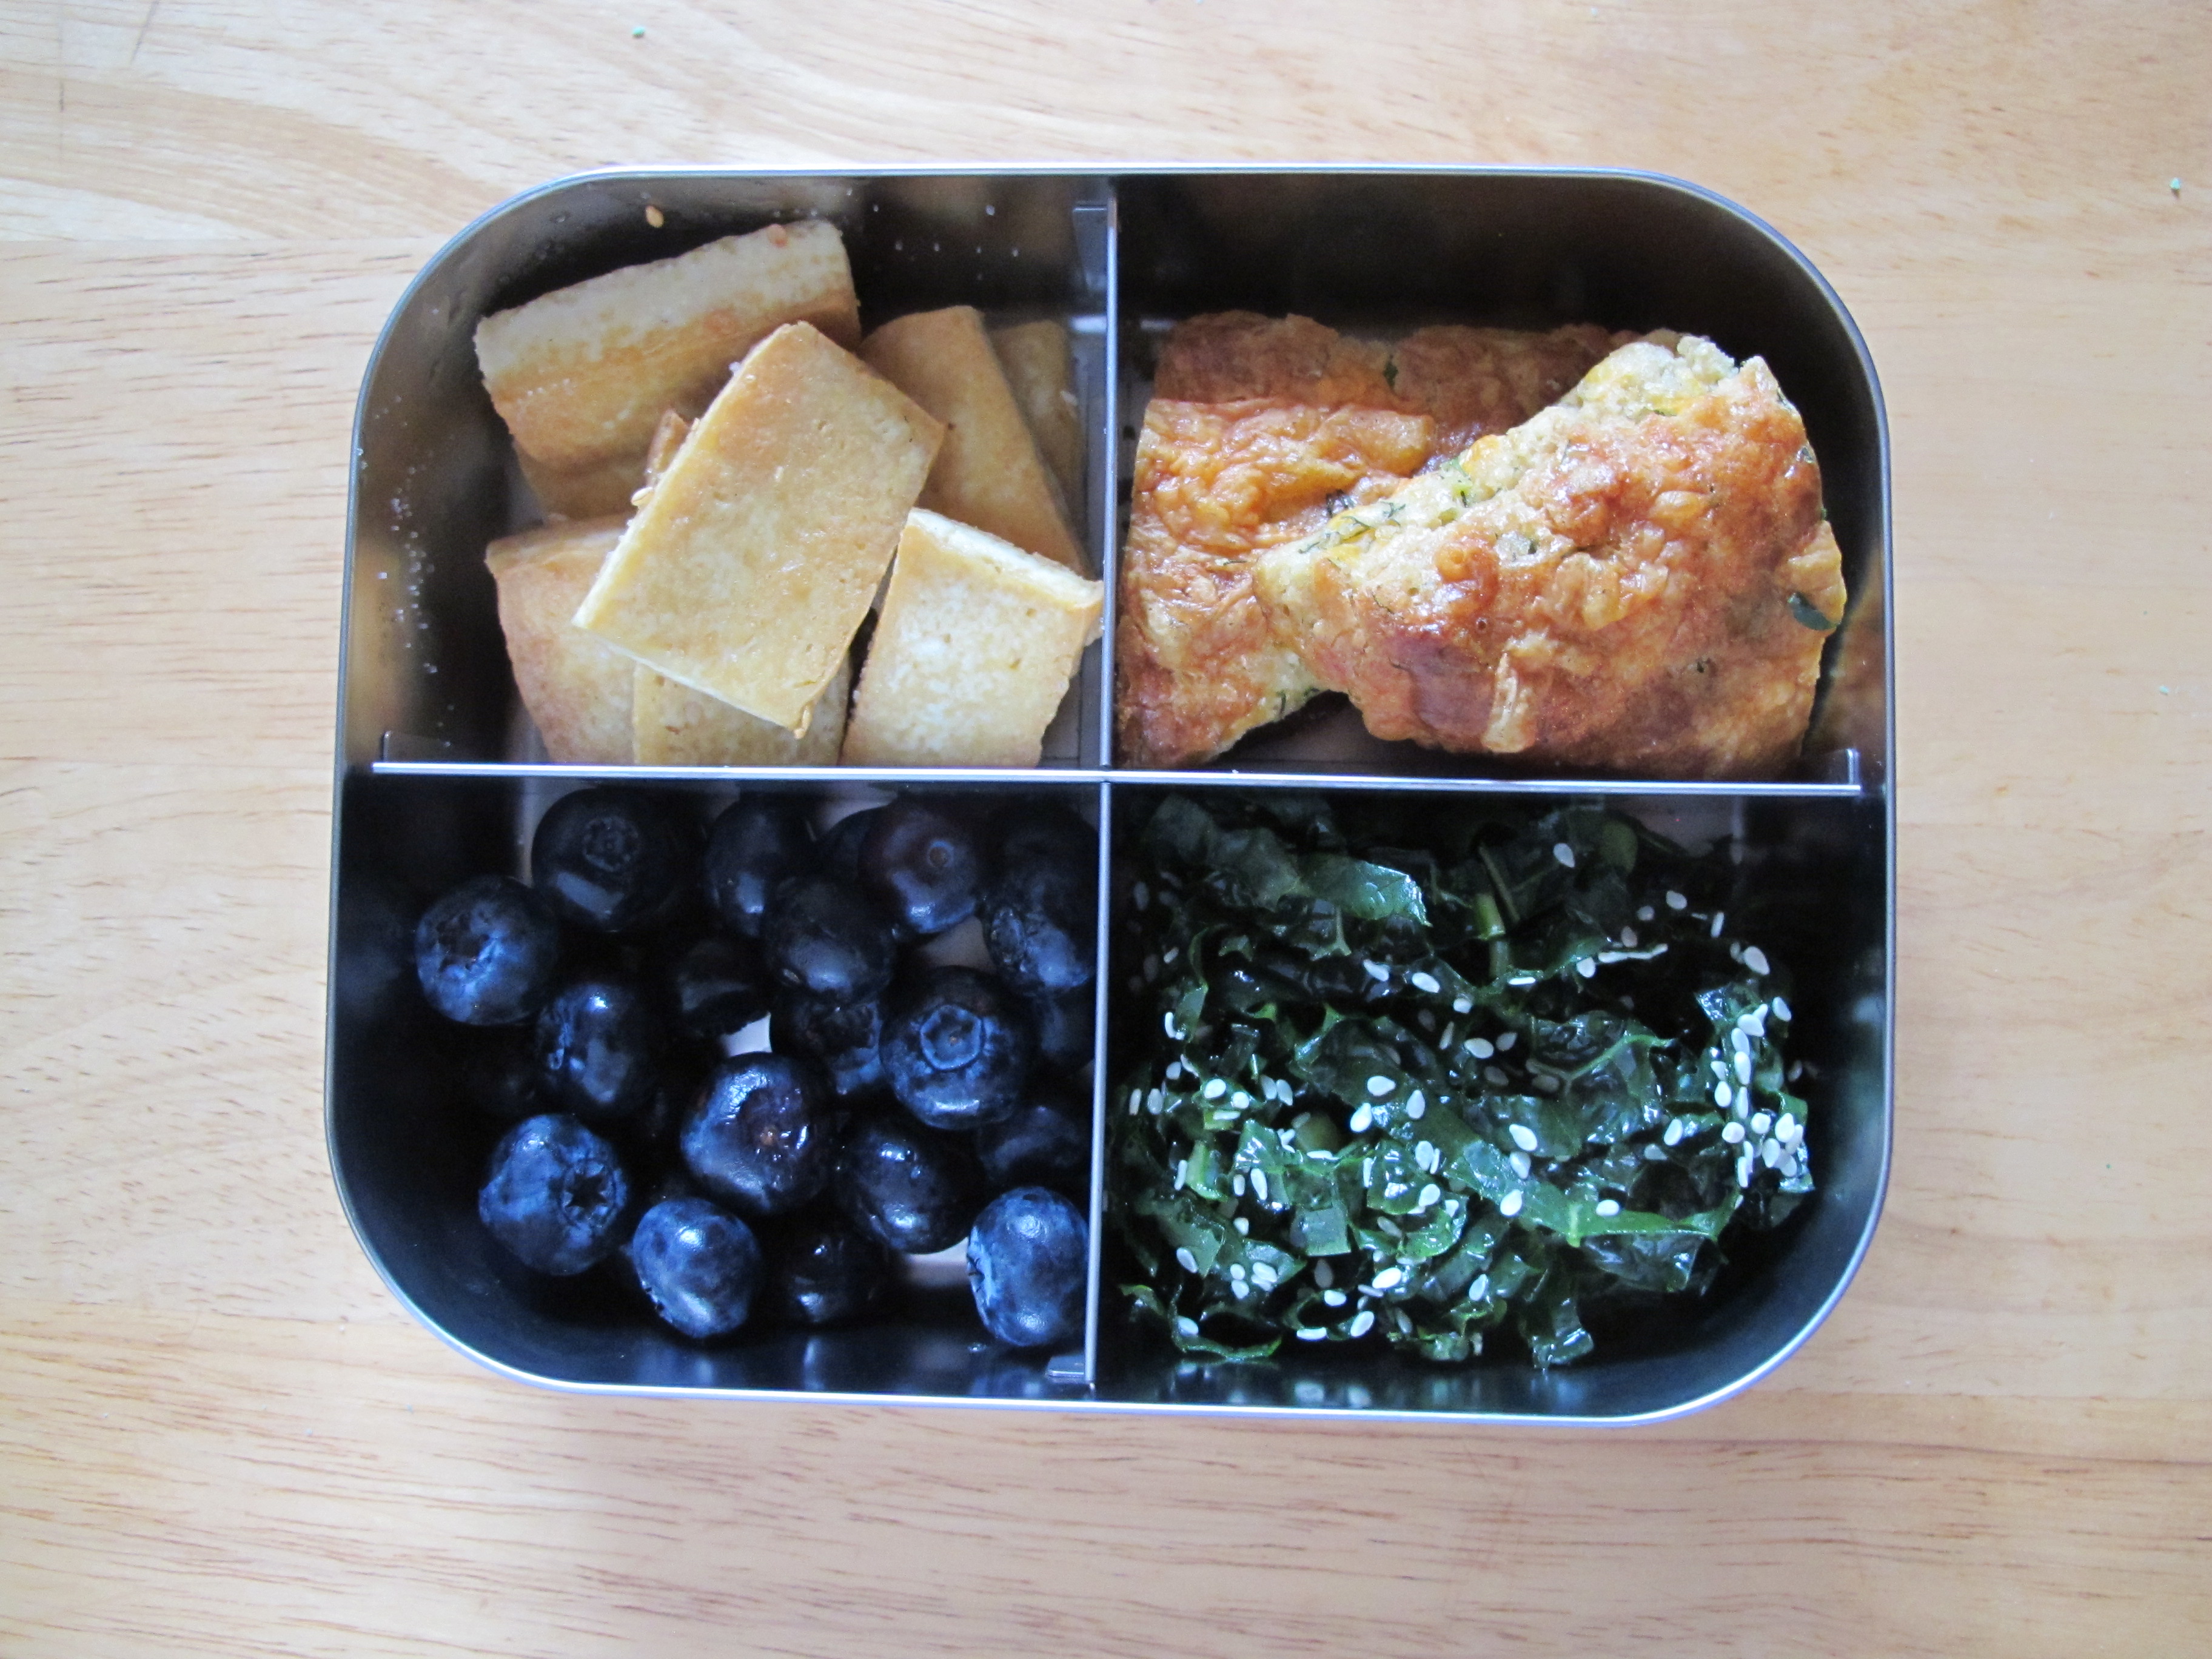
For school lunches, I then take three 1/8 slices and then cut those in half. The rest are either frozen or baked and served up right away for breakfast.

Using a little leftover cream in my measuring cup and an egg yolk, I brush the tops with the wash. If you have any to spare, add a little cheese followed by a bit of dill on each newly washed piece. Place into the oven and cook until slightly brown (roughly 12-15 minutes).
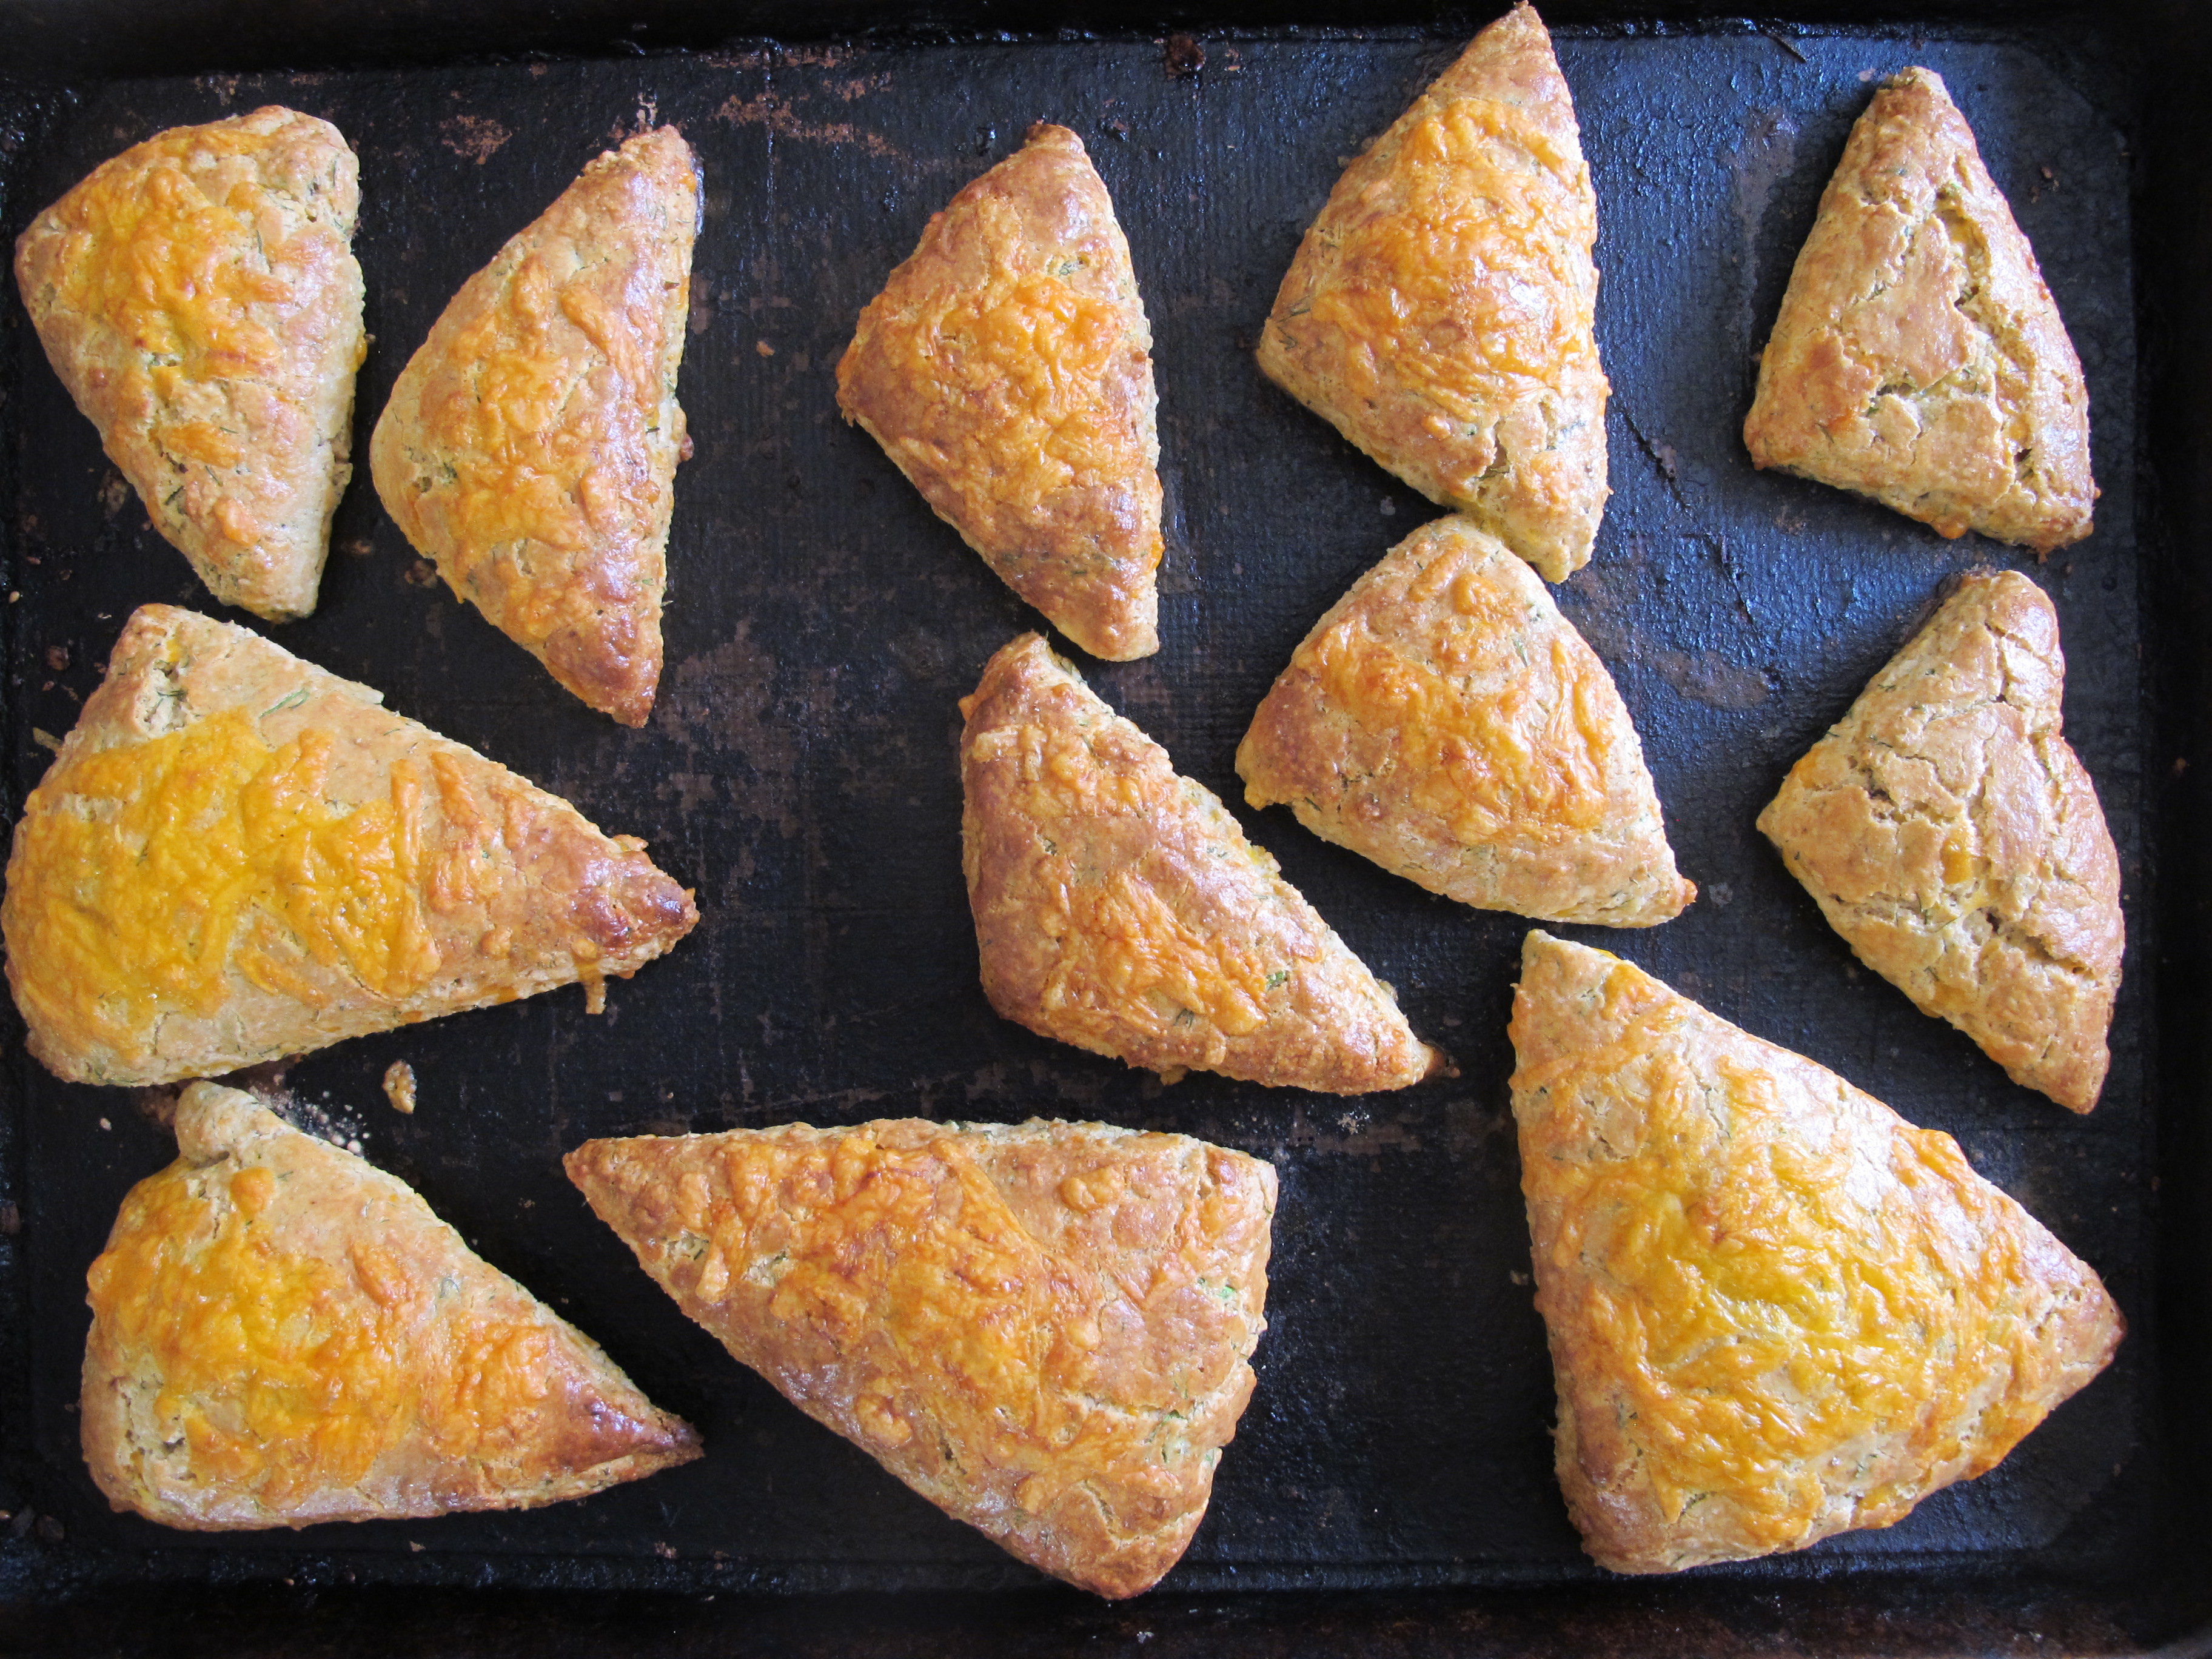
La Voila! Perfection. Enjoy.